Backyard Grilled Chicken Tenders Recipe

Juicy Chicken Tenders Recipe with Crisp Edges

Grilled chicken tenders have become a weeknight favorite for families who want something delicious without spending hours in the kitchen.

The beauty lies in how versatile they are for lunch boxes, quick dinners, or casual gatherings with friends.

Everyone appreciates a meal that feels both healthy and indulgent at once.

The smoky flavor from the grill adds such wonderful depth that even picky eaters come back for seconds.

Plus, cleanup is refreshingly minimal compared to fried versions that leave behind all that mess.

Go ahead and fire up the grill because dinner just got a whole lot easier!

Why Grilled Chicken Tenders Are a Quick Favorite

Why Grilled Chicken Tenders Are a Quick Favorite
  • Quick Weeknight Dinner: These chicken tenders come together super easily with simple ingredients most people already have in their kitchen, making them perfect for busy families needing a fast meal.
  • Flavor-Packed Protein: The Mediterranean-style marinade transforms basic chicken into a zesty, herb-infused dish that tastes like something from a restaurant – without complicated techniques.
  • Healthy Crowd-Pleaser: Lean protein, minimal ingredients, and grilling method mean this recipe works great for anyone watching their diet or wanting a nutritious meal that doesn’t feel like diet food.
  • Versatile Side Dish: These tenders pair wonderfully with salads, rice, roasted vegetables, or can be chopped for wraps and salad toppers, giving you tons of meal planning flexibility.

Grilled Chicken Tender Ingredients List

Main Protein:
  • 1½ Lbs Chicken Tenders: Fresh and tender strips perfect for grilling, these will soak up all the delicious marinade flavors.
Marinade Base:
  • 2 Tablespoons Olive Oil, 1 Tablespoon Lemon Juice: Bright, zesty liquid that helps tenderize and infuse your chicken with tangy richness.
Seasoning Blend:
  • 1 Teaspoon Salt, ½ Teaspoon Black Pepper: Essential flavor enhancers that will bring out the natural taste of your chicken.
  • 1 Teaspoon Paprika, ½ Teaspoon Onion Powder, ½ Teaspoon Dried Oregano, ½ Teaspoon Dried Thyme (Optional): Aromatic spices that create a robust, savory coating for your grilled tenders.
  • 2 Cloves Garlic (Minced): Pungent and fragrant, providing a deep, earthy undertone to your marinade.
Finishing Touches:
  • Fresh Parsley: Bright green herb for a pop of color and fresh flavor.
  • Lemon Wedges: Zesty citrus slices to squeeze over your grilled chicken for an extra burst of brightness.

Tools & Grilling Gear for Chicken Tenders

  • Grill: My go-to tool for getting those perfect char marks and smoky flavor on the chicken tenders. Gas or charcoal works great.
  • Tongs: Essential for flipping the chicken safely and keeping my hands away from the hot grates.
  • Medium bowl: Perfect for whisking together the marinade ingredients quickly and easily.
  • Large resealable bag or shallow dish: Needed to marinate the chicken and coat it evenly with all those delicious seasonings.
  • Whisk: Helps me blend the marinade ingredients smoothly without any clumps.
  • Meat thermometer: Crucial for checking that the chicken reaches a safe internal temperature of 165°F.
  • Sharp knife: Handy for chopping fresh parsley and cutting lemon wedges for garnish.
  • Cutting board: Provides a clean surface for prepping ingredients and garnishes.

Directions for Grilled Chicken Tenders

Directions for Grilled Chicken Tenders
1

Whip Up the Marinade

Grab a medium bowl and whisk together:

  • 2 tablespoons olive oil
  • 1 tablespoon lemon juice
  • 2 minced garlic cloves
  • 1 teaspoon salt
  • ½ teaspoon black pepper
  • 1 teaspoon paprika
  • ½ teaspoon onion powder
  • ½ teaspoon dried oregano
  • ½ teaspoon dried thyme

Your marinade is ready in just a minute!

2

Coat the Chicken

Drop 1½ pounds of chicken tenders into a large resealable bag or shallow dish. Pour your fragrant marinade over the chicken, making sure each tender gets completely coated. Seal the bag or cover the dish, then tuck it in the refrigerator for 30 minutes to 4 hours.

3

Fire Up the Grill

Heat your grill to medium-high, aiming for 400°F (204°C). Take a paper towel with a bit of oil and quickly brush the grates to prevent sticking. Your grill should be sizzling and ready.

4

Grill to Perfection

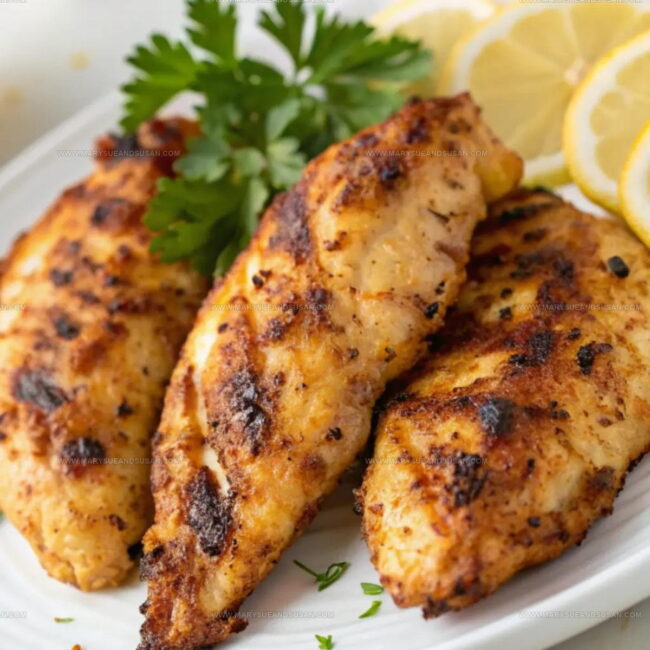
Arrange the marinated chicken tenders on the hot grill. Cook for 4-5 minutes on each side, checking that the internal temperature reaches 165°F (74°C). The tenders should look golden and have beautiful grill marks.
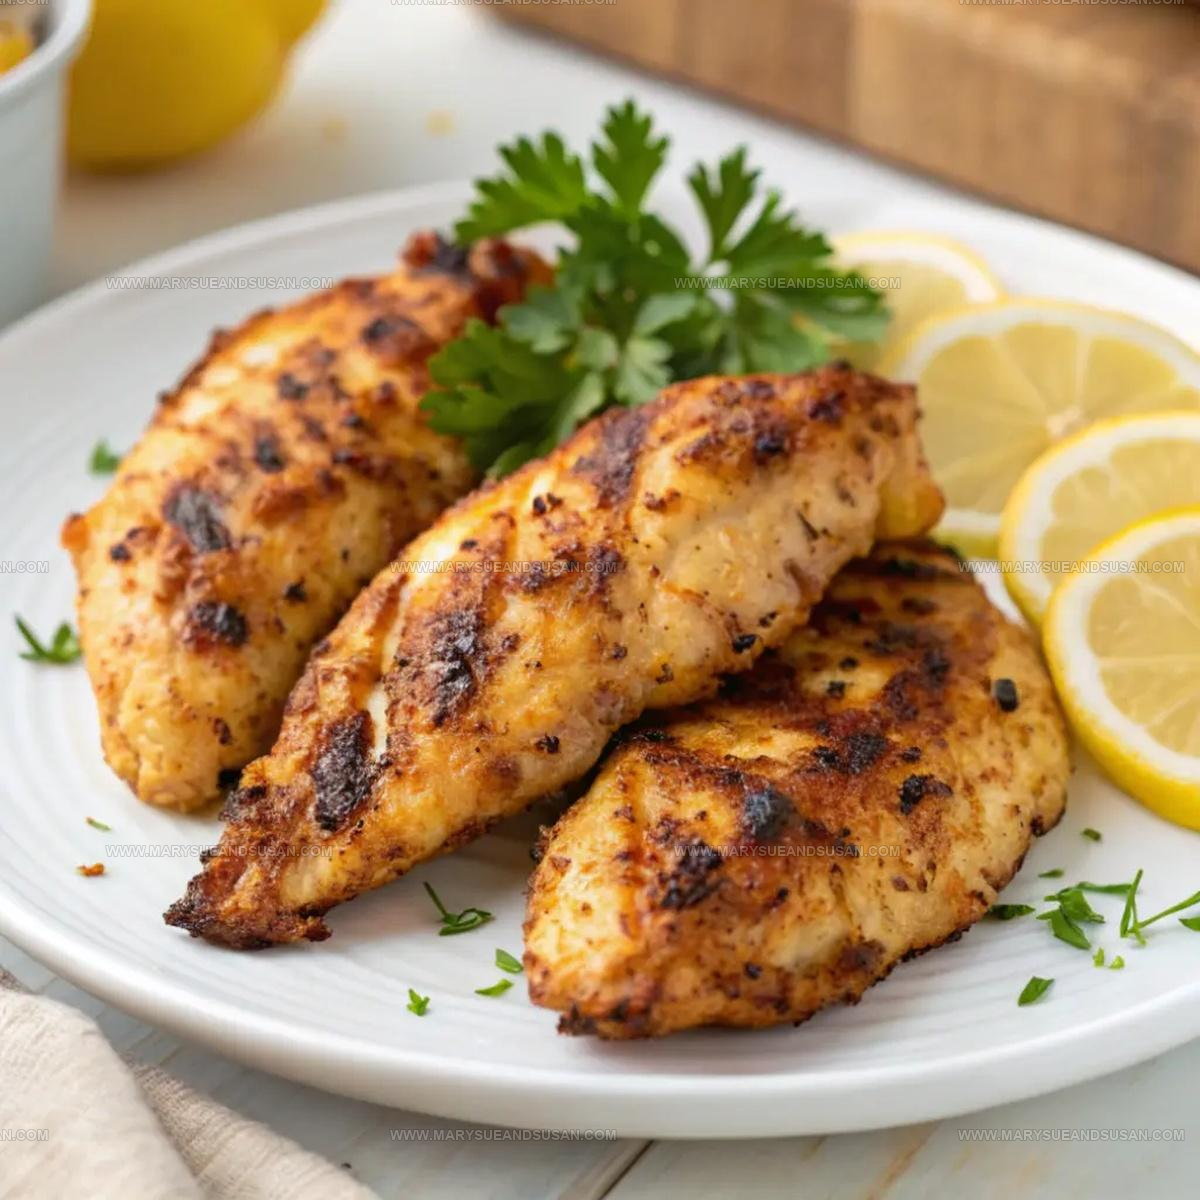
5

Serve and Garnish

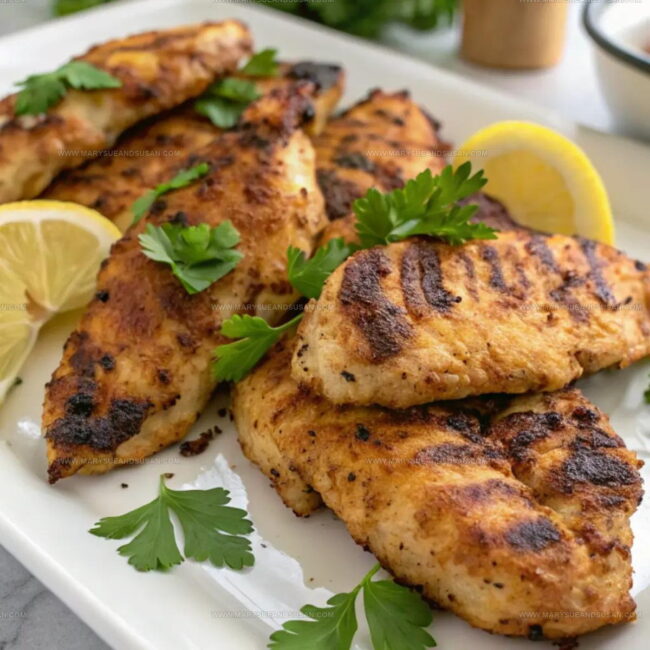
Transfer the grilled tenders to a serving plate. Sprinkle some fresh chopped parsley on top and add lemon wedges alongside. Your delicious chicken is ready to enjoy right away!

Pro Tips for Flavorful, Evenly Cooked Tenders

  • Select high-quality, fresh chicken tenders for the best flavor and tender texture. Look for tenders that are uniform in size to ensure even cooking.
  • Don’t over-marinate chicken, as the acid can start to break down the meat. Stick to the 30-minute to 4-hour window for perfect results.
  • Use a meat thermometer to confirm the chicken reaches 165°F internally. This prevents undercooking and ensures food safety.
  • Clean and oil grill grates before cooking. This helps create beautiful grill marks and prevents the chicken from tearing when flipping.
  • Let grilled chicken rest for 3-5 minutes after cooking. This helps redistribute juices, keeping the tenders moist and flavorful.

Grilled Chicken Tender Variations

  • Herb Swap Variation: Replace oregano and thyme with rosemary and basil for a fresh Mediterranean-style flavor profile.
  • Low-Sodium Option: Skip salt in the marinade and use salt-free herb blends or lemon zest to enhance the chicken’s taste without adding sodium.
  • Spicy Kick Variation: Add cayenne pepper or red pepper flakes to the marinade for a zesty, heat-packed version of the grilled chicken tenders.
  • Gluten-Free Marinade: Ensure all marinade ingredients are certified gluten-free and verify any spice blends do not contain hidden gluten sources for sensitive diners.

Serving Grilled Chicken Tenders with Dips

  • Serve Alongside Fresh Salads: Pair the grilled chicken tenders with crisp green salads featuring mixed greens, cucumber, and a light vinaigrette for a balanced, refreshing meal.
  • Portion Like a Pro: Aim for 2-3 chicken tenders per person as a main dish, which provides a satisfying protein serving without overwhelming the plate.
  • Create Dipping Stations: Set out small bowls of tzatziki, ranch, or herb-infused yogurt sauce to give guests fun flavor options that complement the herbed marinade.
  • Perfect Wine Pairing: Select a crisp white wine like sauvignon blanc or pinot grigio to match the light, lemony notes in the grilled chicken tenders.

Storing and Rewarming Chicken Tenders Properly

  • Store grilled chicken tenders in an airtight container in the refrigerator for up to 3-4 days. Make sure the container is sealed tightly to keep the chicken moist and prevent it from absorbing other food odors.
  • Warm chicken tenders on a microwave-safe plate, covering with a damp paper towel to prevent drying out. Heat in 30-second intervals, checking temperature and moisture between each interval. Typically takes 1-2 minutes total.
  • Preheat oven to 350°F. Place chicken tenders on a baking sheet, cover with foil to retain moisture. Warm for 10-15 minutes until heated through. The foil helps prevent the chicken from becoming too dry or tough.
  • Wrap chicken tenders individually in plastic wrap, then place in a freezer-safe bag. Freeze for up to 2-3 months. Thaw overnight in the refrigerator before reheating to maintain the best texture and flavor.

Grilled Chicken Tenders FAQs for Busy Cooks

FAQ

Can I use frozen chicken tenders?

Thaw completely before marinating. Pat dry with paper towels to remove excess moisture for better grilling results.

FAQ

Do different marinades work?

Absolutely! Swap herbs or add yogurt, mustard, or honey for unique flavor combinations that keep chicken tender.

FAQ

How do I prevent chicken from sticking to grill grates?

Clean grates thoroughly and brush with oil right before placing chicken. Use tongs to gently release tenders if they stick.

FAQ

What if my chicken isn’t browning evenly?

Move tenders around the grill to find hot spots. Some grills have temperature variations that affect cooking.

FAQ

Can chicken tenders be prepared ahead of time?

Marinate up to 4 hours in advance. Don’t exceed 4 hours or acid in marinade might start breaking down meat texture.

FAQ

Should chicken rest after grilling?

Yes, let tenders rest 3-5 minutes after cooking to help juices redistribute, keeping meat moist and flavorful.

Print
clock clock iconcutlery cutlery iconflag flag iconfolder folder iconinstagram instagram iconpinterest pinterest iconfacebook facebook iconprint print iconsquares squares iconheart heart iconheart solid heart solid icon
Backyard Grilled Chicken Tenders Recipe

Backyard Grilled Chicken Tenders Recipe


5 Stars 4 Stars 3 Stars 2 Stars 1 Star

4.5 from 30 reviews

  • Total Time: 40-50 minutes
  • Yield: 4 1x

Description

Sizzling Grilled Chicken Tenders are my go-to weeknight dinner that comes together faster than ordering takeout. These juicy, tender strips get a quick marinade of olive oil, garlic, and herbs before hitting the hot grill for maximum flavor and minimal cleanup.


Ingredients

Scale

Main Ingredients:

  • 1.5 lbs chicken tenders

Seasonings:

  • 1 teaspoon salt
  • 1 teaspoon paprika
  • ½ teaspoon black pepper
  • ½ teaspoon onion powder
  • ½ teaspoon dried oregano
  • ½ teaspoon dried thyme

Liquids and Aromatics:

  • 2 tablespoons olive oil
  • 1 tablespoon lemon juice
  • 2 cloves garlic

Garnish:

  • Fresh parsley
  • Lemon wedges

Instructions

  1. Combine olive oil, lemon juice, minced garlic, salt, pepper, paprika, onion powder, oregano, and thyme in a medium mixing bowl. Whisk ingredients thoroughly until well blended.
  2. Transfer chicken tenders into a large resealable plastic bag or shallow container. Pour marinade directly over the meat, ensuring each tender gets fully coated.
  3. Seal the bag or cover the container, then refrigerate for 30 minutes to allow flavors to penetrate the chicken. Do not marinate longer than 4 hours to prevent meat from becoming mushy.
  4. Prepare outdoor grill by heating to 400°F (204°C). Clean and lightly oil the grill grates to prevent sticking.
  5. Remove chicken from marinade and gently pat each tender dry with paper towels. Discard remaining liquid.
  6. Arrange chicken tenders across the grill grates, leaving small spaces between each piece. Cook for 4-5 minutes on the first side until nice grill marks develop.
  7. Flip tenders carefully using tongs. Continue grilling an additional 4-5 minutes until internal temperature reaches 165°F (74°C) when checked with a meat thermometer.
  8. Transfer grilled chicken to a clean serving platter. Sprinkle with chopped fresh parsley and arrange lemon wedges alongside for squeezing.

Notes

  • Use fresh, high-quality chicken tenders for the best flavor and texture.
  • Let chicken sit at room temperature for 15 minutes before grilling to ensure even cooking.
  • Pat chicken dry before marinating to help seasonings stick and create a better char.
  • For a gluten-free option, replace regular herbs with certified gluten-free herbs and double-check marinade ingredients.
  • Prep Time: 10 minutes
  • Cook Time: 8-10 minutes
  • Category: Chicken
  • Method: Grilling
  • Cuisine: American

Nutrition

  • Serving Size: 4
  • Calories: 198 kcal
  • Sugar: 0 g
  • Sodium: 525 mg
  • Fat: 9 g
  • Saturated Fat: 1.3 g
  • Unsaturated Fat: 7.4 g
  • Trans Fat: 0 g
  • Carbohydrates: 1 g
  • Fiber: 0.2 g
  • Protein: 26 g
  • Cholesterol: 70 mg
Mary Sue

Mary Sue

Founder & Creative Recipe Developer

Expertise

Comfort Food Twists, Seasonal Cooking, Creative Flavor Pairings, Easy Weeknight Dinners, Flexible Pantry Cooking

Education

Trident Technical College, Culinary Institute of Charleston
  • Program: Culinary Arts Technology, A.A.S.
  • Focus: Built a strong foundation in professional food preparation, cooking, and presentation while also learning the hospitality side of the industry, including quality standards, sanitation, and the real-world pace of working kitchens

Mary Sue is the playful, creative recipe mind behind Mary Sue & Susan, known for big flavor ideas, warm storytelling, and dishes that feel both comforting and a little unexpected. She has a talent for taking familiar meals and giving them just enough personality to make them memorable.

Leave a Reply

Your email address will not be published. Required fields are marked *

Recipe rating 5 Stars 4 Stars 3 Stars 2 Stars 1 Star