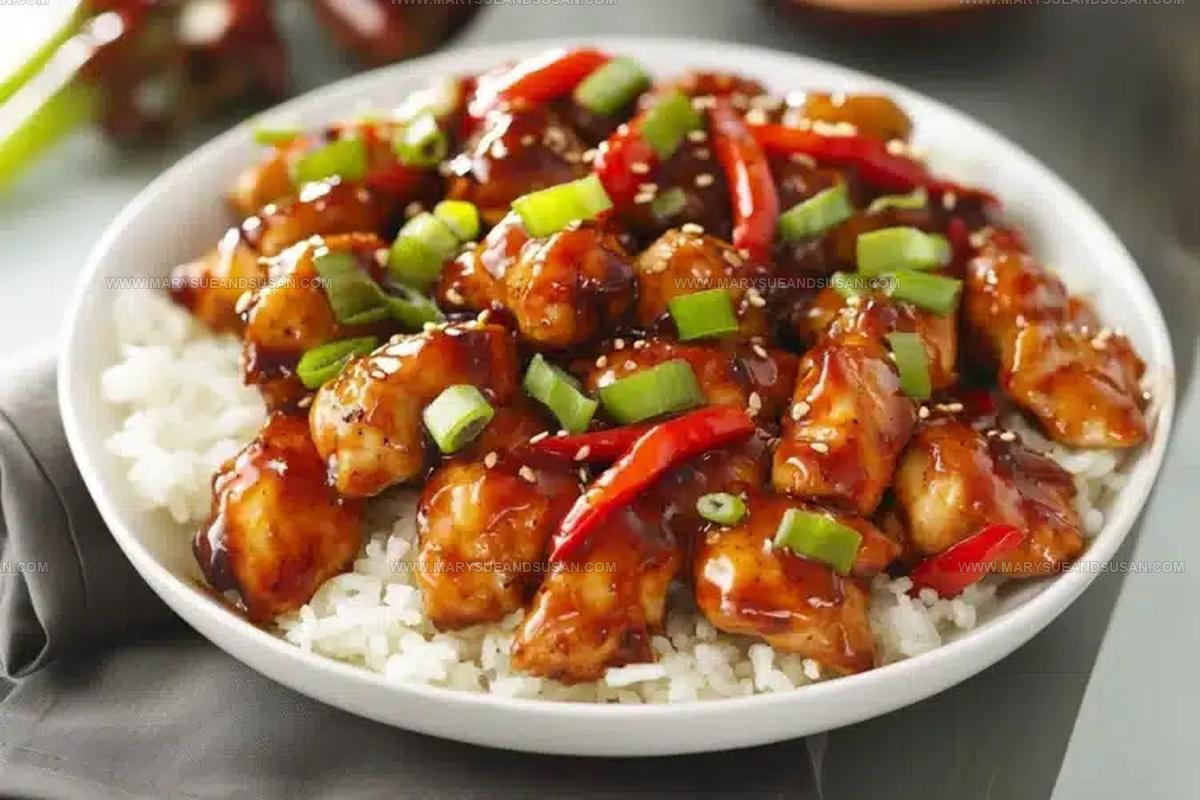
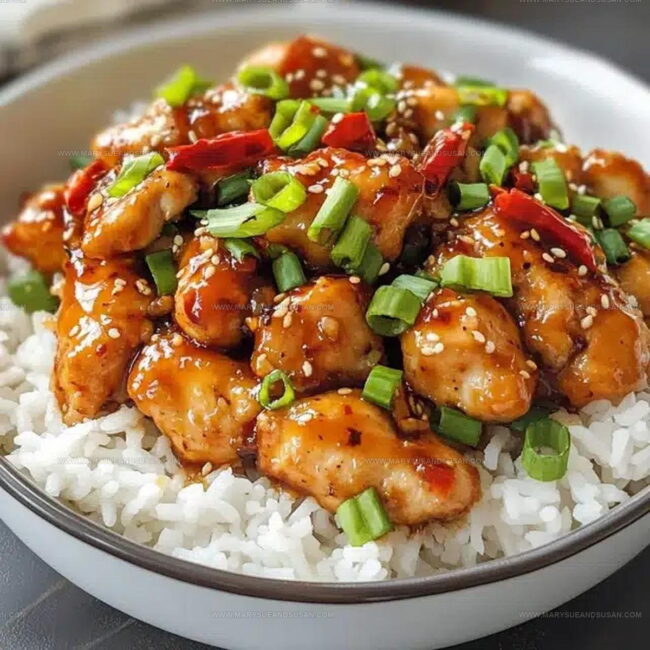
Honey Pepper Chicken Recipe That’s Crispy and Bold
Honey Pepper Chicken Recipe brings together the perfect balance of sweet and spicy flavors that make every bite absolutely delicious.
The combination creates a savory dish that appeals to anyone who loves bold, exciting flavors at dinnertime.
Busy weeknights become much easier when you have a recipe that provides incredible taste without complicated techniques.
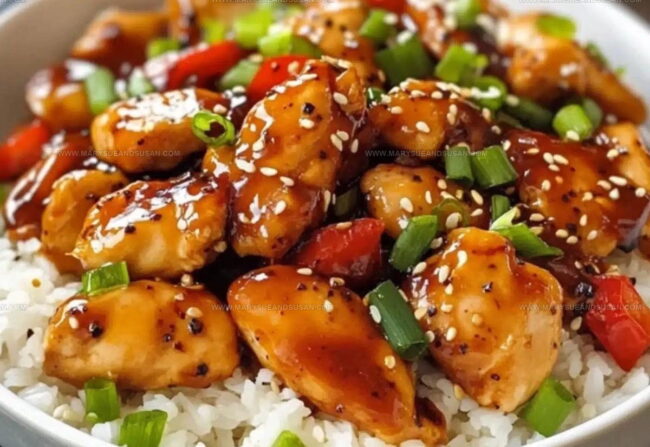
The glossy coating and aromatic pepper notes make the chicken look as impressive as it tastes.
Friends and colleagues always ask for the recipe after trying just one piece.
Each serving offers satisfying protein with flavor that keeps everyone coming back for seconds.
Check out the simple steps below to start making one of the most requested dishes in any home cook's collection.
Reasons Why Sweet And Spicy Honey Pepper Chicken Is An Absolute Favorite
Why Everyone Obsesses Over This Sweet And Spicy Honey Pepper Chicken
Tools Supporting Even Glaze And Tender Chicken
Steps Coating Chicken Evenly In Sweet Heat
Mixing the Coating
Grab a large bowl and toss in:
Whisk these dry ingredients until they’re well combined. In another bowl, beat 1 cup buttermilk with 1 egg until smooth.
Coating the Chicken
Take your 2 boneless, skinless chicken breasts (cut into bite-sized pieces) and start dipping each piece into the buttermilk mixture. Let the excess drip off, then roll the chicken in the flour mixture. Press the coating firmly so your chicken gets that perfect crispy exterior. Set the coated pieces on a clean plate.
Frying the Chicken
Heat oil in a deep skillet to exactly 350°F (175°C). Carefully drop the chicken pieces into the hot oil in small batches. Fry for 4-5 minutes until they turn a beautiful golden brown and cook through completely. Transfer the fried chicken to a paper towel-lined plate to drain excess oil.
Creating the Honey Pepper Sauce
Grab a small saucepan and melt 1 tablespoon butter over medium heat. Toss in 2 minced garlic cloves and cook until they become fragrant. Add these ingredients:
Simmer the sauce for 2-3 minutes. Mix 1 teaspoon cornstarch with 1 tablespoon water, then stir into the sauce to thicken it up.
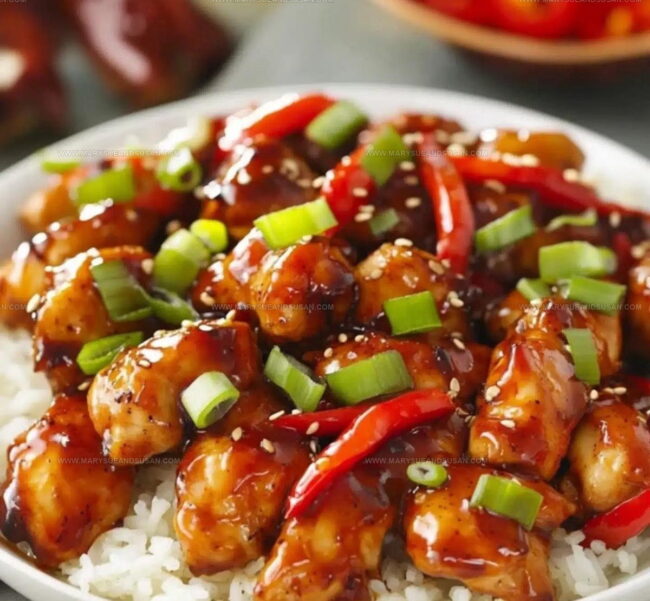
Glazing the Chicken
Pour the hot honey pepper sauce over your fried chicken pieces in a large bowl. Toss gently to make sure every piece gets a perfect, even coating of that delicious glaze.
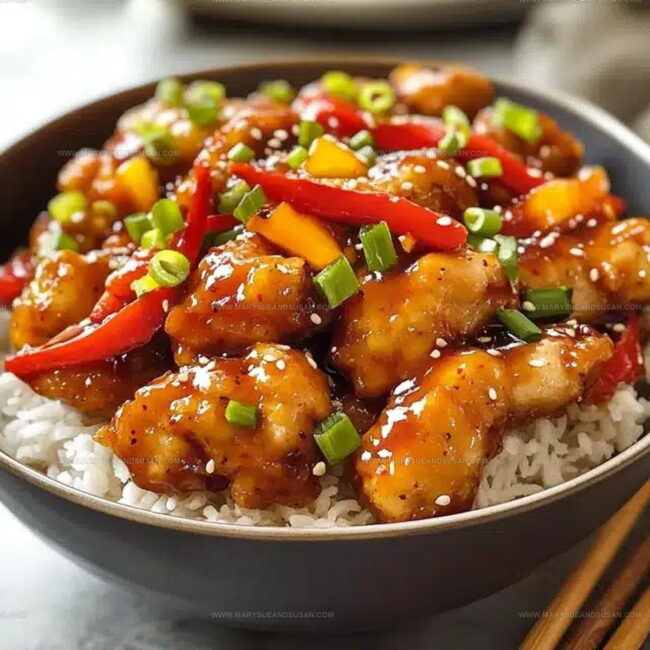
Serving Up
Plate your honey pepper chicken while it’s hot. Sprinkle some extra black pepper or sesame seeds on top if you’d like. This goes great with rice, mashed potatoes, or a side of fresh vegetables. Dinner is served!
Boosters That Heighten Pepper Sweetness
Sweet-Heat Balance Adjustments For Honey Pepper Poultry
Zesty Service Style For Honey Pepper Chicken
Storing Glazed Chicken For Best Texture
Honey Pepper Chicken FAQs Home Cooks Ask
What makes the coating extra crispy?
The combination of flour and cornstarch creates a super crunchy exterior that stays crisp even after glazing. Pressing the coating firmly onto the chicken ensures maximum crunch.
Can I use a different type of vinegar?
Apple cider vinegar adds a specific tangy flavor, but white vinegar works as a substitute if that’s what’s in your pantry. Just expect a slightly different taste profile.
How do I know the chicken is fully cooked?
The chicken should reach an internal temperature of 165°F. The golden brown color and crispy exterior are good visual indicators, but always use a meat thermometer to confirm doneness.
Is this recipe spicy?
The red pepper flakes add a mild heat that builds gradually. If you prefer less spice, reduce the amount of pepper flakes or omit them completely.
Can I make this recipe ahead of time?
Fry the chicken just before serving for the crispiest results. The glaze can be prepared in advance and stored in the refrigerator for a day or two.
What if I don’t have buttermilk?
Mix regular milk with a tablespoon of vinegar or lemon juice and let it sit for 5 minutes. This creates a buttermilk substitute that works perfectly in the recipe.

Bold Honey Pepper Chicken Recipe
- Total Time: 30 minutes
- Yield: 2 1x
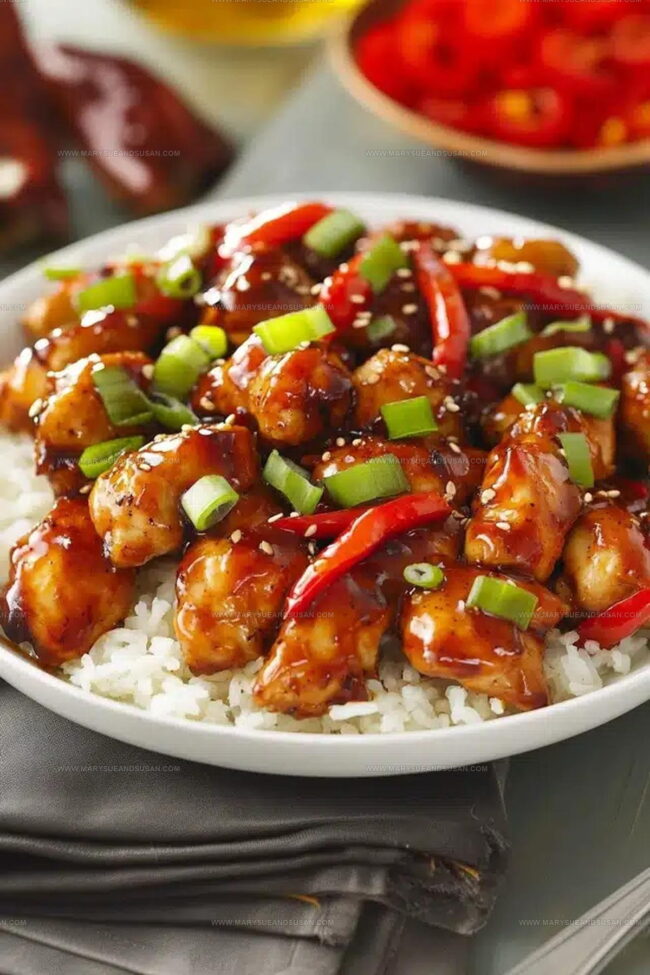
Description
Sweet and Spicy Honey Pepper Chicken brings together a perfect blend of flavors that dance across your taste buds with zesty excitement. Crispy chicken pieces glazed in a honey-pepper sauce guarantee a delicious dinner that comes together faster than ordering takeout.
Ingredients
Proteins:
- 2 boneless, skinless chicken breasts
Dry Coating Ingredients:
- 1 cup all-purpose flour
- ½ cup cornstarch
- 1 teaspoon baking powder
- 1 teaspoon garlic powder
- 1 teaspoon onion powder
- ½ teaspoon paprika
- ½ teaspoon salt
- ½ teaspoon black pepper
Wet Ingredients and Sauce:
- 1 cup buttermilk
- 1 egg
- Oil for frying
- ½ cup honey
- 2 tablespoons soy sauce
- 1 tablespoon apple cider vinegar
- 1 teaspoon black pepper
- ½ teaspoon red pepper flakes
- 2 cloves garlic
- 1 tablespoon butter
- 1 teaspoon cornstarch
- 1 tablespoon water
Instructions
- Mix 1 cup all-purpose flour, ½ cup cornstarch, 1 teaspoon baking powder, 1 teaspoon garlic powder, 1 teaspoon onion powder, ½ teaspoon paprika, ½ teaspoon salt, and ½ teaspoon black pepper in a large bowl until completely combined.
- Whisk 1 cup buttermilk with 1 egg in a separate bowl until smooth and well-blended.
- Dip each chicken piece into buttermilk mixture, letting excess drip off. Press chicken firmly into flour mixture, ensuring a complete and even coating.
- Warm cooking oil to exactly 350°F (175°C) in a deep skillet. Your oil temperature matters for perfect crispiness.
- Gently lower coated chicken pieces into hot oil, frying 4-5 minutes until golden brown. Avoid overcrowding the pan to maintain oil temperature.
- Transfer fried chicken to a paper towel-lined plate to drain excess oil and keep the coating crisp.
- Melt 1 tablespoon butter in a small saucepan. Add 2 minced garlic cloves and sauté until fragrant, about 30 seconds.
- Pour ½ cup honey, 2 tablespoons soy sauce, 1 tablespoon apple cider vinegar, 1 teaspoon black pepper, and ½ teaspoon red pepper flakes into the pan.
- Simmer sauce for 2-3 minutes, stirring constantly. Whisk in 1 teaspoon cornstarch mixed with 1 tablespoon water to thicken.
- Toss hot chicken pieces in sauce, ensuring each piece gets a glossy, even coating.
- Plate immediately, optionally garnishing with extra black pepper or sesame seeds for added texture and visual appeal.
Notes
- Check chicken temperature with a meat thermometer to ensure it reaches 165°F for safe eating.
- Pat chicken dry before coating to help breading stick better and create crispier texture.
- Adjust pepper quantities based on personal heat tolerance, starting with less and adding more gradually.
- For a gluten-free version, substitute all-purpose flour with cornstarch or almond flour when breading the chicken.
- Prep Time: 15 minutes
- Cook Time: 15 minutes
- Category: Chicken
- Method: Frying
- Cuisine: American
Nutrition
- Serving Size: 2
- Calories: 858 kcal
- Sugar: 37 g
- Sodium: 865 mg
- Fat: 28 g
- Saturated Fat: 7 g
- Unsaturated Fat: 18 g
- Trans Fat: 0.2 g
- Carbohydrates: 97 g
- Fiber: 3 g
- Protein: 42 g
- Cholesterol: 140 mg
Mary Sue
Founder & Creative Recipe Developer
Expertise
Comfort Food Twists, Seasonal Cooking, Creative Flavor Pairings, Easy Weeknight Dinners, Flexible Pantry Cooking
Education
Mary Sue is the playful, creative recipe mind behind Mary Sue & Susan, known for big flavor ideas, warm storytelling, and dishes that feel both comforting and a little unexpected. She has a talent for taking familiar meals and giving them just enough personality to make them memorable.