Crispy Butterfly Shrimp Recipe With Golden Breading
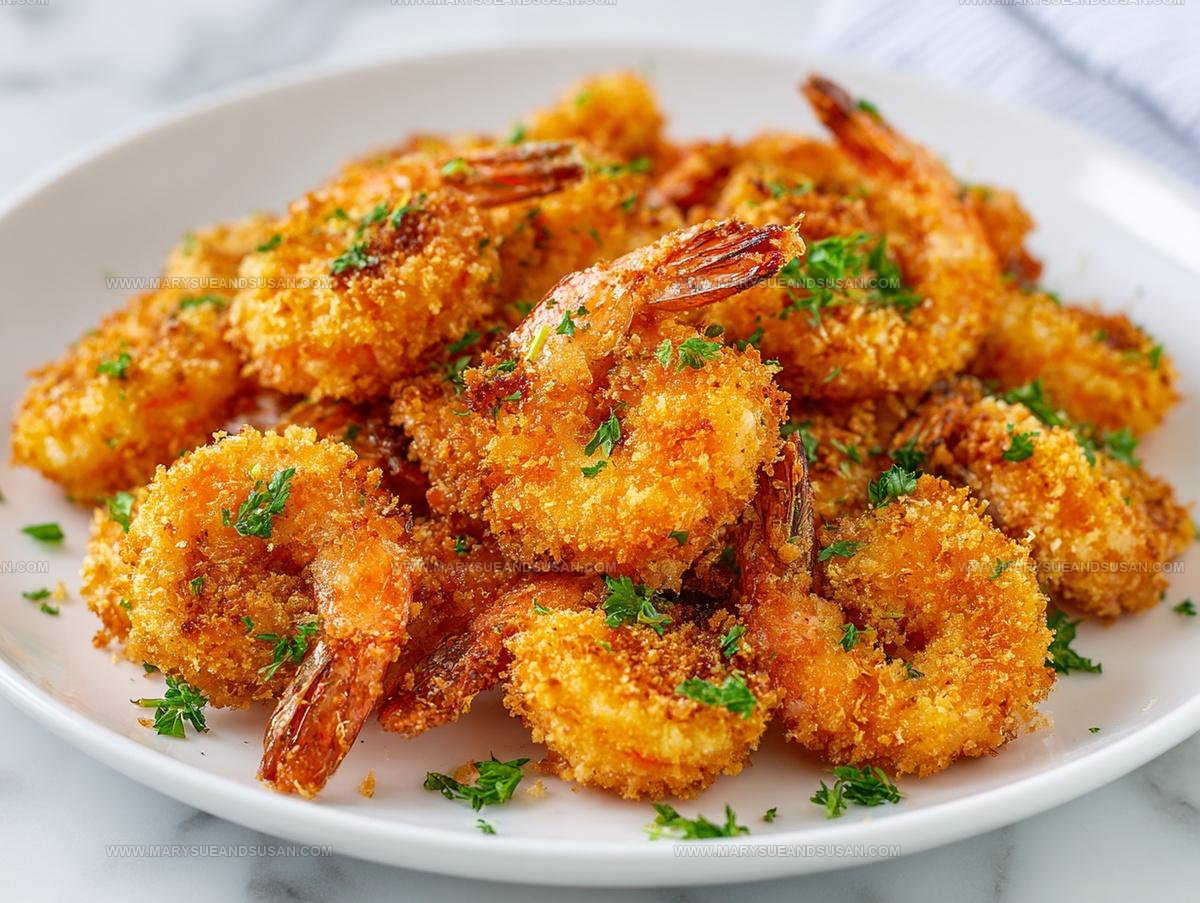
Butterfly shrimp makes any meal feel special with its elegant presentation and satisfying crunch that appeals to seafood lovers everywhere.
Golden and crispy on the outside while tender inside, it works beautifully as an appetizer at parties or as the star of a main course.
The preparation technique creates an eye-catching shape that fans out like delicate wings, making plated dishes look professionally prepared.
Restaurants have served variations of this dish for decades, but you can achieve the same impressive results at home with far less effort than most people expect.
Perfect for celebrations, casual dinners, or when company comes over, it never fails to impress.
Kids enjoy the fun shape while adults appreciate the sophisticated touch it brings to the table.
The versatility means pairing options range from classic cocktail sauce to more creative accompaniments based on mood and preference.
Give it a go tonight and watch how quickly plates come back empty.
What Makes Butterfly Shrimp So Enjoyable
Core Ingredients in Butterfly Shrimp
Main Protein:Coating Components:Liquid Ingredients:Frying Base:Essential Kitchen Tools for Butterfly Shrimp
Classic Way to Make Butterfly Shrimp
Prepare the Oil
Heat 5 cups of oil in a deep fryer or large skillet to exactly 350°F. This precise temperature ensures a perfect golden crunch for your shrimp.
Create the Batter
Mix the wet and dry ingredients for your coating. You’ll need a smooth base that helps the breading stick perfectly.
Whisk these together in a large bowl until completely combined.
Butterfly the Shrimp
Grab your 1 pound of large shrimp and carefully slice down the center, opening each one without cutting all the way through. This helps them cook evenly and creates that classic butterfly shape.
First Batter Coating
Dip each butterflied shrimp completely into the batter mixture. Make sure every inch gets covered for a delicious crispy exterior.
Bread the Shrimp
Roll each batter-covered shrimp in 2 cups of fresh bread crumbs. Press gently to help the crumbs stick firmly to the entire surface.
Double Dip for Extra Crispiness
Take each breaded shrimp and dunk it back into the batter, then roll again in bread crumbs. This double coating creates an incredible crispy shell.
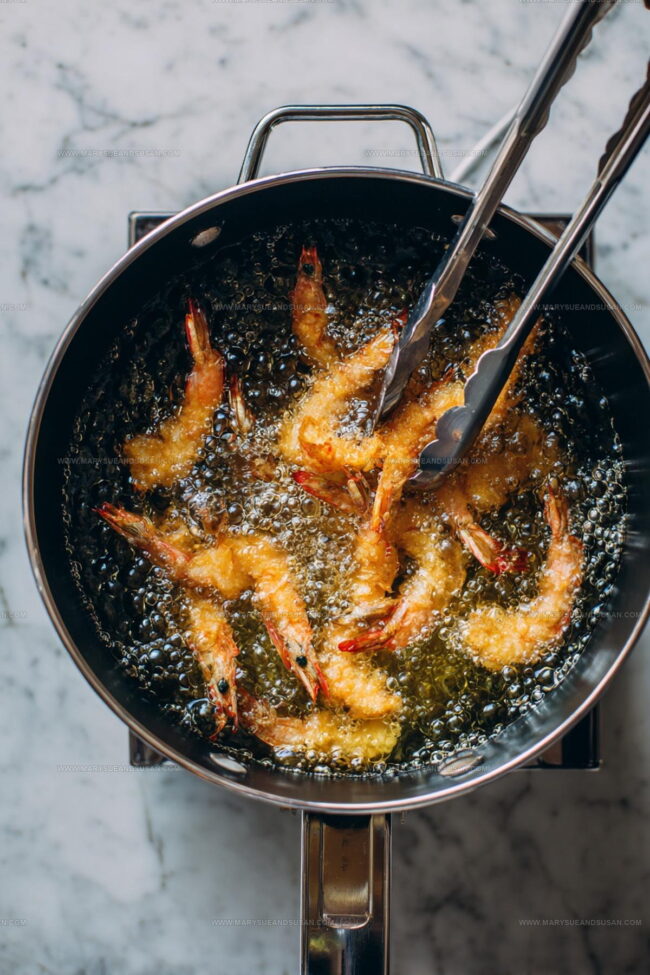
Fry to Golden Perfection
Carefully lower each shrimp into the hot 350°F oil using tongs or a slotted spoon. Work in batches to keep the oil temperature consistent.
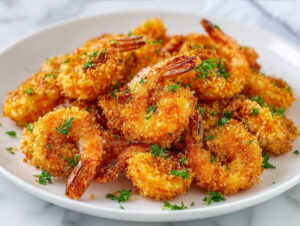
Drain and Serve
Remove shrimp when they turn a beautiful golden brown, typically after 2-3 minutes. Place on a paper towel-lined plate to drain excess oil before serving hot and crispy.
Helpful Cooking Notes for Butterfly Shrimp
Creative Variations for Butterfly Shrimp
Casual Serving Ideas for Butterfly Shrimp
Storage Instructions For Butterfly Shrimp
Butterfly Shrimp Answers To Common Questions
Can I use frozen shrimp for this recipe?
Absolutely! Thaw them completely and pat dry before butterflying to ensure a crispy coating that sticks perfectly.
What if I don’t have a deep fryer?
No problem. A heavy skillet or Dutch oven works great for frying shrimp. Just maintain the right oil temperature.
How do I know when the shrimp are fully cooked?
Watch for a golden brown color and a firm texture. The internal temperature should reach 145°F for safe eating.
Can I make the batter ahead of time?
Mix the batter right before cooking for the best texture. Cornstarch can break down if left sitting too long.
Is it necessary to butterfly the shrimp?
Butterflying helps the shrimp cook evenly and creates more surface area for that delicious crispy coating.
What type of breadcrumbs work best?
Panko breadcrumbs are ideal for extra crunch, but regular breadcrumbs also work well in this recipe.
Butterfly Shrimp Recipe
- Total Time: 20 minutes
- Yield: 4 to 6 1x
Description
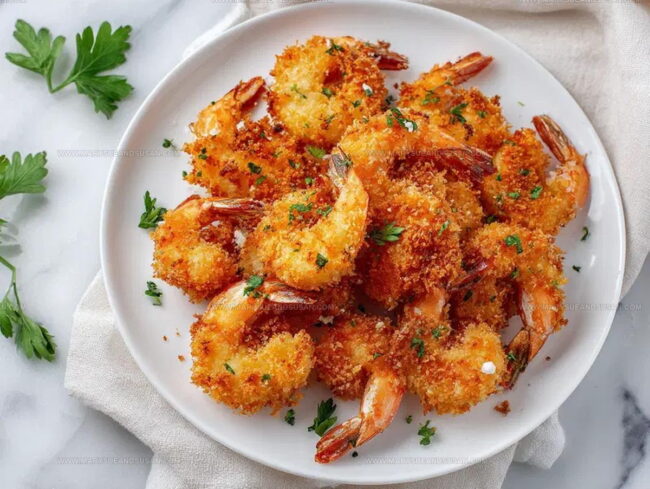
Butterfly Shrimp brings crispy, golden seafood right to your dinner table with minimal effort. Seasoned perfectly and fried to crunchy perfection, these shrimp make weeknight meals feel like a special treat everyone will enjoy.
Ingredients
Primary Proteins:
- 1 pound large shrimp, peeled and deveined and butterflied
Dry Coating Ingredients:
- 1 ½ cups cornstarch
- 2 cups fresh bread crumbs
Wet Binding Ingredients:
- 2 eggs
- 1 quart water
- 5 cups oil for deep frying
Instructions
- Heat 5 cups of oil in a deep fryer or skillet to exactly 350°F, ensuring your cooking surface reaches the perfect golden-frying temperature.
- Create a smooth batter by whisking 1 quart water, 1 ½ cups cornstarch, and 2 eggs in a large mixing bowl until fully combined.
- Carefully slice each large shrimp lengthwise through the center, opening them up to create a beautiful butterfly shape.
- Submerge each butterflied shrimp completely in the prepared batter, allowing excess to drip off gently.
- Roll the batter-coated shrimp in 2 cups of fresh bread crumbs, pressing softly to ensure a thorough, even coating.
- For extra crispiness, dip the crumb-covered shrimp back into the batter, then roll again in bread crumbs.
- Using tongs, gently lower each breaded shrimp into the hot oil, maintaining a steady 350°F temperature.
- Fry the shrimp for 2-3 minutes, turning once, until they transform into a rich, golden-brown color with a crispy exterior.
Notes
- Butterfly the shrimp carefully by cutting almost through without separating the halves, creating a beautiful fan shape that helps the batter stick better.
- Use fresh breadcrumbs for maximum crunch, which will give your shrimp a superior crispy exterior that stays crunchy longer.
- Check oil temperature with a digital thermometer to ensure perfect golden browning without burning or undercooking the delicate shrimp.
- For gluten-free options, swap wheat breadcrumbs with almond meal or gluten-free panko to make this recipe accessible for everyone with dietary restrictions.
- Prep Time: 15 minutes
- Cook Time: 5 minutes
- Category: Shrimp
- Method: Frying
- Cuisine: American
Nutrition
- Serving Size: 4 to 6
- Calories: 400 kcal
- Sugar: 1 g
- Sodium: 350 mg
- Fat: 25 g
- Saturated Fat: 4 g
- Unsaturated Fat: 18 g
- Trans Fat: 0 g
- Carbohydrates: 30 g
- Fiber: 1 g
- Protein: 20 g
- Cholesterol: 150 mg
Susan Whitaker
Content Specialist & Home Cooking Guide
Expertise
Family-friendly Meals, Simple Healthy Cooking, Ingredient Substitutions, Beginner-friendly Recipes, Flexible Meal Prep
Education
Susan is the steady, practical guide at Mary Sue & Susan, bringing clarity, structure, and a warm sense of encouragement to every recipe she touches. Susan joined the site with a simple goal: help people cook with more confidence and less guesswork.