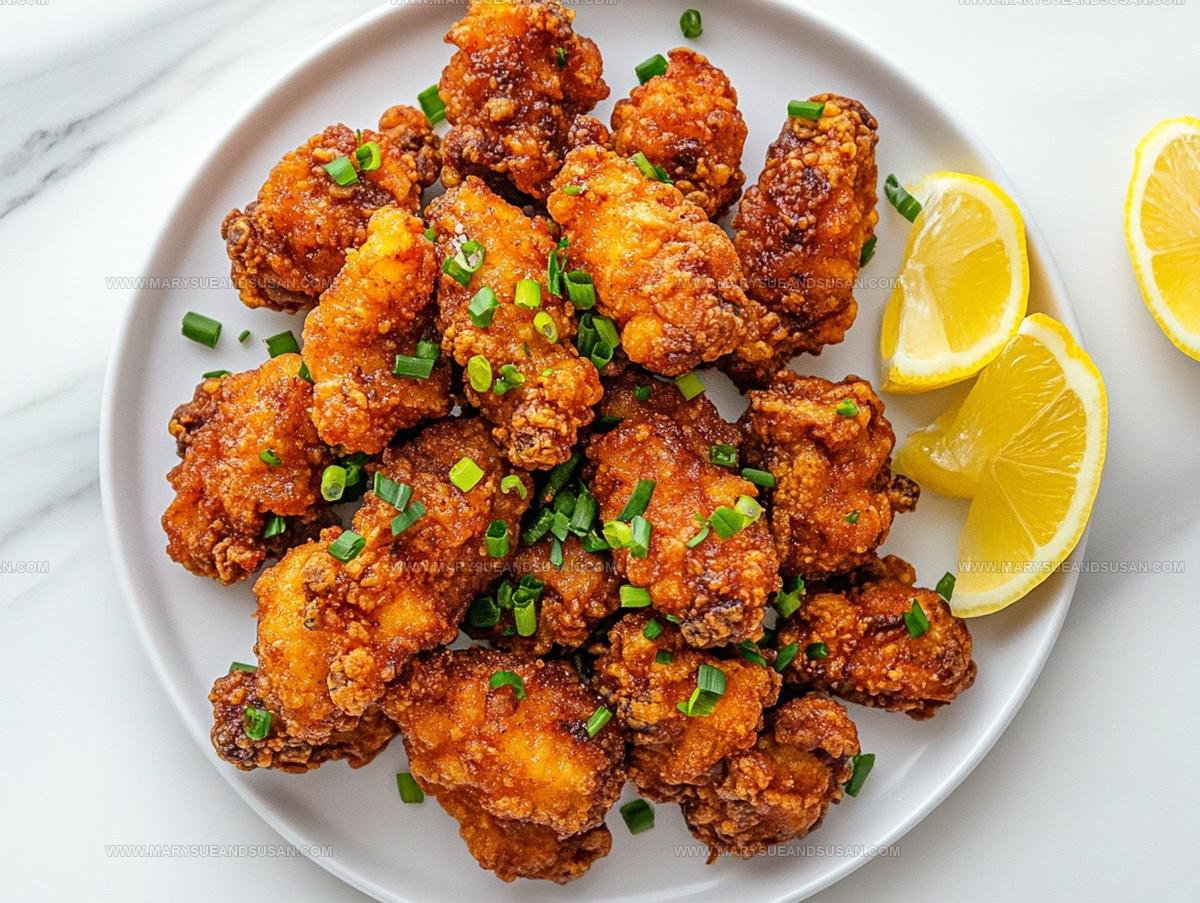
Crispy Japanese Chicken Karaage Recipe
Chicken karaage is one of Japan's most beloved comfort foods that has won hearts around the world with its crispy golden exterior and incredibly juicy interior.
Street vendors, izakayas, and home kitchens across Japan serve up plates of this savory delight that pairs beautifully with cold drinks and good conversation.
The beauty lies in how something so simple can be so satisfying, making it perfect for casual weeknight dinners or lively gatherings with friends.
Every bite offers an addictive crunch followed by tender, flavorful meat that keeps people coming back for more.
Families often prepare large batches because it disappears fast, loved by everyone from young children to grandparents.
The recipe balances straightforward preparation with impressive results, making it accessible for cooks of all skill levels.
What makes this dish special is how it brings authentic Japanese flavor into any home kitchen without requiring complicated techniques or hard-to-find equipment.
You deserve to experience why this crispy sensation has become a global favorite.
Why Chicken Karaage Stands Out

Core Ingredients for Chicken Karaage
Marinade Ingredients:Chicken Ingredients:Coating Ingredients:Tools Used for Chicken Karaage
Classic Way To Make Chicken Karaage
Prepare the Marinade
Grab a medium bowl and toss in 1 finely grated clove of garlic and 1 tablespoon of grated fresh ginger. Your kitchen will start smelling amazing as you mix in 3 tablespoons of soy sauce, 3 tablespoons of sake, 1 tablespoon of mirin, ⅛ teaspoon of sesame oil, ½ teaspoon of white sugar, ¼ teaspoon of kosher salt, ¼ teaspoon of ground black pepper, and a pinch of cayenne pepper.
Marinate the Chicken
Chop 1 ¼ pounds of boneless, skinless chicken thighs into 2-inch pieces. Plop these pieces into your marinade and give everything a good stir so each chunk gets coated. Let the chicken hang out and soak up all those flavors for at least 1 hour in the refrigerator.
Prep for Frying
Pour 1 quart of canola oil into a deep pan and heat it to exactly 340°F (170°C). While the oil is warming up, grab your 1 cup of potato starch and get ready to create some crispy magic.
Coat the Chicken
Take each marinated chicken piece and roll it thoroughly in the potato starch. Make sure every nook and cranny gets a nice, even coating.
First Frying Batch
Carefully lower the coated chicken pieces into the hot oil. Fry them in batches for 5-6 minutes. Watch for that gorgeous golden color and crispy exterior.
Drain and Rest
Once the chicken reaches perfect crispiness, pull the pieces out and let them drain on a wire rack or paper towels. Give them a quick 2-3 minute rest to settle down.
Serve and Enjoy
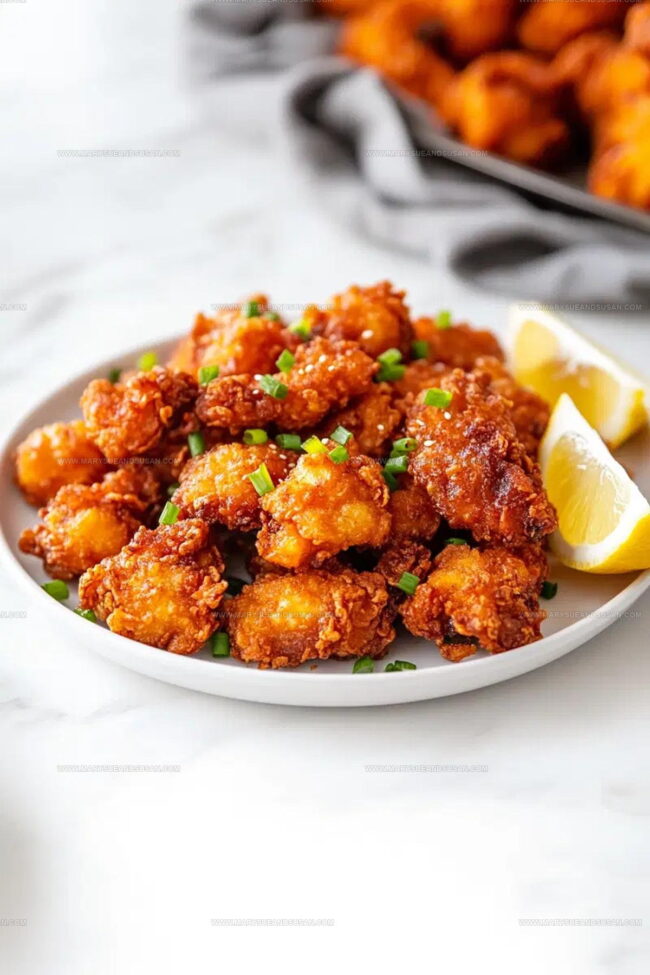
Plate up your hot, crispy chicken karaage. Serve alongside some rice or a fresh salad if you’re feeling extra hungry. These little bites are packed with flavor and crunch.
Smart Notes for Chicken Karaage

Different Takes on Chicken Karaage
Simple Serving Ideas for Chicken Karaage
How To Store Chicken Karaage
Chicken Karaage Questions And Answers
Is karaage different from regular fried chicken?
Karaage is a Japanese-style deep-fried chicken that uses potato starch for an extra crispy coating and gets marinated in a flavorful sauce before frying, which makes it more complex than standard American fried chicken.
Can potato starch be replaced with cornstarch?
Potato starch works best for creating that signature ultra-crisp texture, but cornstarch can work as an acceptable substitute if that’s what you have in your pantry.
Why marinate the chicken before frying?
Marinating helps infuse deep flavor into the meat and tenderizes the chicken, ensuring each bite is packed with delicious seasonings from garlic, ginger, and soy sauce.
What does mirin do in the marinade?
Mirin adds a subtle sweetness and helps tenderize the chicken while balancing the salty soy sauce, creating a more complex flavor profile.
How do I know the oil is the right temperature?
Use a cooking thermometer to confirm 170°C (340°F), or drop a small piece of bread in the oil – it should sizzle and brown slowly, not burn instantly or sit quietly.

Chicken Karaage Recipe
- Total Time: 1 hours 15-16 minutes
- Yield: 3 to 4 1x
Description
Japanese Chicken Karaage brings crispy, golden-brown chicken bites straight from Tokyo’s street food scene to your kitchen. Marinated in soy sauce and ginger, these tender morsels will become your new favorite quick dinner that delights everyone at the table.
Ingredients
Main Ingredients:
- 1 ¼ pounds boneless skinless chicken thighs
- 1 cup potato starch
- 1 quart canola oil
Flavoring Ingredients:
- 3 tablespoons soy sauce
- 3 tablespoons sake
- 1 tablespoon mirin
Aromatics and Seasonings:
- 1 clove garlic
- 1 tablespoon fresh ginger
- ⅛ teaspoon sesame oil
- ¼ teaspoon ground black pepper
- 1 pinch cayenne pepper
- ½ teaspoon white sugar
- ¼ teaspoon kosher salt
Instructions
- Mix 1 clove grated garlic, 1 tablespoon grated ginger, 3 tablespoons soy sauce, 3 tablespoons sake, 1 tablespoon mirin, ⅛ teaspoon sesame oil, ½ teaspoon sugar, ¼ teaspoon salt, ¼ teaspoon black pepper, and 1 pinch cayenne in a medium bowl until thoroughly combined.
- Add 1 ¼ pounds chicken thigh pieces to the marinade. Ensure each piece is well-coated. Refrigerate for minimum 1 hour to maximize flavor absorption.
- Pour 1 quart canola oil into a deep pan. Heat to precisely 340°F (170°C), monitoring temperature with a cooking thermometer for consistent results.
- Remove chicken from marinade and pat each piece completely dry with paper towels. This helps create a crispier exterior.
- Spread 1 cup potato starch on a flat plate. Roll each chicken piece thoroughly in starch, shaking off excess for an even, light coating.
- Carefully lower chicken pieces into hot oil, working in small batches to maintain oil temperature. Fry for 5-6 minutes until exterior turns deep golden brown and crispy.
- Transfer fried chicken to a wire rack or paper towels. Allow excess oil to drain for 2-3 minutes, which helps maintain crunchiness.
- Plate immediately while hot. Serve with your favorite dipping sauce or alongside steamed rice and a light salad.
Notes
- Marinate chicken for maximum flavor by letting it sit in the mixture for up to 8 hours in the refrigerator.
- Ensure oil temperature stays consistent for perfectly crispy exterior and juicy interior by using a cooking thermometer.
- Pat chicken pieces completely dry before coating with potato starch to achieve an extra-crunchy texture.
- For a gluten-free version, swap regular soy sauce with tamari and confirm potato starch is certified gluten-free.
- Prep Time: 1 hour 10 minutes
- Cook Time: 5-6 minutes
- Category: Chicken
- Method: Frying
- Cuisine: Japanese
Nutrition
- Serving Size: 3 to 4
- Calories: 410 kcal
- Sugar: 2 g
- Sodium: 900 mg
- Fat: 24 g
- Saturated Fat: 4 g
- Unsaturated Fat: 18 g
- Trans Fat: 0 g
- Carbohydrates: 19 g
- Fiber: 1 g
- Protein: 30 g
- Cholesterol: 100 mg
Susan Whitaker
Content Specialist & Home Cooking Guide
Expertise
Family-friendly Meals, Simple Healthy Cooking, Ingredient Substitutions, Beginner-friendly Recipes, Flexible Meal Prep
Education
Susan is the steady, practical guide at Mary Sue & Susan, bringing clarity, structure, and a warm sense of encouragement to every recipe she touches. Susan joined the site with a simple goal: help people cook with more confidence and less guesswork.