Crispy Chicken Kiev Recipe From Freezer To Table
Succulent chicken kiev frozen meals offer a delightful solution for busy home cooks seeking convenient dinner options.
Busy households crave simple yet satisfying meals that feel like a treat without extensive preparation time.
Comfort food enthusiasts appreciate how quickly these classic Eastern European-inspired dishes can transition from freezer to plate.
Perfectly seasoned and breaded, these frozen delicacies provide a restaurant-quality experience right in your kitchen.
Professional chefs and home cooks alike recognize the convenience of having gourmet-style meals ready in minutes.
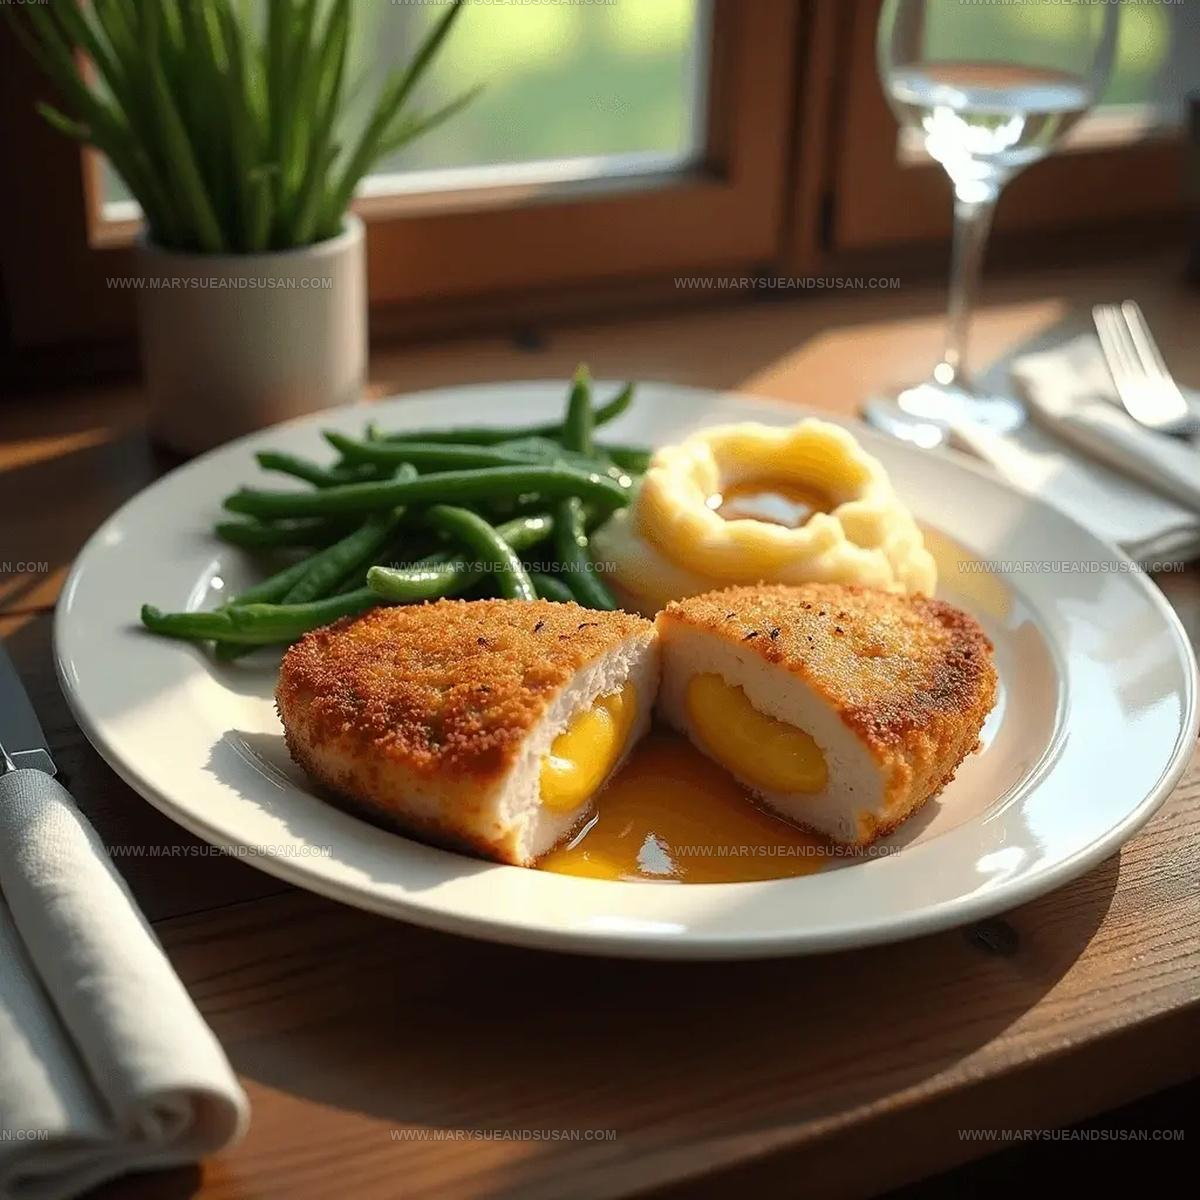
Minimal effort can produce maximum flavor with these expertly crafted frozen chicken kievs that promise a crispy exterior and rich, savory center.
Grab your favorite side dish and prepare for a delicious meal that simplifies weeknight dining.
What Makes Chicken Kiev Frozen Versions So Convenient
Essential Ingredients For Frozen Chicken Kiev
Main Chicken Ingredients:Butter Filling Ingredients:Seasoning Ingredients:Basic Cooking Tools for Chicken Kiev Frozen
Complete Instructions for Frozen Chicken Kiev
Mix the Butter
Grab a small bowl and blend the softened butter with minced garlic, chopped parsley, and herbs. Add salt and pepper to create a flavor-packed mixture. Shape this butter into a neat log, wrap it in plastic, and tuck it in the freezer for 15-20 minutes until it firms up.
Prep the Chicken
Slice each chicken breast horizontally, keeping the bottom intact. Gently pound the meat until it’s about 1/4-inch thick. You want a nice, even surface for wrapping the butter.
Butter the Chicken
Take out your chilled butter log and place a chunk right in the center of each chicken breast. Carefully fold the edges over the butter, rolling the chicken into a tight cylinder. Secure with toothpicks if needed, then park the rolls in the refrigerator for 15-20 minutes to set.
Create the Coating
Set up three shallow dishes. Fill one with 1/2 cup flour, another with 2 beaten eggs, and the third with 1 cup breadcrumbs mixed with 1/2 cup Parmesan cheese. Roll each chicken roll first in flour, then egg, then breadcrumb mixture, making sure every inch gets covered.
First Fry
Pour 1/4 cup vegetable oil into a skillet and heat over medium heat. Carefully place the breaded chicken rolls in the pan. Fry for 2-3 minutes on each side until they turn a gorgeous golden brown.
Finish Baking
Transfer the partially fried chicken rolls to a baking sheet. Pop them into an oven preheated to 375°F. Bake for 15-20 minutes, checking that the internal temperature reaches 165°F. This ensures the chicken is perfectly cooked and the butter stays beautifully melted inside.
Smart Kitchen Notes For Frozen Chicken Kiev
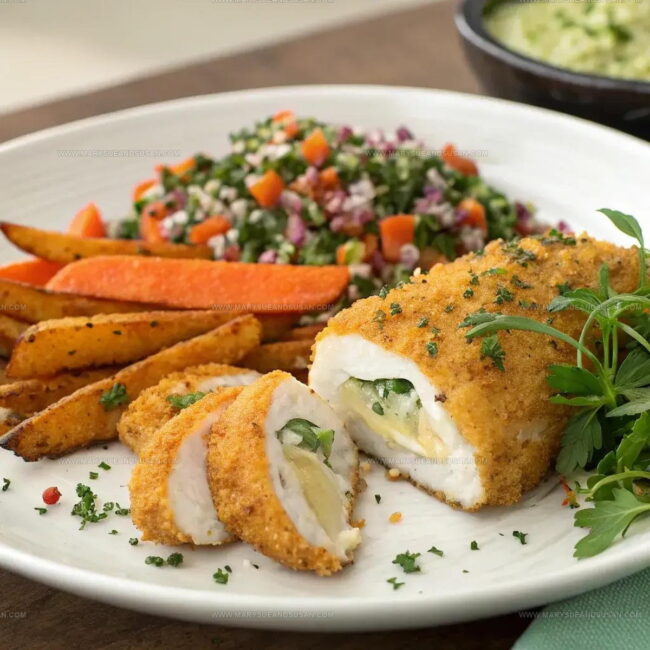
Which Fresh Takes Elevate Frozen Chicken Kiev
Serving Styles For Frozen Chicken Kiev
Storage Instructions For Frozen Chicken Kiev
Frozen Chicken Kiev Common Questions
Can I make the garlic butter ahead of time?
Absolutely! Prepare the garlic butter log up to 3 days in advance and keep it wrapped in the freezer. This makes prep time super quick when you’re ready to make Chicken Kiev.
What if my chicken breast tears while butterflying?
No worries! You can patch small tears with a bit of extra meat or use toothpicks to hold the chicken together during breading and cooking.
How do I know the chicken is fully cooked?
Use a meat thermometer to check that the internal temperature reaches 165°F (74°C) at the thickest part. This ensures your chicken is safely cooked through without being dry.
Can I use dried herbs instead of fresh?
Dried herbs work perfectly fine! Just use about one-third the amount of dried herbs compared to fresh, as dried herbs are more concentrated in flavor.
What’s the best way to prevent the butter from leaking?
Freeze the butter log completely and seal the chicken rolls tightly when wrapping. Chilling the rolled chicken before breading also helps keep the butter inside during cooking.

Chicken Kiev Frozen Recipe
- Total Time: 52 minutes – 1 hour 3 minutes
- Yield: 4 1x
Description
Chicken Kiev brings comfort straight from Russia’s culinary traditions to your dinner table. Crispy breaded chicken stuffed with herbed butter makes weeknight meals feel deliciously special.
Ingredients
Main Ingredients:
- 4 boneless, skinless chicken breasts
- ½ cup all-purpose flour
- 2 large eggs
- 1 cup breadcrumbs
Supporting Ingredients:
- ½ cup grated Parmesan cheese
- ¼ cup vegetable oil
Flavoring Ingredients:
- ½ cup unsalted butter
- 2 garlic cloves
- 2 tablespoons fresh parsley
- 1 tablespoon fresh dill or chives
- ½ teaspoon salt
- ¼ teaspoon black pepper
Instructions
- Blend ½ cup softened butter with 2 minced garlic cloves, 2 tablespoons chopped parsley, 1 tablespoon fresh dill, ½ teaspoon salt, and ¼ teaspoon pepper into a smooth mixture.
- Shape the herbed butter into a compact log, then wrap tightly in plastic and freeze for 20 minutes until completely firm.
- Slice each chicken breast horizontally, stopping before cutting through completely, then pound to a thin ¼-inch thickness using a meat mallet.
- Position a chilled butter log in the center of each flattened chicken breast, carefully folding the edges to completely encase the butter.
- Roll the chicken into tight cylinders, securing with toothpicks if needed. Refrigerate for 15 minutes to help seal the rolls.
- Spread ½ cup flour on a plate, whisk 2 eggs in a separate bowl, and mix 1 cup breadcrumbs with ½ cup Parmesan cheese on another plate.
- Coat each chicken roll first in flour, then dip thoroughly in beaten eggs, and finally roll completely in the breadcrumb-cheese mixture.
- Heat ¼ cup vegetable oil in a skillet to 350°F. Carefully place breaded chicken rolls and fry 2-3 minutes per side until golden brown.
- Transfer fried chicken to a baking sheet and bake at 375°F for 15-20 minutes, ensuring internal temperature reaches 165°F.
- Remove toothpicks before serving and let chicken rest for 3-4 minutes to prevent butter from immediately leaking out.
Notes
- Freezing the garlic butter beforehand helps prevent it from leaking out during cooking, keeping all that delicious flavor inside your chicken.
- Pounding the chicken evenly ensures consistent cooking and helps create that perfect golden-brown exterior without drying out the meat.
- When breading, press the breadcrumb mixture gently but firmly to help the coating adhere completely and create a crispy, even crust.
- For a gluten-free version, swap regular breadcrumbs with almond meal or gluten-free breadcrumbs, and use cornstarch instead of wheat flour when dredging.
- Prep Time: 35-40 minutes
- Cook Time: 17-23 minutes (Pan-Fry and Bake Method) or 8-10 minutes (Deep Fry Method)
- Category: Chicken
- Method: Frying
- Cuisine: Ukrainian
Nutrition
- Serving Size: 4
- Calories: 490 kcal
- Sugar: 1 g
- Sodium: 430 mg
- Fat: 33 g
- Saturated Fat: 14 g
- Unsaturated Fat: 17 g
- Trans Fat: 0.5 g
- Carbohydrates: 20 g
- Fiber: 1.5 g
- Protein: 38 g
- Cholesterol: 145 mg
Mary Sue
Founder & Creative Recipe Developer
Expertise
Comfort Food Twists, Seasonal Cooking, Creative Flavor Pairings, Easy Weeknight Dinners, Flexible Pantry Cooking
Education
Mary Sue is the playful, creative recipe mind behind Mary Sue & Susan, known for big flavor ideas, warm storytelling, and dishes that feel both comforting and a little unexpected. She has a talent for taking familiar meals and giving them just enough personality to make them memorable.