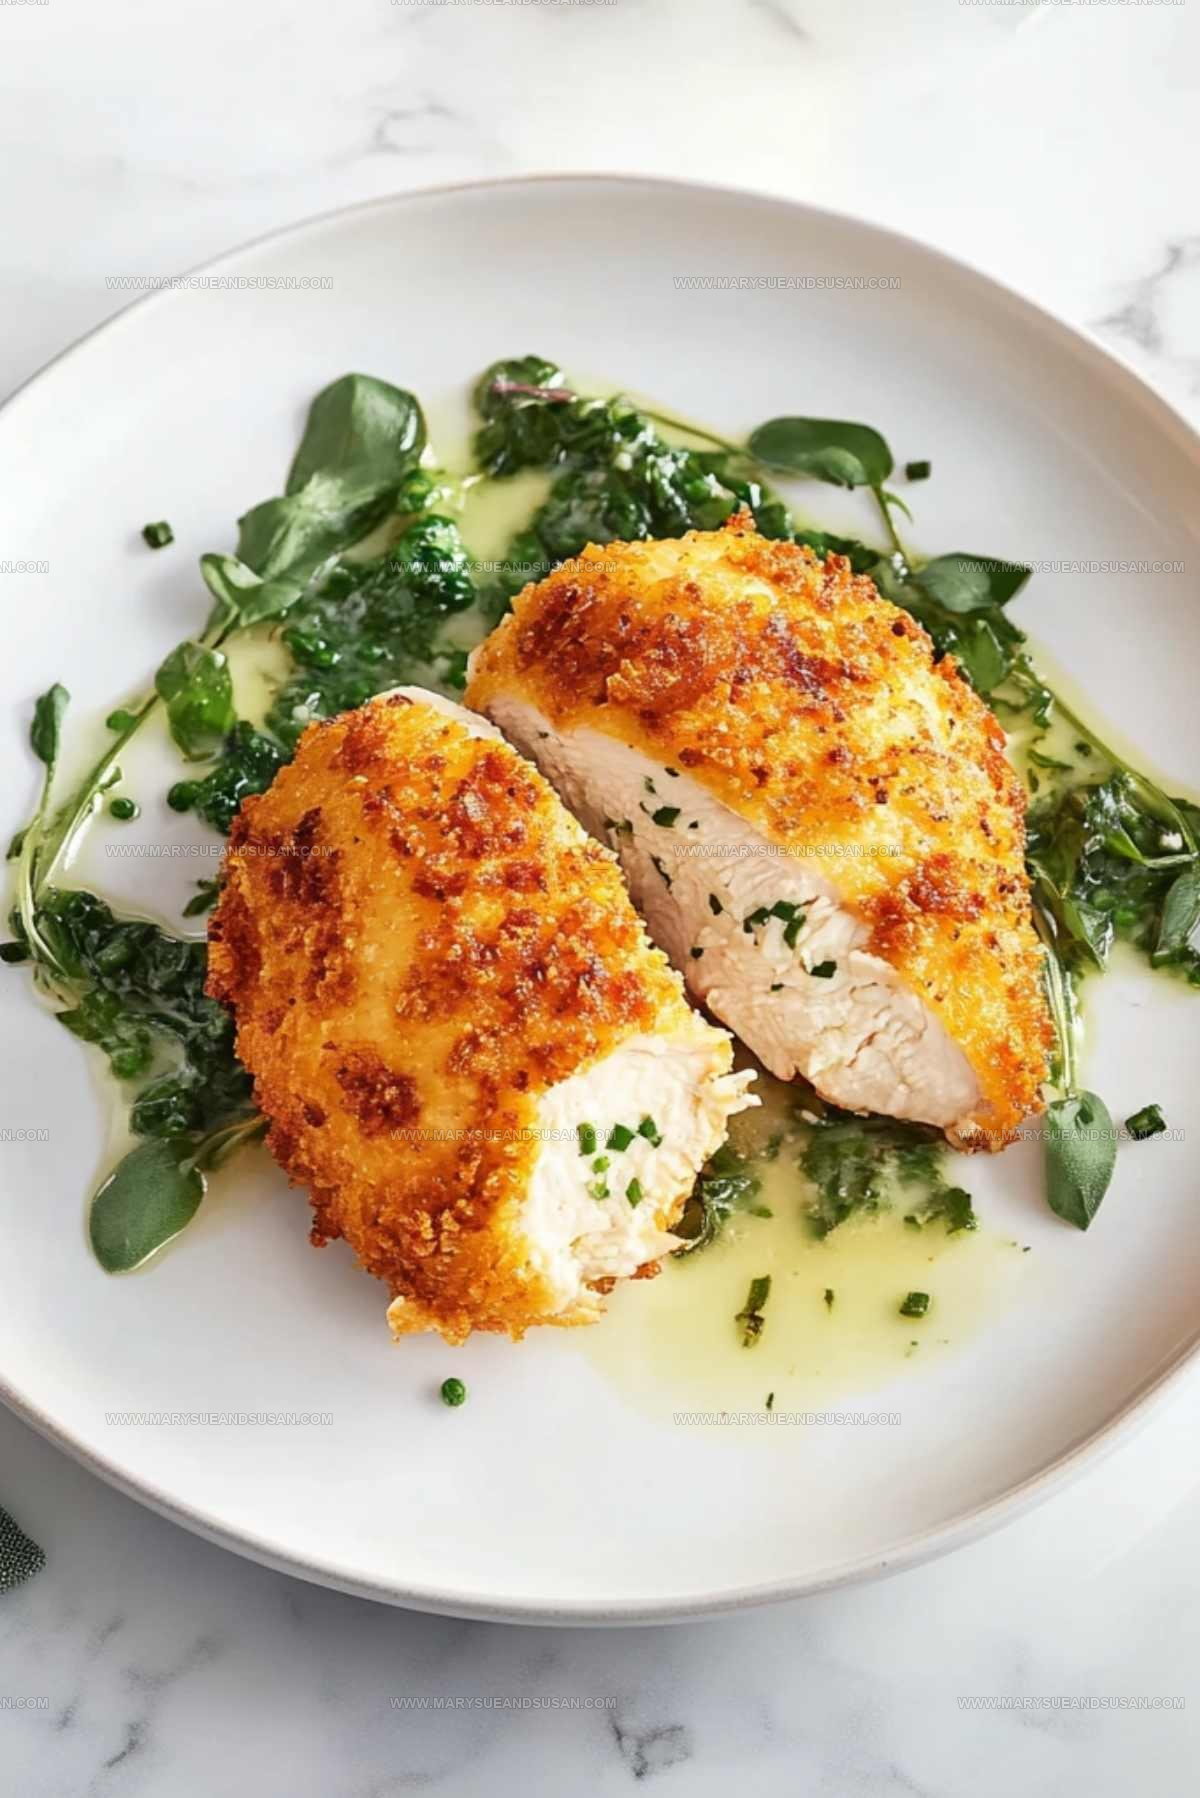
Crispy Chicken Kiev Recipe with Garlic Herb Butter
Chicken Kiev has earned its place as a beloved comfort food that feels special enough for company yet approachable for weeknight dinners.
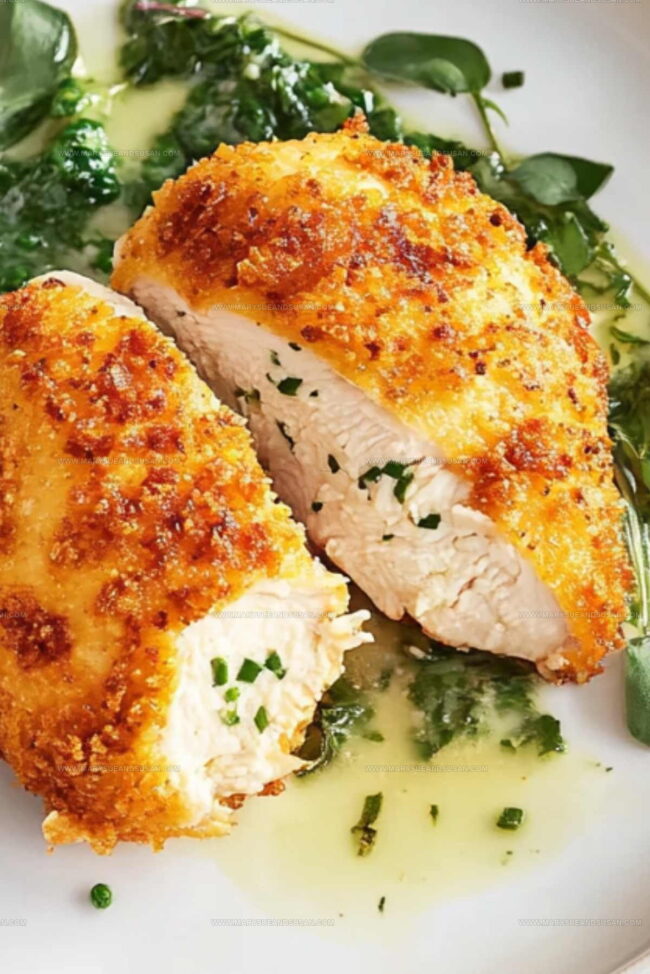
Crispy on the outside and remarkably juicy within, it provides an impressive presentation that makes any meal feel like an occasion.
You don't need professional chef skills to pull off something so delicious and satisfying.
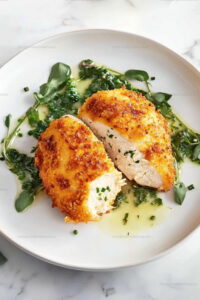
Golden and beautiful straight from the oven, it offers a touch of elegance to the dinner table without fussy techniques or hard-to-find items.
Originally a classic from Eastern Europe, it has won hearts around the world for good reason.
The satisfying crunch combined with tender poultry makes every bite memorable.
Scroll down for the complete recipe and watch how simple it is to serve something extraordinary tonight.
Why Chicken Kiev Feels Fancy
What Ingredients Create Classic Chicken Kiev?
Chicken Stuffing:Chicken Base:Coating Ingredients:Chicken Kiev Cooking Tools
Chicken Kiev Step-by-Step Directions
Prepare Garlic Butter
In a small bowl, combine 2 cloves of minced garlic, 1 pinch of salt, 2 tablespoons of chopped fresh parsley, and 6 tablespoons of unsalted butter. Mix everything together until well blended. Shape the mixture into 4 even logs and pop them in the freezer for about 30 minutes to firm up completely.
Stuff the Chicken
Take your 4 chicken breast halves pounded to 1/4-inch thickness and season them generously with salt and pepper. Grab a frozen butter log and place it right in the center of each chicken breast. Carefully fold the chicken around the butter, making sure it’s completely enclosed. Secure each bundle with toothpicks to keep everything tight.
Create Crispy Coating
Set up three shallow dishes for breading:
Carefully roll each chicken bundle first in the flour, then dip into the eggs, and finally coat thoroughly with the spiced bread crumbs.
Fry to Golden Perfection
Pour 2 cups of vegetable oil into a large skillet and heat to 350°F. Carefully place the breaded chicken bundles into the hot oil. Fry for about 5-6 minutes on each side until the outside turns a deep golden brown and the internal temperature reaches 165°F. Remove the toothpicks before serving your crispy chicken Kiev.
Which Tips Seal Chicken Kiev
How Chicken Kiev Variations Differ
How to Present Chicken Kiev
Best Storage Advice for Chicken Kiev
Chicken Kiev FAQs Explained
What if my chicken breasts are different sizes?
Choose chicken breasts that are similar in thickness. If needed, use a meat mallet to gently pound them to an even 1/2-inch thickness. This helps ensure even cooking and consistent stuffing.
Can I make the garlic butter ahead of time?
Absolutely! Prepare the garlic butter logs up to 3 days in advance. Wrap them tightly in plastic wrap and store in the freezer. When you’re ready to cook, they’ll be perfectly firm and ready to use.
How do I prevent the butter from leaking out during cooking?
Seal the chicken carefully by folding the edges and securing with toothpicks. Make sure to pinch the edges closed and coat thoroughly in breadcrumbs to create a tight seal.
What kind of breadcrumbs work best?
Panko breadcrumbs are ideal because they create an extra crispy exterior. Regular breadcrumbs work too, but won’t give quite the same crunchy texture.
Can I bake instead of fry this recipe?
Yes! Bake at 400°F for 25-30 minutes, or until chicken reaches 165°F internal temperature. Place on a wire rack over a baking sheet for best results.
Classic Butter Stuffed Chicken Kiev Recipe
- Total Time: 35 minutes
- Yield: 4 1x
Description
Chicken Kiev brings a classic Russian dish right to your dinner table with crispy golden breading and a secret butter center that melts perfectly when cut. Tender chicken breasts stuffed with herbed butter create a simple yet elegant meal guaranteed to impress your family and friends.
Ingredients
Proteins:
- 4 (8 ounces) skinless, boneless chicken breast halves, pounded to ¼-inch thickness
Filling:
- 6 tablespoons unsalted butter
- 2 cloves garlic, minced
- 2 tablespoons chopped fresh flat-leaf parsley
- 1 pinch cayenne pepper
Coating and Seasoning:
- 1 cup all-purpose flour
- 2 teaspoons salt
- 1 pinch salt
- 2 large eggs, beaten
- 2 cups panko bread crumbs
- 2 cups vegetable oil for frying, or as needed
- salt and pepper to taste
Instructions
- Create a flavor-packed butter mixture by combining 2 minced garlic cloves, 1 pinch salt, 2 tablespoons chopped parsley, and 6 tablespoons unsalted butter. Shape the mixture into 4 compact logs and freeze until solid, about 30 minutes.
- Gently pound 4 chicken breasts to ¼-inch thickness. Season each piece with salt and pepper. Place one frozen butter log in the center of each chicken breast, carefully folding the edges to enclose the butter completely. Secure each bundle with toothpicks.
- Prepare three separate shallow dishes: one with 1 cup all-purpose flour and 2 teaspoons salt, another with 2 beaten eggs, and the third with 2 cups panko bread crumbs mixed with 1 pinch of cayenne pepper. Roll each chicken bundle first in flour, then egg, and finally coat thoroughly with seasoned bread crumbs.
- Heat 2 cups vegetable oil in a large skillet to 350°F. Carefully lower the breaded chicken into the hot oil, cooking for 4-5 minutes per side until golden brown and internal temperature reaches 165°F. Transfer to a paper towel-lined plate to drain excess oil.
- Remove toothpicks from each chicken piece before serving. Cut into the chicken to reveal the melted herbed butter center, ensuring a dramatic and delicious reveal.
Notes
- Freeze the garlic butter logs completely to prevent them from melting too quickly during cooking.
- Use a meat mallet to pound chicken breasts evenly, which helps create a uniform thickness for better rolling and stuffing.
- Double-coat the chicken in breadcrumbs for an extra crispy exterior that seals in the melted garlic butter.
- For a gluten-free version, swap wheat flour and breadcrumbs with almond flour and crushed gluten-free crackers.
- Prep Time: 20 minutes
- Cook Time: 15 minutes
- Category: Chicken
- Method: Frying
- Cuisine: Ukrainian
Nutrition
- Serving Size: 4
- Calories: 620 kcal
- Sugar: 1 g
- Sodium: 950 mg
- Fat: 40 g
- Saturated Fat: 22 g
- Unsaturated Fat: 16 g
- Trans Fat: 0.5 g
- Carbohydrates: 30 g
- Fiber: 2 g
- Protein: 50 g
- Cholesterol: 180 mg
Mary Sue
Founder & Creative Recipe Developer
Expertise
Comfort Food Twists, Seasonal Cooking, Creative Flavor Pairings, Easy Weeknight Dinners, Flexible Pantry Cooking
Education
Mary Sue is the playful, creative recipe mind behind Mary Sue & Susan, known for big flavor ideas, warm storytelling, and dishes that feel both comforting and a little unexpected. She has a talent for taking familiar meals and giving them just enough personality to make them memorable.