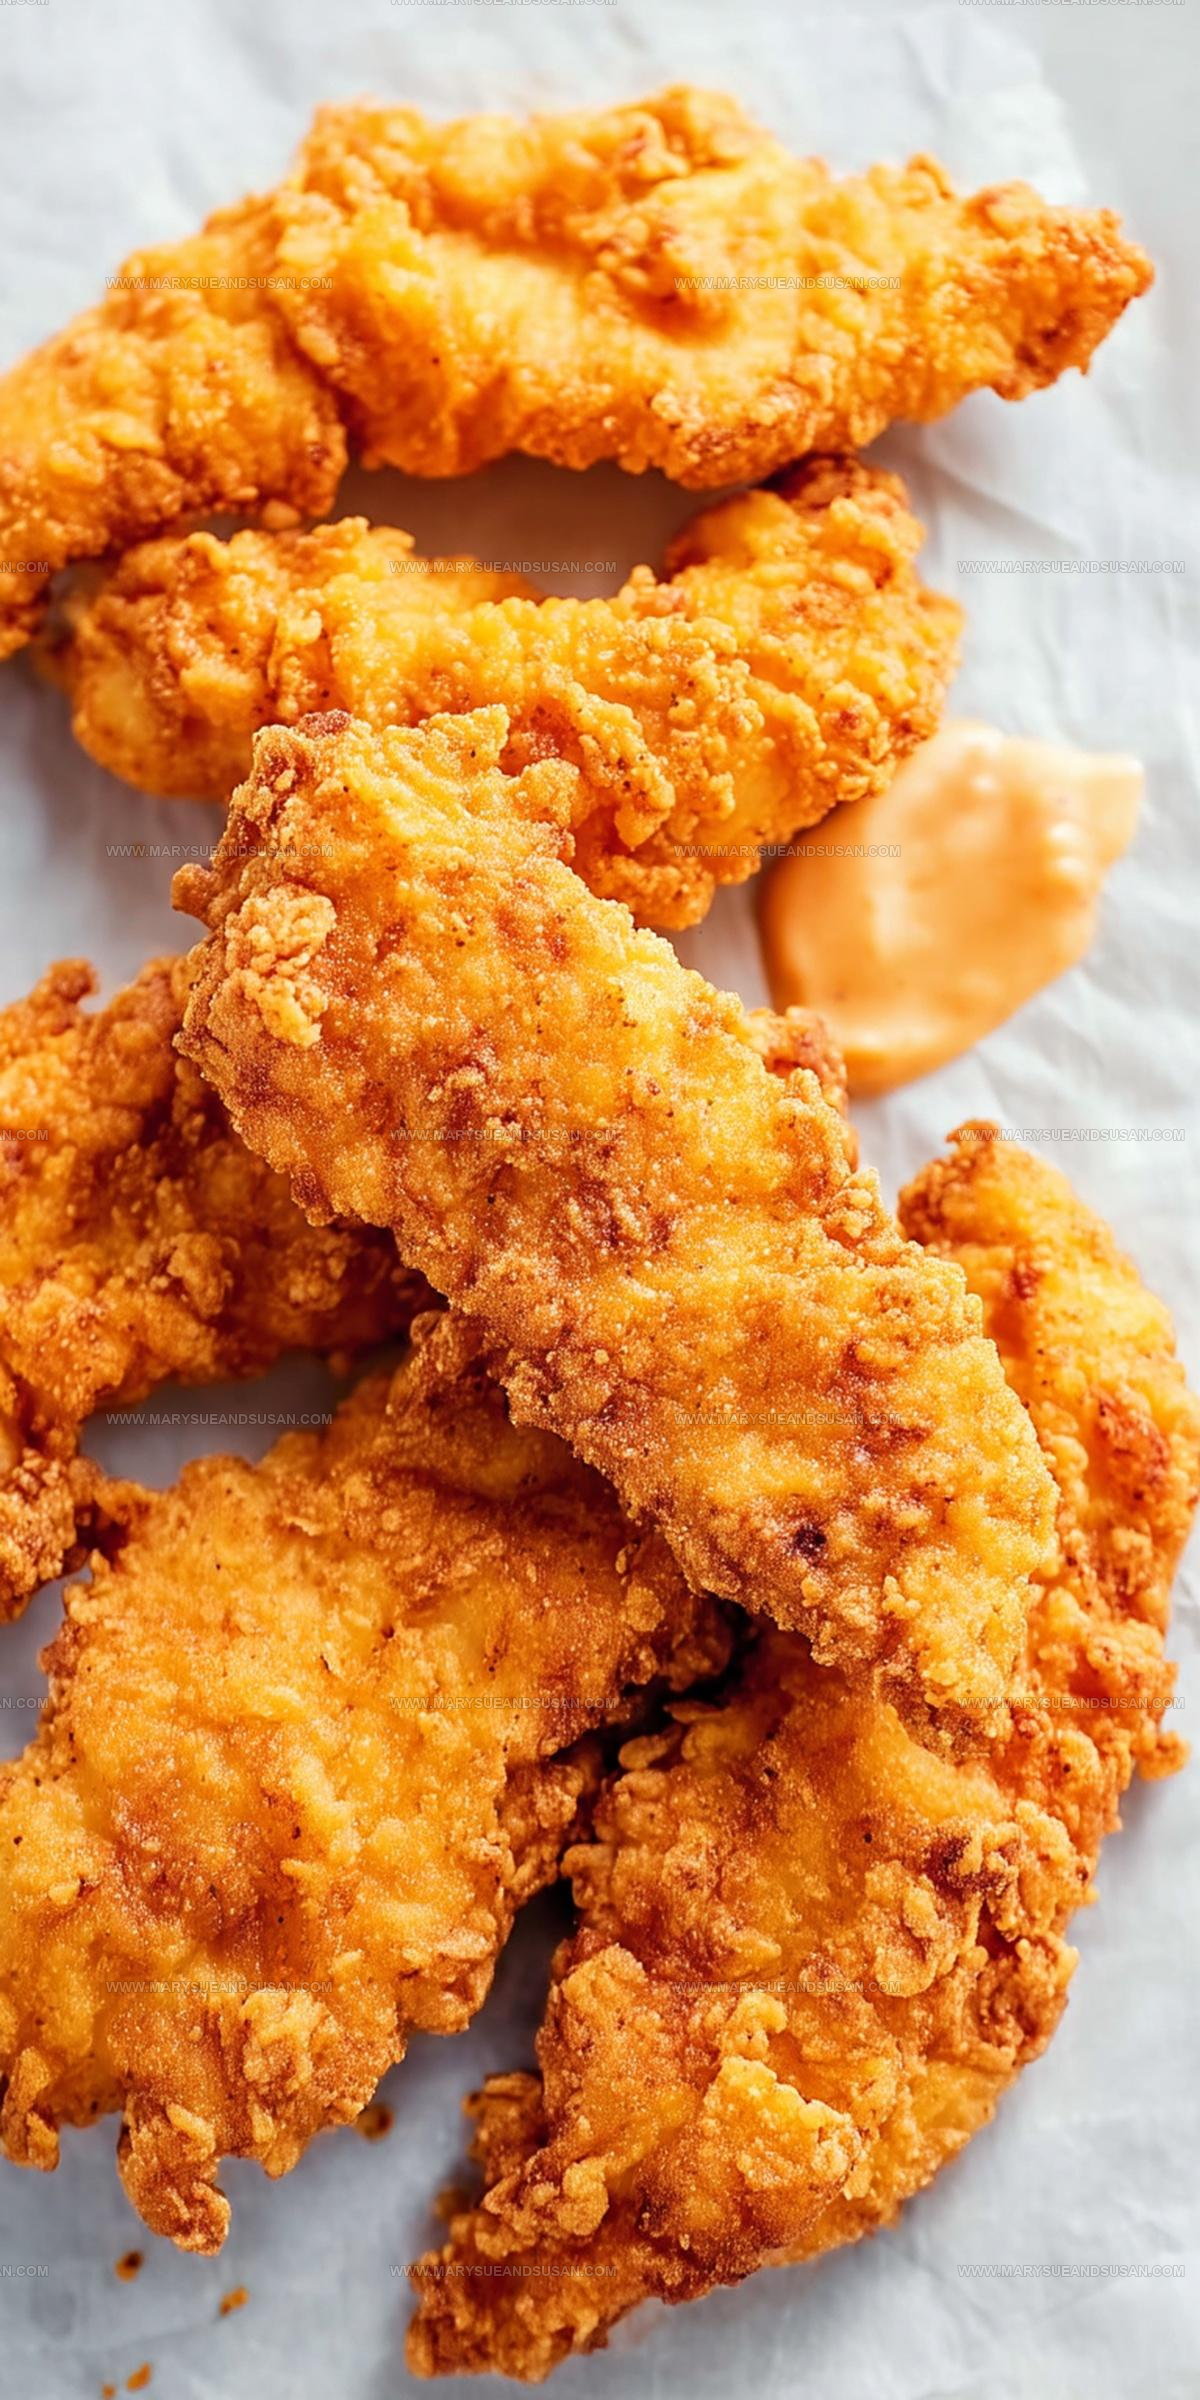
Homemade Raising Cane’s Crispy Chicken Fingers Recipe
Raising Canes chicken fingers have become a cult favorite for good reason.
Crispy, juicy, and packed with flavor, this copycat recipe promises to satisfy serious comfort food cravings.
Fans of the iconic fast-food chain understand the magic behind these perfectly seasoned chicken strips.
Restaurant-quality results are totally possible right in your home kitchen, without complicated techniques or expensive equipment.
Southern-style cooking meets quick weeknight meal solution with this crowd-pleasing recipe that appeals to all ages.
Recreating restaurant magic requires just a few simple ingredients and straightforward cooking skills anyone can master.
What Makes Copycat Raising Cane’s Chicken Fingers Crisp
Core Ingredients of Raising Cane’s Chicken
Protein Core:Marinade Ingredients:Coating Ingredients:Required Kitchen Tools for Raising Cane’s Chicken Fingers Copycat
Preparing Copycat Raising Canes Chicken Fingers Step By Step
Marinate the Chicken
Take your 2 lbs of chicken tenders and slice them into perfect strips if needed. In a large bowl, mix together:
Toss the chicken in this mixture, making sure every piece gets coated. Cover and park it in the refrigerator for at least 2 hours – overnight is even better for maximum flavor.
Create the Coating
Grab a separate bowl and whisk together your dry ingredients for the crispy exterior:
Prepare for Frying
Pull the marinated chicken out of the refrigerator and let excess marinade drip off each piece. Roll each chicken strip in the flour mixture, pressing firmly to create a nice, thick coating. Let the coated chicken rest on a rack for 10 minutes – this helps the breading stick better.
Heat the Oil
Pour 2-3 inches of oil into a heavy pan and heat to exactly 350ºF. Use a thermometer to check the temperature for perfect frying.
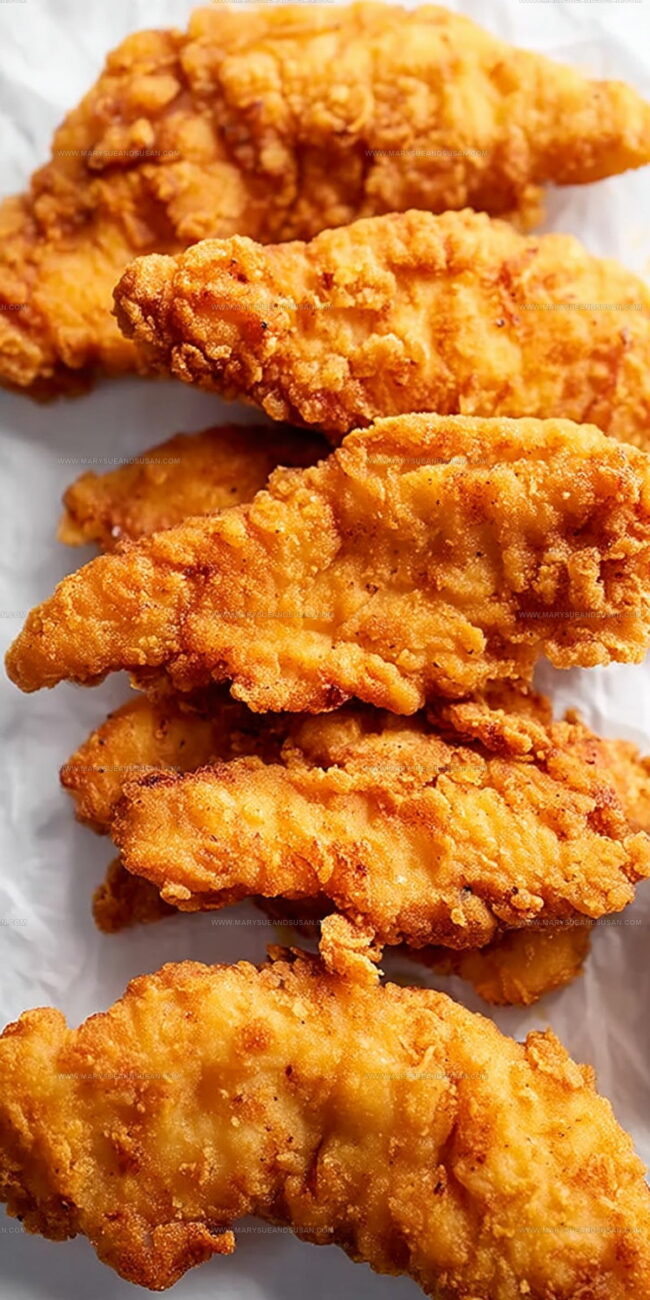
Fry to Golden Perfection
Carefully place chicken strips into the hot oil, working in batches. Fry for 4-6 minutes, flipping once, until the outside turns a beautiful golden brown and the internal temperature reaches 165ºF.
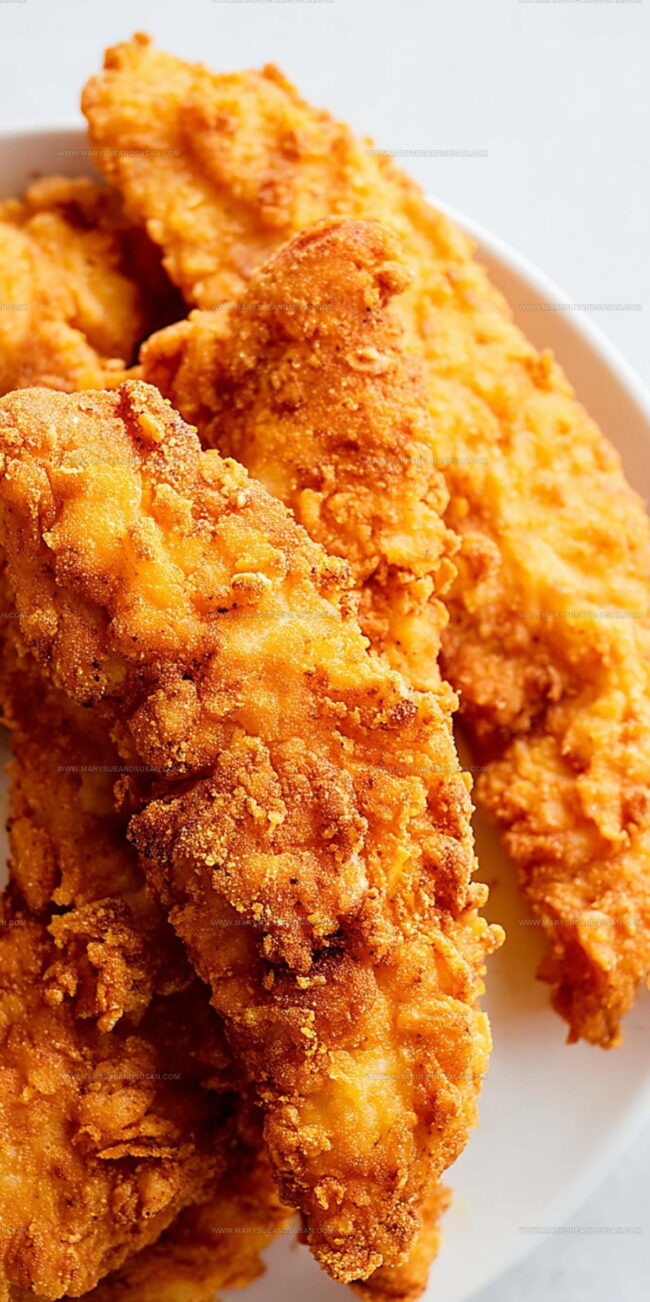
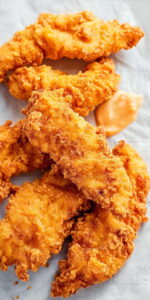
Drain and Serve
Transfer the crispy chicken to a wire rack or paper towels to drain excess oil. Serve immediately with your favorite sides and dipping sauce.
Helpful Cooking Notes For Copycat Raising Canes Chicken Fingers
Easy Variations for Copycat Raising Cane’s Chicken Fingers
Best Serving Options for Copycat Raising Cane’s Chicken Fingers
What’s The Best Way To Store Copycat Raising Canes Chicken Fingers
Commonly Asked Questions for Copycat Raising Canes Chicken Fingers
What makes these chicken fingers crispy?
The combination of buttermilk marinade and flour-cornstarch coating creates an incredibly crunchy exterior that stays crisp even after cooling.
Can I use a different type of chicken?
Chicken tenders work best, but you can use boneless chicken breasts cut into strips for similar results. Just ensure they’re even thickness for consistent cooking.
Is a meat thermometer necessary?
Absolutely – checking the internal temperature at 165ºF guarantees your chicken is safely cooked through without guesswork.
How do I keep the coating from falling off during frying?
Let the coated chicken rest for 10 minutes before frying. This helps the flour mixture adhere more securely to the meat.
Can I bake these instead of frying?
While possible, frying delivers the authentic crispy texture that makes these chicken fingers so delicious. Baking will produce a different result.
What oil works best for frying?
Neutral oils like vegetable or canola oil with high smoke points are perfect for achieving that golden, crispy exterior.
Copycat Raising Canes Chicken Fingers Recipe
- Total Time: 2 hours 14-16 minutes
- Yield: 4 1x
Description
Copycat Raising Canes Chicken Fingers bring restaurant-quality crunch straight to your kitchen, helping you recreate that famous crispy goodness with super simple ingredients your family will absolutely devour. These golden-brown strips deliver maximum flavor and satisfaction without complicated cooking techniques.
Ingredients
Main Ingredients:
- 2 lbs chicken tenders or boneless chicken breasts
- 1 cup buttermilk
Supporting Seasonings:
- 1 teaspoon salt
- ½ teaspoon black pepper
- ½ teaspoon garlic powder
- ¼ teaspoon paprika
Instructions
- Whisk 1 cup buttermilk with 1 teaspoon salt, ½ teaspoon black pepper, ½ teaspoon garlic powder, and ¼ teaspoon paprika in a large bowl.
- Add 2 lbs chicken tenders to the buttermilk mixture, ensuring each piece is fully coated. Cover and refrigerate for 2-4 hours to marinate.
- Create a dredging station with a mixture of flour, cornstarch, salt, pepper, and garlic powder in a shallow dish.
- Remove chicken from marinade, allowing excess liquid to drip off completely.
- Roll each chicken piece in the seasoned flour mixture, pressing firmly to create a thick, even coating.
- Let coated chicken rest on a wire rack for 10 minutes to help the breading set.
- Pour 2-3 inches of oil into a heavy pan, heating to exactly 350ºF using a cooking thermometer.
- Carefully lower chicken pieces into hot oil, working in small batches to maintain oil temperature.
- Fry chicken for 4-6 minutes, turning once halfway through, until exterior turns deep golden brown.
- Check internal temperature reaches 165ºF using a meat thermometer for safe consumption.
- Transfer fried chicken to a wire rack or paper towels to drain excess oil.
- Serve immediately while crispy and hot alongside your favorite dipping sauce.
Notes
- Marinating chicken overnight deepens flavor and helps the buttermilk tenderize the meat for extra juiciness.
- Pat chicken completely dry before dredging to ensure a super crispy, well-adhered coating that won’t slip off when frying.
- Keep oil temperature steady at 350ºF to prevent greasy chicken and guarantee a perfectly golden, crunchy exterior.
- For gluten-free version, swap all-purpose flour with rice flour or a gluten-free blend, which creates an equally crisp breading.
- Prep Time: 2 hours 10 minutes
- Cook Time: 4-6 minutes
- Category: Chicken
- Method: Frying
- Cuisine: American
Nutrition
- Serving Size: 4
- Calories: 370 kcal
- Sugar: 1 g
- Sodium: 700 mg
- Fat: 10 g
- Saturated Fat: 3 g
- Unsaturated Fat: 6 g
- Trans Fat: 0 g
- Carbohydrates: 8 g
- Fiber: 1 g
- Protein: 56 g
- Cholesterol: 140 mg
Mary Sue
Founder & Creative Recipe Developer
Expertise
Comfort Food Twists, Seasonal Cooking, Creative Flavor Pairings, Easy Weeknight Dinners, Flexible Pantry Cooking
Education
Mary Sue is the playful, creative recipe mind behind Mary Sue & Susan, known for big flavor ideas, warm storytelling, and dishes that feel both comforting and a little unexpected. She has a talent for taking familiar meals and giving them just enough personality to make them memorable.