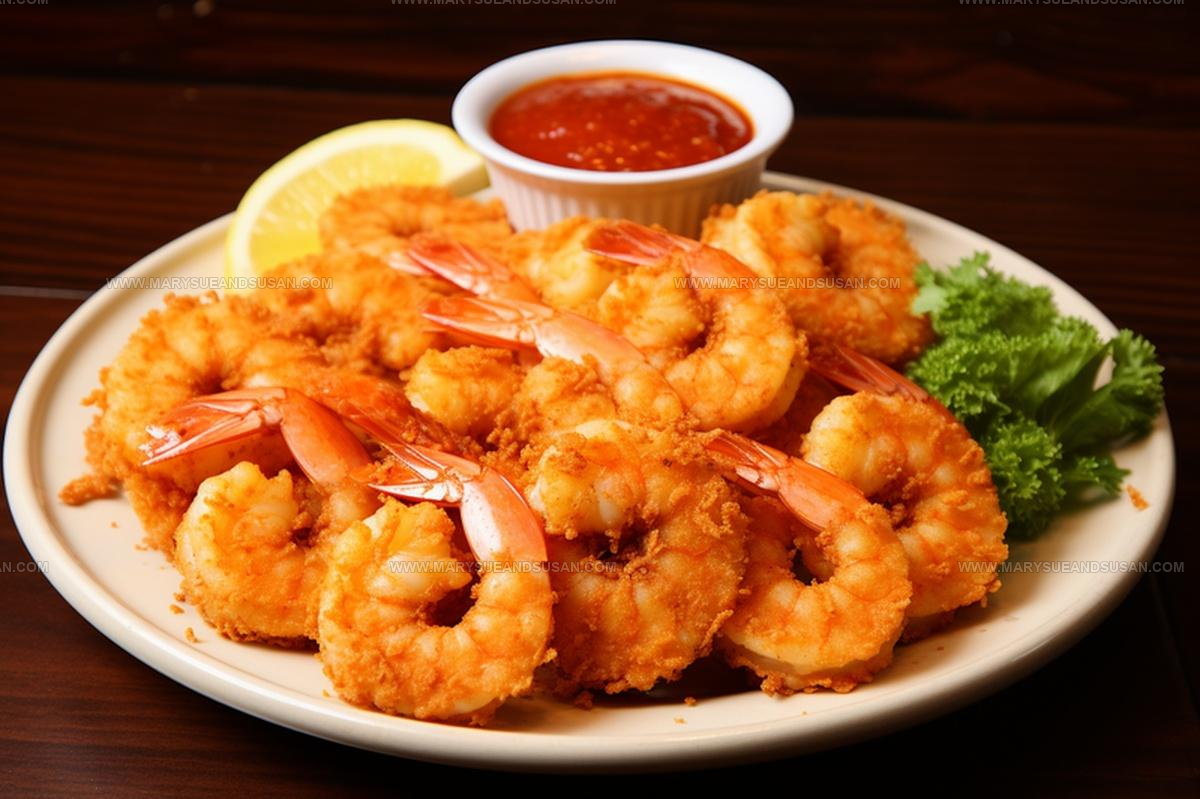
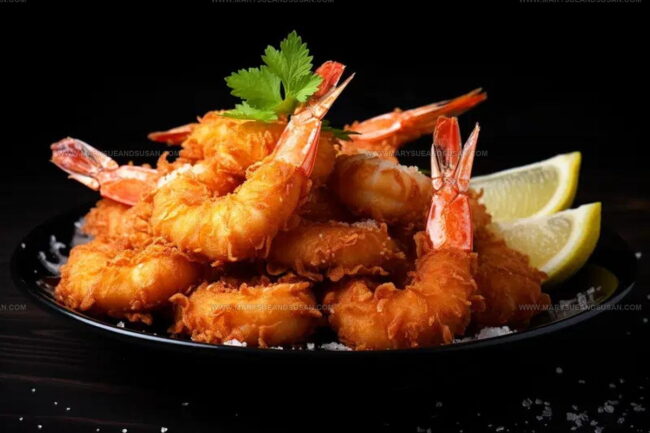
Crunchy Breaded Shrimp Recipe for Easy Frying
Crispy breaded shrimp recipes deliver everything you could want in a seafood dish: golden crunch on the outside and tender, juicy perfection within.
Few appetizers or main courses manage to please such a wide range of ages and preferences at gatherings.
The satisfying texture contrast works beautifully whether served at casual family dinners or more formal occasions.
Beyond their crowd-pleasing nature, they come together surprisingly quickly once you get into a rhythm.
The appeal lies in how versatile they are for pairing with different sauces and sides throughout the year.
Something about that crisp coating just feels celebratory, turning an ordinary meal into something memorable.
With proper technique, anyone can achieve that satisfying golden exterior that makes every bite worthwhile, so why not give it a go tonight?
Why Breaded Shrimp Is Always Crispy
Ingredients for Breaded Shrimp
Seafood Protein:Breading Ingredients:Cooking Fat:What Tools Are Needed for Breaded Shrimp
Crispy Breaded Shrimp Step-by-Step Instructions
Prepare Oil
Heat 1 quart vegetable oil in a deep fryer or large saucepan until it reaches exactly 350°F. This temperature guarantees super crisp results for your shrimp.
Egg Bath
Crack 1 large egg into a bowl and beat it smoothly. Dunk each shrimp into the egg, letting extra liquid drip back into the bowl before moving to the next step.
Bread Coating
Spread 2 cups dry bread crumbs on a flat surface. Roll each egg-coated shrimp through the crumbs, making sure every inch gets covered. Tap off any extra crumbs and set the breaded shrimp on a clean plate.
Frying Batch One
Gently slide the first batch of breaded shrimp into the hot oil. Fry for 4 to 5 minutes, watching them turn golden brown. Don’t overcrowd the pan – cook in smaller groups for the best crunch.
Drain Excess Oil
Remove the shrimp using a slotted spoon and place them on a paper towel-lined plate. The towels will soak up any extra oil, keeping your shrimp crisp and light. Repeat frying with remaining shrimp until all 4 cups are cooked through.
Top Tips for Breaded Shrimp
Best Breaded Shrimp Variations
Best Ways to Serve Breaded Shrimp
Storage Advice for Breaded Shrimp
Breaded Shrimp FAQs Explained
Can I use frozen shrimp for this recipe?
Absolutely! Just thaw them completely and pat them dry before breading to ensure crispy results.
What type of breadcrumbs work best?
Panko breadcrumbs create the most incredible golden, crunchy coating compared to traditional breadcrumbs.
How do I know when the shrimp are fully cooked?
The shrimp should turn opaque and curl slightly, with a golden brown exterior that looks crisp and appetizing.
Can I make these shrimp ahead of time?
Bread the shrimp in advance and refrigerate, but fry them just before serving to maintain maximum crispiness.
Is there a trick to preventing the breading from falling off?
Ensure your shrimp are completely dry before dipping in egg, and press the breadcrumbs firmly onto each piece.
What if I don’t have a deep fryer?
A large, deep saucepan works perfectly – just use a thermometer to monitor oil temperature for consistent results.

Crispy Breaded Shrimp Recipe
- Total Time: Approximately 15-20 minutes
- Yield: 4 to 6 1x
Description
Crispy Breaded Shrimp delivers a golden, crunchy delight that brings restaurant-style magic straight to your kitchen table. Grab some fresh shrimp, coat them in seasoned breadcrumbs, and fry until perfectly golden for a crowd-pleasing appetizer that disappears faster than you can plate them.
Ingredients
Main Ingredients:
- 4 cups shrimp
- 2 cups dry bread crumbs
- 1 quart vegetable oil
Binding Ingredients:
- 1 large egg
Instructions
- Heat vegetable oil to 350°F in a deep fryer or large saucepan. Your oil needs to reach the precise temperature for achieving golden, crispy results.
- Take each shrimp and dip it completely into the beaten egg, allowing extra egg to drip off smoothly.
- Roll the egg-covered shrimp in 2 cups of dry bread crumbs, pressing gently to ensure complete coverage on all sides.
- Position the breaded shrimp in a single layer on a clean plate, keeping them separated to maintain their individual coating.
- Gently lower 4 to 6 shrimp at a time into the 350°F oil, avoiding overcrowding the cooking space.
- Fry the shrimp for exactly 4 to 5 minutes, watching for a rich golden-brown color that signals perfect crispiness.
- Remove the shrimp using a slotted spoon and place them on a paper towel-lined plate to absorb excess oil and maintain their crunchy texture.
Notes
- Use fresh, large shrimp for the best texture and flavor, ensuring they are completely dry before breading to help the coating stick perfectly.
- When frying, don’t overcrowd the pan, as this can lower the oil temperature and result in greasy, less crispy shrimp.
- For a gluten-free version, swap traditional bread crumbs with crushed gluten-free crackers or almond flour for a crispy alternative.
- Season your bread crumbs with garlic powder, paprika, or dried herbs to add extra flavor to your breaded shrimp.
- Prep Time: 10 minutes
- Cook Time: 4-5 minutes per batch
- Category: Shrimp
- Method: Frying
- Cuisine: American
Nutrition
- Serving Size: 4 to 6
- Calories: 280 kcal
- Sugar: 1 g
- Sodium: 450 mg
- Fat: 14 g
- Saturated Fat: 2.5 g
- Unsaturated Fat: 9 g
- Trans Fat: 0 g
- Carbohydrates: 22 g
- Fiber: 2 g
- Protein: 20 g
- Cholesterol: 120 mg
Susan Whitaker
Content Specialist & Home Cooking Guide
Expertise
Family-friendly Meals, Simple Healthy Cooking, Ingredient Substitutions, Beginner-friendly Recipes, Flexible Meal Prep
Education
Susan is the steady, practical guide at Mary Sue & Susan, bringing clarity, structure, and a warm sense of encouragement to every recipe she touches. Susan joined the site with a simple goal: help people cook with more confidence and less guesswork.