Crack Chicken Tenders Recipe with Creamy Rich Coating
Crack chicken tenders have earned their addictive nickname for good reason, combining savory flavors that keep everyone coming back for seconds at dinner tables across the country.
What makes them so appealing is how effortlessly they fit into busy weeknights while still feeling special enough for casual gatherings with friends and family.
The name alone hints at just how habit-forming these crispy, flavor-packed bites can be, and anyone who has tasted them understands why they've become a favorite in so many households.
They work beautifully as a main course alongside simple sides or as party food that disappears within minutes.
Comfort food at its finest, they deliver satisfying texture and bold taste without requiring advanced cooking skills or hours in the kitchen.
Both children and grown-ups find themselves reaching for just one more piece, making them a reliable option when you need something everyone will enjoy.
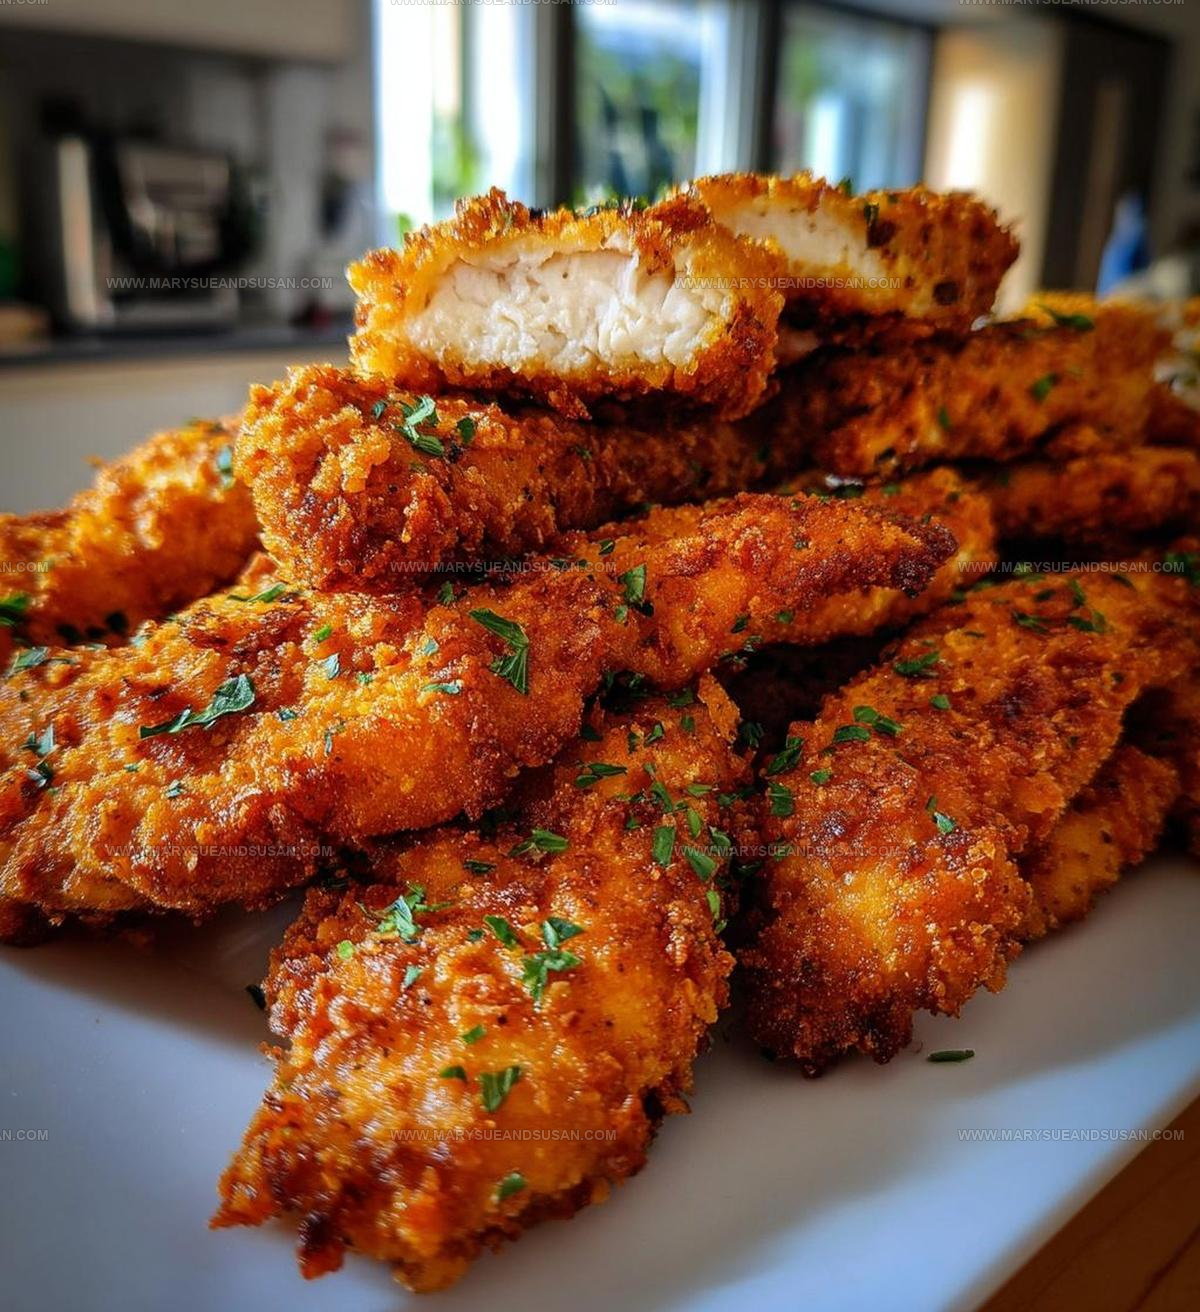
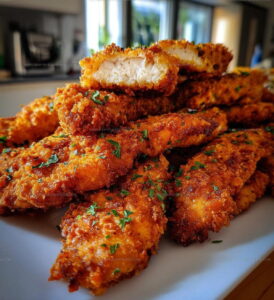
When hunger strikes and you want something truly satisfying, nothing quite compares to a platter of golden, crispy tenders loaded with irresistible flavor.
Why Crack Chicken Tenders Live Up to the Name
Full Ingredient List for Crack Chicken Tenders
Chicken Base:Marinade:Coating Mix:Seasoning Blend:Cooking Essential:Which Tools Help Make Crack Chicken Tenders
Step By Step Directions For Crack Chicken Tenders
Buttermilk Bath
Grab those chicken tenders and pour the full cup of buttermilk over them. Let them hang out and soak for at least 30 minutes – this is where the magic of tenderness happens. The longer they sit, the more delicious they’ll become.
Seasoning Station
Time to mix up your crunchy coating. Grab a shallow dish and combine the breadcrumbs with these flavor boosters:
Stir everything together so each crumb gets some seasoning love.
Coating Dance
Pull each buttermilk-soaked tender from its bath and roll it generously in the seasoned breadcrumb mixture. Make sure every single inch gets a nice, even coating.
Frying Prep
Pour enough oil into a large skillet to cover the bottom about 1/4 inch deep. Heat the pan to 350°F over medium heat until the oil starts to shimmer slightly.
Golden Crunch
Carefully lay each coated tender into the hot oil. Cook for 5-7 minutes on the first side until deep golden brown. Flip and cook another 5-7 minutes until the chicken is completely cooked through and the exterior is super crispy.
Draining and Serving
Transfer the hot tenders onto a paper towel-lined plate to drain excess oil. Serve immediately while they’re hot and extra crunchy.
Best Notes for Juicy Crack Chicken Tenders
Crack Chicken Tenders With Coating And Sauce Spins
How To Serve Crack Chicken Tenders
Crack Chicken Tenders Storage Advice
Crack Chicken Tenders Questions Answered
Can I use a different type of milk for marinating?
Buttermilk helps tenderize the chicken and adds flavor, but you can substitute with regular milk mixed with a tablespoon of vinegar or lemon juice.
How do I know when the chicken is fully cooked?
Check the internal temperature reaches 165°F with a meat thermometer. The outside should be golden brown and crispy.
What if I don’t have breadcrumbs?
Crushed crackers, panko, or cornflake crumbs work great as a crunchy coating alternative.
Can these chicken tenders be baked instead of fried?
Absolutely. Bake at 400°F for 15-20 minutes, flipping halfway through, until crispy and cooked through.
Is it necessary to use all the spices listed?
The spice blend adds depth, but you can adjust to your taste preferences or use what you have on hand.
How do I prevent the breading from falling off?
Pat the chicken dry before marinating and make sure to press the breadcrumb mixture firmly onto each tender.
Crispy Buttermilk Crack Chicken Tenders Recipe
- Total Time: 40-44 minutes
- Yield: 4 1x
Description
Crack chicken tenders deliver serious flavor that keeps friends and family begging for seconds. Crispy, juicy chicken coated in a creamy ranch mixture becomes your new go-to dinner solution that disappears faster than you can say delicious.
Ingredients
Main Ingredients:
- 1 lb chicken tenders
- 1 cup breadcrumbs
- 1 cup buttermilk
Seasoning:
- 1 teaspoon garlic powder
- 1 teaspoon onion powder
- 1 teaspoon paprika
- Salt to taste
- Pepper to taste
Cooking Ingredient:
- Oil for frying
Instructions
- Pour 1 cup of buttermilk over your chicken tenders and let them soak for 30 minutes in the refrigerator, allowing the meat to become tender and flavorful.
- Combine 1 cup breadcrumbs with 1 tsp garlic powder, 1 tsp onion powder, 1 tsp paprika, and a pinch of salt and pepper in a shallow dish for coating.
- Remove chicken from buttermilk, letting excess liquid drip off, then roll each tender completely in the seasoned breadcrumb mixture, pressing gently to help crumbs adhere.
- Pour enough vegetable oil into a large skillet to reach ½ inch deep, heating to 350°F over medium-high heat until oil shimmers slightly.
- Carefully place breaded chicken tenders into hot oil, cooking for 3-4 minutes on the first side until deep golden brown.
- Flip tenders and cook an additional 3-4 minutes, ensuring internal temperature reaches 165°F for safe consumption.
- Transfer hot tenders onto a wire rack lined with paper towels to drain excess oil and maintain crispiness.
- Let chicken rest for 2-3 minutes before serving to allow coating to set and juices to redistribute.
Notes
- Marinating the chicken tenders in buttermilk helps tenderize the meat and adds a subtle tangy flavor that makes these crispy.
- For extra crunch, double-coat the tenders by dipping back into buttermilk and breading a second time before frying.
- Check the internal temperature reaches 165°F to ensure chicken is fully cooked and safe to eat.
- Gluten-free friends can swap regular breadcrumbs for almond flour or gluten-free panko to make this recipe friendly for different dietary needs.
- Prep Time: 30 minutes
- Cook Time: 10-14 minutes
- Category: Chicken
- Method: Frying
- Cuisine: American
Nutrition
- Serving Size: 4
- Calories: 324 kcal
- Sugar: 1 g
- Sodium: 550 mg
- Fat: 15 g
- Saturated Fat: 3 g
- Unsaturated Fat: 10 g
- Trans Fat: 0 g
- Carbohydrates: 18 g
- Fiber: 1 g
- Protein: 32 g
- Cholesterol: 95 mg
Susan Whitaker
Content Specialist & Home Cooking Guide
Expertise
Family-friendly Meals, Simple Healthy Cooking, Ingredient Substitutions, Beginner-friendly Recipes, Flexible Meal Prep
Education
Susan is the steady, practical guide at Mary Sue & Susan, bringing clarity, structure, and a warm sense of encouragement to every recipe she touches. Susan joined the site with a simple goal: help people cook with more confidence and less guesswork.