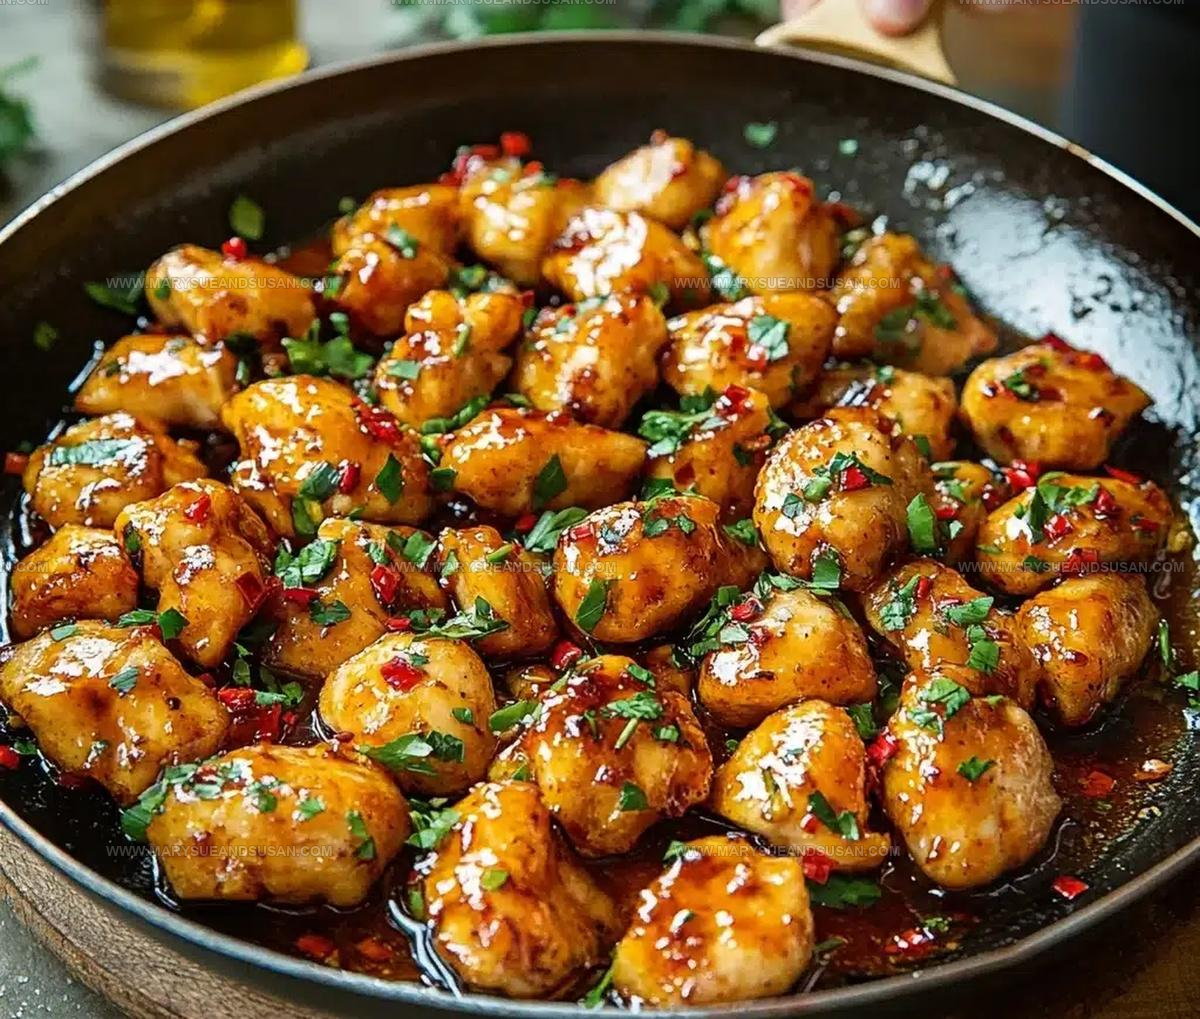
Chinese Honey Garlic Chicken Recipe With Sticky Glaze
Chinese honey garlic chicken recipe fans know that sticky-sweet poultry dishes rank among the most craveable comfort foods around the globe.
Families across continents have fallen for the way savory meets sweet in one satisfying meal that feels like a treat without requiring hours in the kitchen.
Takeout menus feature similar offerings, but homemade versions give you control over quality and flavor balance while saving money.
Weeknight dinners become something special when you can serve restaurant-style results in less time than delivery would take.
The glossy coating and tender meat appeal to picky eaters and adventurous palates alike, making it a reliable crowd-pleaser for any occasion.
Busy schedules no longer mean sacrificing home-cooked meals that bring smiles to the table.
Soon enough, making it from scratch will feel second nature.
Why Honey Garlic Chicken Is Always a Hit

Honey Garlic Chicken Ingredient Breakdown
Main Protein:Coating Ingredients:Sauce Components:Finishing Touches:Cooking Liquid:Equipment Used for Honey Garlic Chicken
Honey Garlic Chicken Frying Method
Prep the Chicken Coating
Grab a mixing bowl and whisk together 1/2 cup cornstarch and 2 egg whites until smooth. Drop in 1 pound of chicken pieces and roll them around until each chunk gets a total bath in the thick batter. Make sure every single piece is totally covered.
Heat the Cooking Oil
Pour vegetable oil into a deep skillet, filling about 1 inch deep. Warm the oil to 350°F over medium-high heat. You want the oil hot enough to make those chicken pieces sizzle the second they touch the surface.
Fry the Chicken Chunks
Carefully slide battered chicken pieces into the hot oil, working in small batches so they don’t crowd each other. Fry each batch for 3-4 minutes, flipping halfway through, until the outside turns golden and crispy. Pull the pieces out and let them rest on paper towels to drain extra oil.
Create the Honey Garlic Sauce
Grab another skillet and warm a splash of oil over medium heat. Toss in:
Stir everything around until the sauce starts to bubble and thicken slightly.
Final Flavor Coating
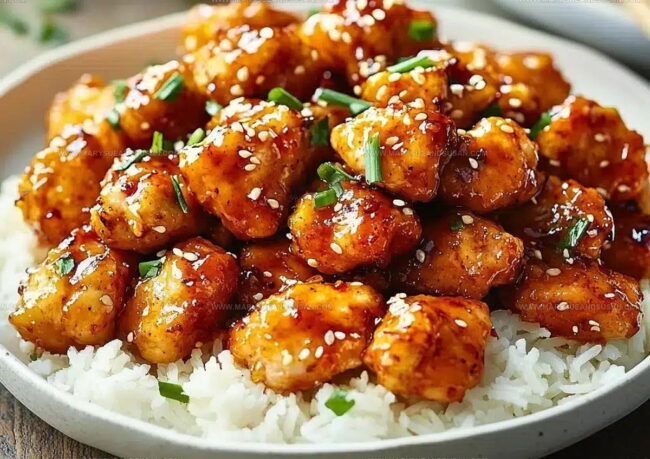
Dump the crispy chicken pieces into the sauce and swirl them around until every chunk gets a perfect sticky coating. Sprinkle chopped green onions and sesame seeds over the top for extra flavor and crunch.
Serve and Enjoy
Transfer your saucy chicken to a serving plate. Pair it with steamed rice or some quick stir-fried vegetables. Dinner is ready in under 30 minutes!
Cook Smarter Tips for Honey Garlic Chicken
Honey Garlic Chicken With Sweet-Savory Balance
How to Serve Honey Garlic Chicken
Proper Storage For Honey Garlic Chicken
Common Recipe Questions for Honey Garlic Chicken
Can I use chicken breasts instead of thighs?
Absolutely! Chicken breasts work perfectly. Just cut them into bite-sized pieces and follow the same coating and frying process.
How do I know when the chicken is perfectly crispy?
Look for a golden-brown color and listen for a slight sizzle when frying. The exterior should be crunchy and the inside tender.
Is there a way to make this recipe less greasy?
Use a wire rack when draining the chicken to let excess oil drip off. Pat the chicken pieces with paper towels to remove extra oil.
What if I don’t have rice vinegar?
White wine vinegar or apple cider vinegar make great substitutes. They’ll provide a similar tangy flavor to the sauce.
Can I prepare the chicken ahead of time?
Fry the chicken and store it separately from the sauce. Reheat and toss in sauce right before serving to maintain the crispy texture.
How spicy is this dish?
This recipe isn’t spicy at all. If you want heat, add a pinch of red pepper flakes or a dash of sriracha to the sauce.

Crispy Chinese Honey Garlic Chicken Recipe
- Total Time: 25 minutes
- Yield: 4 1x
Description
Whip up crispy Chinese honey garlic chicken for a dinner that’ll make your taste buds dance with pure satisfaction. Succulent chicken pieces coated in a glossy, golden sauce bring restaurant-quality flavor straight to your home kitchen.
Ingredients
Protein:
- 1 pound boneless, skinless chicken thighs or breasts, cut into bite-sized pieces
Coating:
- 2 egg whites
- ½ cup cornstarch
Sauce and Seasoning:
- ¼ cup honey
- 2 tablespoons soy sauce
- 3 cloves garlic
- 1 tablespoon rice vinegar
- 1 teaspoon sesame oil
- Vegetable oil (for frying)
- Green onions (chopped, for garnish)
- Sesame seeds (for garnish)
Instructions
- Mix ½ cup cornstarch with 2 egg whites in a medium bowl. Ensure your chicken pieces are completely and evenly coated with this batter.
- Heat vegetable oil to 350°F in a deep skillet. Carefully drop chicken pieces into hot oil, working in 2-3 batches to maintain temperature.
- Fry each batch of chicken for 3-4 minutes until golden brown and crispy. The exterior should look deep amber and feel crunchy when touched.
- Transfer fried chicken to a paper towel-lined plate. Let excess oil drain completely while maintaining chicken’s crispness.
- In a separate pan, warm 1 tablespoon oil over medium heat. Add 3 minced garlic cloves and sauté for 30 seconds until fragrant.
- Pour ¼ cup honey, 2 tablespoons soy sauce, 1 tablespoon rice vinegar, and 1 teaspoon sesame oil into the pan. Stir constantly for 1-2 minutes until sauce thickens.
- Gently fold crispy chicken into the honey garlic sauce. Ensure each piece gets a glossy, even coating.
- Transfer to serving plate. Sprinkle chopped green onions and sesame seeds on top for fresh flavor and texture.
Notes
- Let the chicken pieces rest in the cornstarch and egg white batter for 10-15 minutes before frying to help the coating stick better and create a crunchier texture.
- Use a thermometer to ensure the oil is at 350°F for perfectly crispy chicken without burning the outside or leaving the inside undercooked.
- For a gluten-free version, swap regular soy sauce with tamari and use cornstarch as your thickening agent in the sauce.
- If watching calories, consider baking the coated chicken pieces on a wire rack at 425°F for 20-25 minutes instead of deep frying, which will reduce oil absorption.
- Prep Time: 10 minutes
- Cook Time: 15 minutes
- Category: Chicken
- Method: Frying
- Cuisine: Chinese
Nutrition
- Serving Size: 4
- Calories: 324 kcal
- Sugar: 13 g
- Sodium: 610 mg
- Fat: 12 g
- Saturated Fat: 2 g
- Unsaturated Fat: 9 g
- Trans Fat: 0 g
- Carbohydrates: 27 g
- Fiber: 1 g
- Protein: 30 g
- Cholesterol: 50 mg
Mary Sue
Founder & Creative Recipe Developer
Expertise
Comfort Food Twists, Seasonal Cooking, Creative Flavor Pairings, Easy Weeknight Dinners, Flexible Pantry Cooking
Education
Mary Sue is the playful, creative recipe mind behind Mary Sue & Susan, known for big flavor ideas, warm storytelling, and dishes that feel both comforting and a little unexpected. She has a talent for taking familiar meals and giving them just enough personality to make them memorable.