Garlic Lemon Shrimp Recipe for a Quick Weeknight Dinner
Crispy lemon shrimp recipe lovers know there's something magical about the contrast between golden, crunchy coating and tender seafood beneath.
When hunger strikes and you want something satisfying yet light, few dishes deliver quite like this one.
Weeknight dinners feel special again when a restaurant-worthy meal comes together in minutes at home.
The bright citrus notes balance beautifully with savory, crispy textures that never get old no matter how often they appear on the table.
Busy schedules don't have to mean sacrificing flavor or quality when quick-cooking proteins become the star of the show.
Family dinners and casual gatherings both benefit from a dish that looks impressive but requires minimal fuss in the kitchen.
Everyone gathers around when that irresistible golden crust makes its appearance at mealtime.
Head to the kitchen and see just how simple delicious home cooking can be.
Why Crispy Lemon Shrimp Is So Popular
Ingredient Breakdown for Crispy Lemon Shrimp
Main Ingredients:Coating Ingredients:Sauce and Finishing Ingredients:Which Tools Create Crispy Lemon Shrimp
How to Fry Crispy Lemon Shrimp
Dry the Seafood
Take 1 pound of large shrimp and grab some paper towels. Carefully pat each shrimp until completely dry, which helps create that perfect crispy coating you’re after.
Create Crispy Coating Mixture
Grab a medium bowl and mix together your dry ingredients. Whisk these together smoothly:
Prepare Wet Mixture
In a separate bowl, combine these liquid ingredients:
Whisk everything together until well blended.
Coat the Shrimp
Dunk each shrimp first into the wet mixture, then roll it through the dry mixture. Make sure every inch gets a nice, even coating. Shake off any extra flour so it doesn’t get too thick.
Rest the Battered Shrimp
Let the coated shrimp sit on a wire rack for about 10-15 minutes. This helps the coating stick better and get extra crispy.
Heat the Oil
Pour vegetable oil into a large pot, filling it 2-3 inches deep. Heat the oil to exactly 350°F using a cooking thermometer.
Fry in Small Batches
Carefully lower the shrimp into the hot oil. Don’t crowd the pot – cook them in small groups so they get crispy all around.
Cook Until Golden
Fry each batch for 2-3 minutes, turning once. Look for a beautiful golden brown color that signals they’re perfectly cooked.
Drain the Shrimp
Use a slotted spoon to transfer the fried shrimp onto a wire rack with paper towels. This helps drain extra oil and keeps them crispy.
Prepare Lemon Sauce
Melt 1/4 cup unsalted butter in a saucepan over medium heat. Add:
Finish the Sauce
Stir in:
Simmer for 5-7 minutes until the sauce thickens slightly.
Combine and Serve
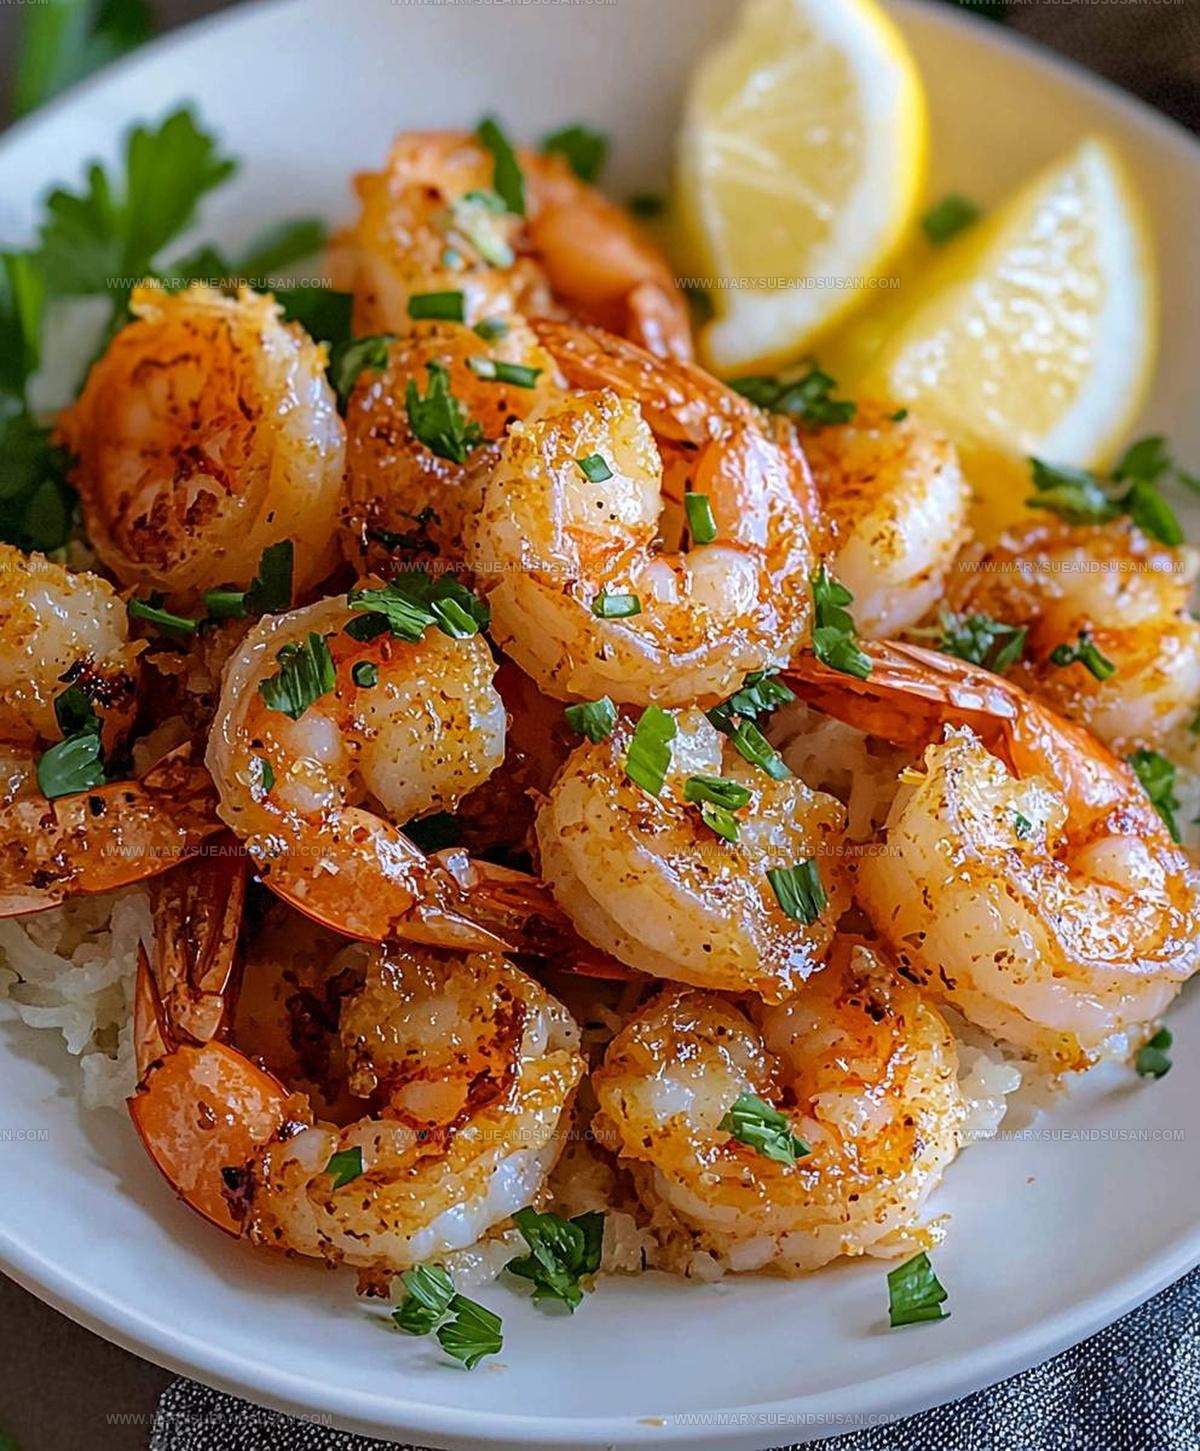
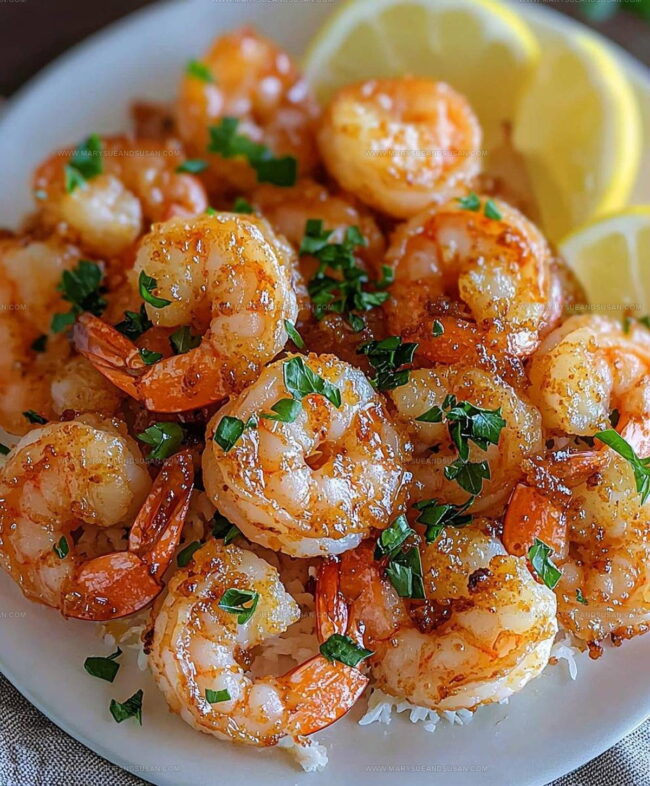
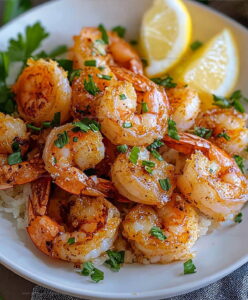
Gently toss the crispy shrimp in the lemon sauce. Sprinkle 1 tablespoon chopped fresh parsley on top. Serve immediately while everything is hot and crisp.
Notes That Help Crispy Lemon Shrimp Stay Light
Crispy Lemon Shrimp Variations to Fry
How Should Crispy Lemon Shrimp Be Served
Best Storage Tips for Crispy Lemon Shrimp
Crispy Lemon Shrimp Questions Answered
Why do I need to dry the shrimp before battering?
Drying removes excess moisture, which helps the batter stick better and creates a crispier coating that won’t get soggy.
Can I use frozen shrimp for this recipe?
Thaw frozen shrimp completely, then pat them dry thoroughly to ensure the best crispy texture.
What if I don’t have cornstarch?
Cornstarch helps create an extra-crispy exterior. If you’re out, replace it with an equal amount of all-purpose flour, but the coating won’t be quite as crunchy.
How do I know when the oil is hot enough for frying?
Use a deep-fry thermometer to check that the oil reaches 350°F. If you don’t have one, drop a tiny bit of batter into the oil – it should sizzle and float immediately.
Can I make this recipe less spicy?
Skip the red pepper flakes entirely or reduce the amount to control the heat level to your preference.
Is there a way to make the batter stick better?
Let the battered shrimp rest for 10-15 minutes before frying. This helps the coating adhere more effectively and creates a crispier crust.
Crispy Lemon Shrimp Recipe
- Total Time: 30-40 minutes
- Yield: 4 1x
Description
Whipping up Crispy Lemon Shrimp brings zesty excitement to your dinner table in minutes. Crunchy, tangy seafood turns an ordinary meal into a restaurant-worthy feast that leaves everyone craving seconds.
Ingredients
Main Ingredients:
- 1 pound large shrimp
Coating Ingredients:
- ½ cup all-purpose flour
- ¼ cup cornstarch
- 1 large egg
- ¼ cup milk
- 1 teaspoon baking powder
- ½ teaspoon salt
- ¼ teaspoon black pepper
- ½ teaspoon garlic powder
- ¼ teaspoon paprika
Sauce and Finishing Ingredients:
- ¼ cup unsalted butter
- 2 cloves garlic
- ¼ cup chicken broth
- ¼ cup heavy cream
- 2 tablespoons lemon juice
- 1 tablespoon lemon juice
- 1 tablespoon honey
- 1 teaspoon lemon zest
- ¼ teaspoon red pepper flakes
- 1 tablespoon chopped fresh parsley
- Vegetable oil
- Salt
- Pepper
Instructions
- Thoroughly blot 1 pound of large shrimp with paper towels to remove excess moisture.
- Combine ½ cup flour, ¼ cup cornstarch, 1 teaspoon baking powder, ½ teaspoon salt, ¼ teaspoon black pepper, ½ teaspoon garlic powder, and ¼ teaspoon paprika in a medium bowl.
- Whisk 1 large egg, ¼ cup milk, and 1 tablespoon lemon juice in a separate bowl.
- Dunk each shrimp into the wet mixture, then coat completely in the dry mixture. Shake off any clumpy excess.
- Let the battered shrimp rest on a wire rack for 10-15 minutes to help the coating set.
- Fill a heavy pot with 2-3 inches of vegetable oil. Heat to 350°F, monitoring the temperature carefully.
- Slide battered shrimp into hot oil in small batches, preventing overcrowding.
- Fry each batch for 2-3 minutes per side until they turn a deep golden color.
- Transfer crispy shrimp to a paper towel-lined rack to drain excess oil.
- Melt ¼ cup unsalted butter in a saucepan over medium heat.
- Saute 2 minced garlic cloves in butter for 30 seconds until fragrant.
- Pour in ¼ cup chicken broth, ¼ cup heavy cream, and 2 tablespoons lemon juice.
- Stir in 1 tablespoon honey, 1 teaspoon lemon zest, and ¼ teaspoon red pepper flakes.
- Simmer sauce for 5-7 minutes until it slightly thickens, stirring occasionally.
- Adjust sauce seasoning with salt and pepper to your taste.
- Gently toss fried shrimp in the warm lemon sauce until evenly coated.
- Sprinkle 1 tablespoon chopped parsley over the shrimp for a fresh touch.
- Serve immediately while shrimp remain crisp and hot.
Notes
- Ensure your shrimp are completely dry before battering to achieve maximum crispiness and prevent oil splattering.
- Use a thermometer to maintain consistent 350F oil temperature, which guarantees perfectly crisp exterior without greasy results.
- For gluten-free version, replace wheat flour with rice flour or gluten-free all-purpose flour blend to keep the same crunchy texture.
- Let battered shrimp rest for 10-15 minutes before frying to help the coating adhere better and create a more even, crisp exterior.
- Prep Time: 15-20 minutes
- Cook Time: 15-20 minutes
- Category: Shrimp
- Method: Frying
- Cuisine: American
Nutrition
- Serving Size: 4
- Calories: 277 kcal
- Sugar: 2 g
- Sodium: 320 mg
- Fat: 14 g
- Saturated Fat: 6 g
- Unsaturated Fat: 7 g
- Trans Fat: 0 g
- Carbohydrates: 16 g
- Fiber: 1 g
- Protein: 22 g
- Cholesterol: 155 mg
Mary Sue
Founder & Creative Recipe Developer
Expertise
Comfort Food Twists, Seasonal Cooking, Creative Flavor Pairings, Easy Weeknight Dinners, Flexible Pantry Cooking
Education
Mary Sue is the playful, creative recipe mind behind Mary Sue & Susan, known for big flavor ideas, warm storytelling, and dishes that feel both comforting and a little unexpected. She has a talent for taking familiar meals and giving them just enough personality to make them memorable.