Crispy Chicken Katsu Recipe with Golden Crunch
A crunchy chicken katsu recipe brings that satisfying golden coating everyone craves at Japanese restaurants, now ready to enjoy in the comfort of home.
The crispy texture paired with tender protein creates a meal that appeals to nearly anyone at the table.
Busy weeknights become easier when dinner takes minimal effort but tastes like something special.
The combination of familiar flavors with an exciting crunch makes each bite feel rewarding without any fussy techniques required.
Comforting yet exciting, this dish works perfectly whether you need a quick solo dinner or want to impress guests with something a bit different.
The satisfying crackle of that coating alone is enough to make mouths water before the first taste.
Follow along and see how simple creating this restaurant favorite can be.
What Gives This Crispy Chicken Katsu Its Authentic Appeal
Traditional Ingredients For This Crispy Chicken Katsu
Tools Assisting Chicken Katsu Prep
Steps Creating Crisp Chicken Katsu Cutlets
Prepare the Chicken
Slice each chicken breast horizontally to create two thinner pieces. Sprinkle 1 teaspoon salt and ½ teaspoon black pepper evenly over both sides of the chicken. This seasoning will give your chicken extra flavor before coating.
Set Up Coating Stations
Arrange three shallow dishes for your breading process:
Coat the Chicken
Dredge each seasoned chicken piece first in flour, shaking off any excess. Then dip the floured chicken into the egg mixture, making sure it’s completely covered. Finally, roll the chicken in panko breadcrumbs, pressing gently to help the crumbs stick firmly to every surface.
Prepare for Frying
Heat 1 cup vegetable oil in a large skillet to 350°F (175°C). The oil should be hot enough to create a sizzle when the chicken touches the surface but not smoking.
Fry the Chicken
Carefully place the breaded chicken pieces into the hot oil. Fry for 3-4 minutes on each side until the coating turns golden brown and the internal temperature reaches 165°F (74°C). Work in batches to avoid overcrowding the pan.
Make Katsu Sauce
While the chicken cooks, mix the sauce ingredients in a small bowl:
Stir until the ingredients are well combined.
Serve and Enjoy
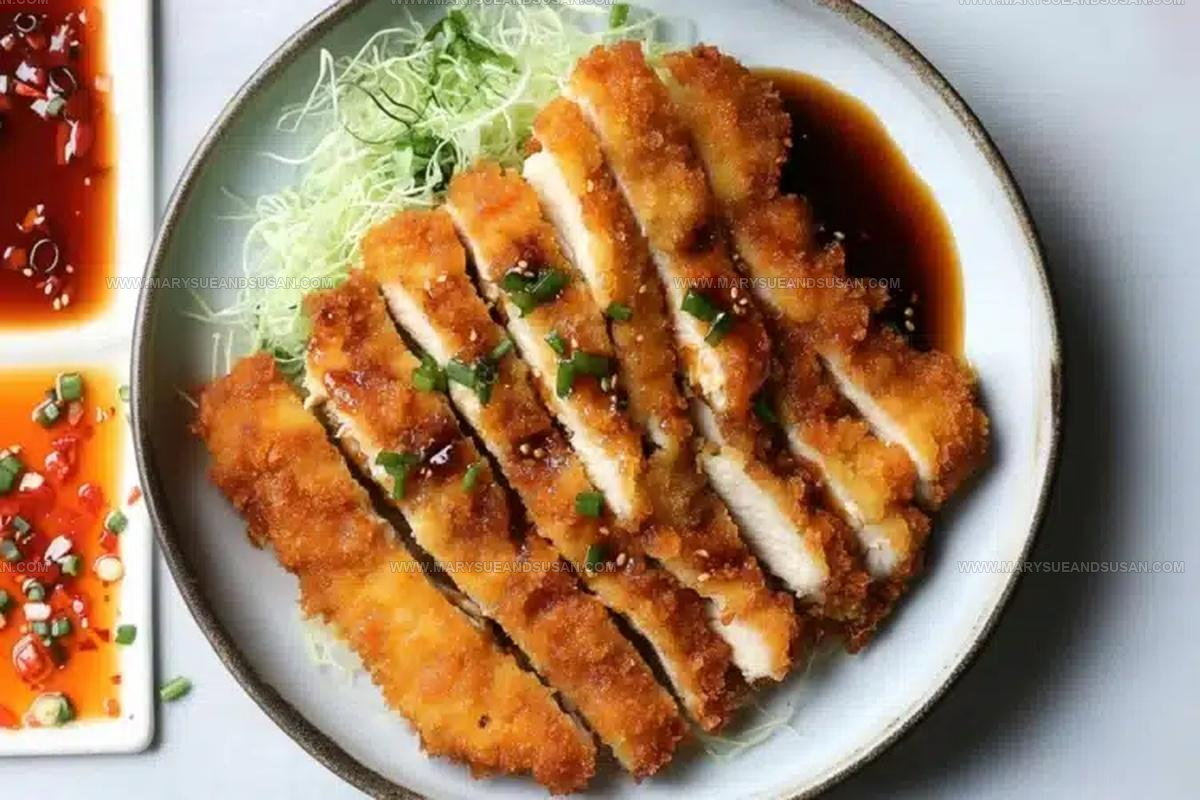
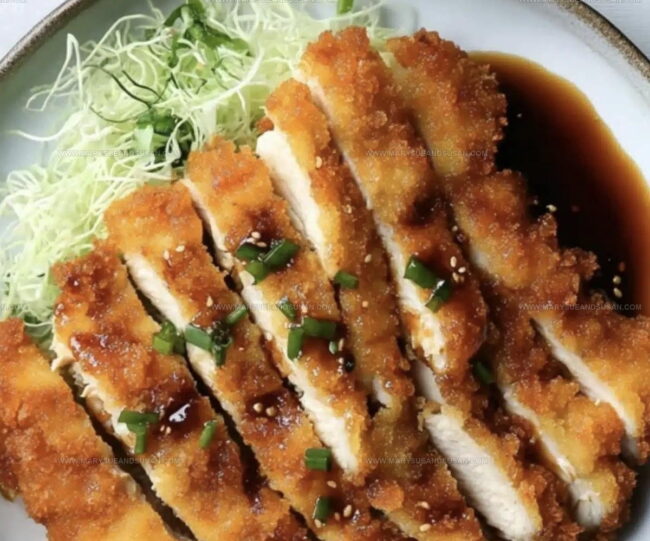
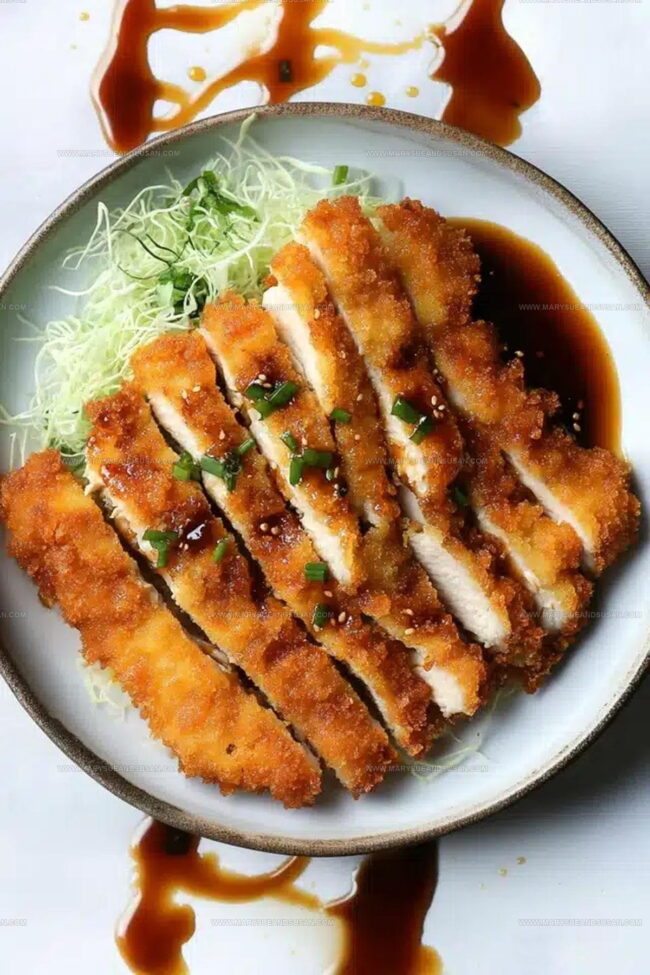
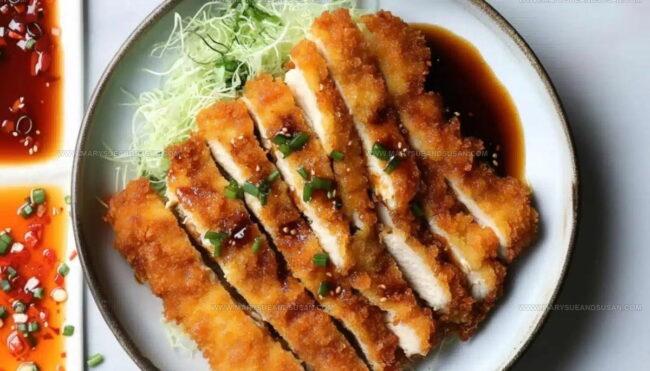
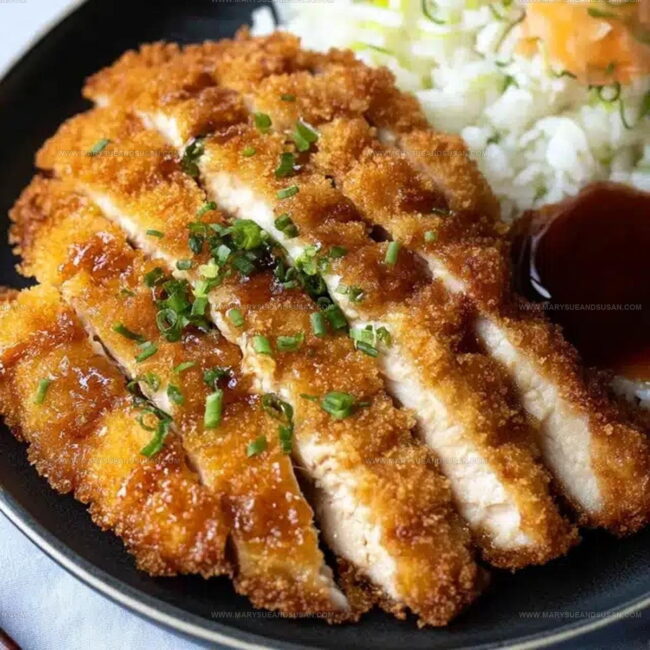
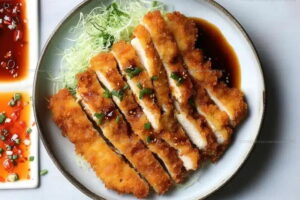
Remove the chicken from the oil and let it drain on a wire rack or paper towels. Slice the crispy chicken and serve with the homemade katsu sauce on the side. Enjoy your restaurant-quality meal straight from your kitchen!
Small Enhancements That Amplify Chicken Katsu Flavor
Traditional And Modern Sauce Options For Chicken Katsu
Serving Hacks For A Traditional Japanese Chicken Katsu
Preserving the Crunch of Homemade Chicken Katsu
Chicken Katsu Questions Often Raised
Can I use regular breadcrumbs instead of panko?
Regular breadcrumbs work, but panko creates a crispier, lighter coating that gives chicken katsu its signature crunch. Panko breadcrumbs are larger and airier, which helps achieve that perfect golden texture.
What kind of chicken works best for this recipe?
Boneless, skinless chicken breasts are ideal. Pound them to an even thickness around 1/2 inch so they cook evenly and remain tender throughout.
How do I know the chicken is cooked completely?
Use a meat thermometer to check the internal temperature reaches 165°F. When you cut into the thickest part, the meat should be white and no longer pink.
Can I make this recipe gluten-free?
Swap all-purpose flour for rice flour or gluten-free flour blend. Replace panko with gluten-free breadcrumbs to keep the recipe safe for those with gluten sensitivities.
Should the oil be a specific temperature for frying?
Heat the oil to 350-375°F for perfect results. If the oil is too cool, the chicken absorbs more oil and becomes greasy. If too hot, the outside burns before the inside cooks.
Crunchy Chicken Katsu Recipe
- Total Time: 35 minutes
- Yield: 2 1x
Description
Chicken Katsu brings the heart of Japanese cuisine right to your kitchen with a golden, crispy coating that’ll make dinner feel like a special occasion. Tender chicken breasts get a crunchy panko breadcrumb armor that shatters beautifully when you slice into it, guaranteed to become a weeknight favorite your family will request again and again.
Ingredients
Main Ingredients:
- 2 chicken breasts (boneless, skinless)
- 1 ½ cups panko breadcrumbs
- ½ cup all-purpose flour
- 2 large eggs
- 1 cup vegetable oil (for frying)
Seasoning Ingredients:
- 1 teaspoon salt
- ½ teaspoon black pepper
Sauce Ingredients:
- ¼ cup ketchup
- 1 tablespoon Worcestershire sauce
- 1 tablespoon milk
- 1 teaspoon soy sauce
- 1 teaspoon sugar
- ½ teaspoon Dijon mustard
Instructions
- Set up three shallow dishes for your breading station: place ½ cup all-purpose flour in the first, whisk 2 large eggs with 1 tablespoon milk in the second, and spread 1 ½ cups panko breadcrumbs in the third.
- Pound your chicken breasts between plastic wrap until they’re uniformly ½-inch thick, then season both sides with 1 teaspoon salt and ½ teaspoon black pepper.
- Dredge each chicken breast first in flour, shaking off excess, then dip completely into egg mixture, allowing extra liquid to drip back into the bowl.
- Transfer the egg-coated chicken directly into panko breadcrumbs, pressing firmly to ensure a complete, even coating that adheres to every surface of the meat.
- Heat 1 cup vegetable oil in a large skillet to 350°F, checking temperature with a cooking thermometer to guarantee perfect crispiness.
- Carefully place breaded chicken into hot oil, cooking 3-4 minutes per side until golden brown and internal temperature reaches 165°F.
- Transfer fried chicken to a wire rack or paper towel-lined plate to drain excess oil and maintain crispy texture.
- Mix ¼ cup ketchup, 1 tablespoon Worcestershire sauce, 1 teaspoon soy sauce, 1 teaspoon sugar, and ½ teaspoon Dijon mustard to create a tangy katsu sauce for serving.
- Slice chicken diagonally and serve immediately with sauce on the side for dipping.
Notes
- Pounding chicken to an even thickness helps ensure uniform cooking and maximum crispiness.
- Panko breadcrumbs create a lighter, crunchier coating compared to traditional breadcrumbs, so stick with panko for the best texture.
- Let the breaded chicken rest for 10 minutes before frying to help the breading adhere better and prevent it from falling off during cooking.
- Drain fried chicken on a wire rack instead of paper towels to maintain the crisp exterior and prevent soggy bottoms.
- Prep Time: 25 minutes
- Cook Time: 10 minutes
- Category: Chicken
- Method: Frying
- Cuisine: Japanese
Nutrition
- Serving Size: 2
- Calories: 700 kcal
- Sugar: 7 g
- Sodium: 900 mg
- Fat: 45 g
- Saturated Fat: 6 g
- Unsaturated Fat: 37 g
- Trans Fat: 0 g
- Carbohydrates: 40 g
- Fiber: 2 g
- Protein: 50 g
- Cholesterol: 220 mg
Mary Sue
Founder & Creative Recipe Developer
Expertise
Comfort Food Twists, Seasonal Cooking, Creative Flavor Pairings, Easy Weeknight Dinners, Flexible Pantry Cooking
Education
Mary Sue is the playful, creative recipe mind behind Mary Sue & Susan, known for big flavor ideas, warm storytelling, and dishes that feel both comforting and a little unexpected. She has a talent for taking familiar meals and giving them just enough personality to make them memorable.