
Sesame Chicken Tenders Recipe for Crispy Perfection
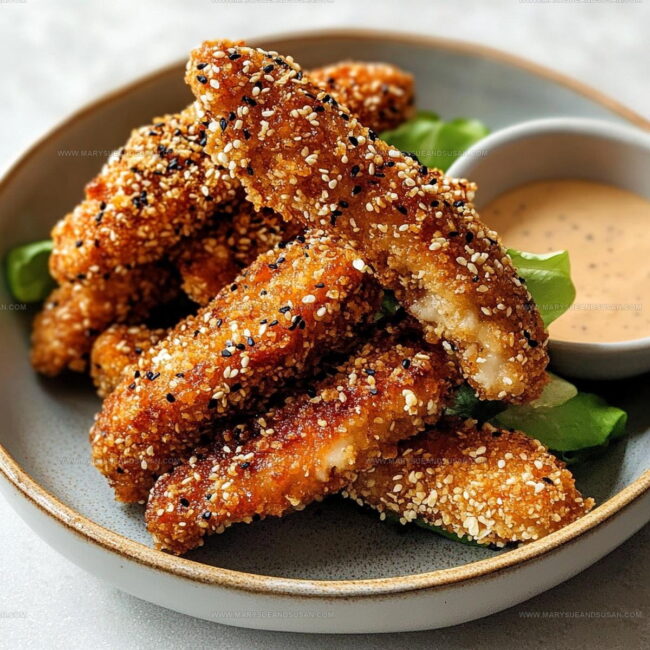
Panko sesame chicken tenders bring together two beloved flavors in one satisfying dish that works for any occasion.
Families love them for weeknight dinners, while hosts appreciate how quickly they disappear at parties.
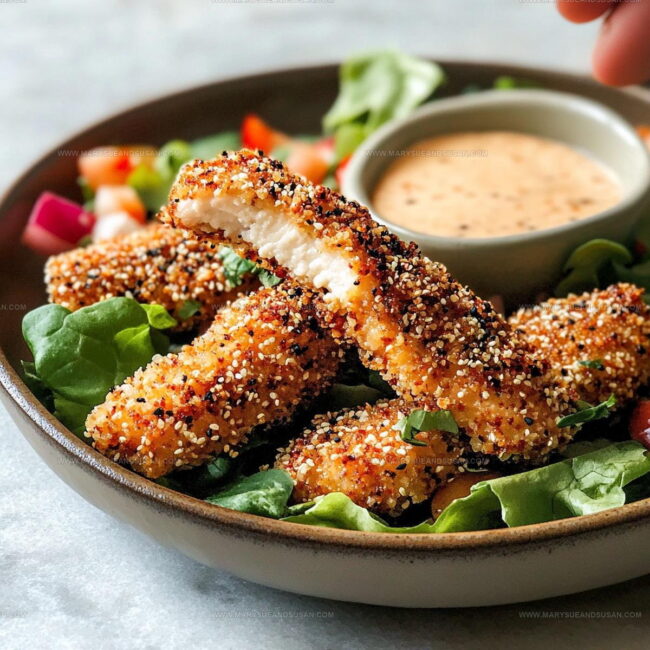
The combination captures a satisfying crunch on the outside with juicy, tender meat inside that appeals to both kids and adults.
When you need something that feels special but doesn't require hours in the kitchen, this recipe hits the mark perfectly.
The nutty essence paired with that golden, crispy coating creates a flavor profile that feels both familiar and exciting.
Serve them as a main course, pack them in lunchboxes, or set them out as an appetizer that vanishes within minutes.
Once you taste the difference homemade versions make, frozen options simply won't compare anymore.
Why Panko Sesame Chicken Tenders Stay Crispy

Ingredients Used in Panko Sesame Chicken Tenders
Main Protein:Breading Components:Binding and Seasoning:Cooking Support:What Tools Are Needed for Sesame Chicken Tenders
Panko Sesame Chicken Tenders Step by Step Guide
Prepare Oven and Baking Sheet
Heat the oven to 400°F and line a baking sheet with parchment paper. This ensures your chicken will cook evenly and won’t stick to the pan.
Prep Chicken Strips
Slice 3-4 boneless, skinless chicken breasts (about 1.5 lbs) into strips. Sprinkle a little salt and pepper over the chicken for basic seasoning.
Create Breading Station
Set up three separate bowls for your coating process. In the first bowl, measure out 1/2 cup all-purpose flour. In the second bowl, crack and beat 2 large eggs. For the third bowl, mix together:
Coat the Chicken
Dredge each chicken strip first in flour, then dunk it into the beaten eggs, and finally roll it completely in the panko-sesame mixture. Make sure each strip is totally covered with the crispy coating.
Arrange on Baking Sheet
Carefully place the coated chicken strips on your prepared baking sheet. Space them slightly apart so they crisp up nicely.
Spray and Bake
Lightly spray the chicken strips with cooking spray. This helps them turn extra golden and crisp. Bake at 400°F for 20-25 minutes, flipping the strips halfway through cooking time.
Serve and Enjoy
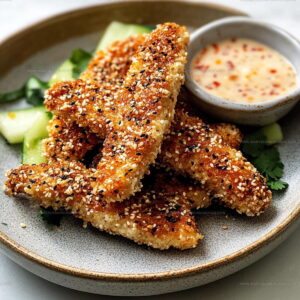
Remove the chicken from the oven when they’re golden brown. Grab your favorite dipping sauce and serve these crispy sesame chicken tenders hot right away.
Which Tips Keep Sesame Chicken Tenders Crispy
Panko Sesame Chicken Tenders Different Takes
How to Serve Panko Sesame Chicken Tenders
Storage Guide for Panko Sesame Chicken Tenders
Panko Sesame Chicken Tenders Frequently Asked Questions
Can I use chicken thighs instead of chicken breasts?
Absolutely! Chicken thighs work great and can be even more tender. Just trim any excess fat and cut them into similar-sized strips.
How do I keep the breading from falling off during baking?
Press the panko mixture firmly onto each chicken strip. Let excess egg drip off before coating with breadcrumbs, and the breading will stick perfectly.
What if I don’t have sesame seeds?
No worries. The tenders will still taste delicious without them. You can skip the seeds or use another crunchy topping like chopped nuts.
Are these chicken tenders gluten-free?
Not as written. To make them gluten-free, swap regular flour for rice flour and use gluten-free panko breadcrumbs.
Can these be made ahead of time?
Yes! Prepare the breaded strips and refrigerate them for a few hours before baking. This can help the coating set even better.
Crunchy Panko Sesame Chicken Tenders Recipe
- Total Time: 30-35 minutes
- Yield: 4 1x
Description
Sesame chicken tenders deliver crispy, golden goodness straight from your kitchen to the dinner table. Crunchy panko coating and nutty sesame seeds make these tender bites an instant family favorite that disappears faster than you can plate them.
Ingredients
Main Ingredients:
- 3 boneless, skinless chicken breasts
- 1 cup panko breadcrumbs
- 2 large eggs
Coating and Seasoning:
- ½ cup all-purpose flour
- 2 tablespoons sesame seeds
- 1 teaspoon garlic powder
- ¼ cup low-sodium soy sauce
Cooking Supplies:
- Cooking spray
Instructions
- Warm your oven to a crisp 400°F and cover a baking sheet with parchment paper to prevent sticking.
- Transform your chicken breasts into uniform 1-inch strips, ensuring each piece is roughly the same size for consistent cooking.
- Create three shallow dishes: one holding ½ cup flour, another with 2 beaten eggs, and the third combining 1 cup panko breadcrumbs with 2 tablespoons sesame seeds and 1 teaspoon garlic powder.
- Roll each chicken strip first in flour, shaking off excess to create a light coating that helps eggs adhere perfectly.
- Dunk the floured strip into beaten eggs, letting excess drip back into the dish to prevent clumping.
- Transfer the egg-coated strip into the panko mixture, pressing gently to ensure a thorough, even crust covers every inch of the chicken.
- Arrange each coated strip on the prepared baking sheet, leaving space between them for hot air circulation.
- Mist the tenders lightly with cooking spray, which helps achieve a golden, crispy exterior.
- Slide the baking sheet into the preheated oven and bake for 22-25 minutes, rotating the pan halfway through to ensure uniform browning.
- Check internal temperature reaches 165°F using a meat thermometer for safe consumption.
- Let the tenders rest for 3-4 minutes after removing from the oven to help juices redistribute.
Notes
- Sesame seeds can burn quickly, so watch the tenders closely during the last few minutes of baking to prevent charring.
- For a gluten-free version, swap regular flour with almond flour and use gluten-free panko breadcrumbs.
- Pat chicken strips completely dry before breading to help the coating stick better and create a crispier texture.
- If cooking for kids, reduce or omit garlic powder to make the flavor milder and more appealing.
- Prep Time: 10 minutes
- Cook Time: 20-25 minutes
- Category: Chicken
- Method: Baking
- Cuisine: American
Nutrition
- Serving Size: 4
- Calories: 350 kcal
- Sugar: 2 g
- Sodium: 450 mg
- Fat: 10 g
- Saturated Fat: 2 g
- Unsaturated Fat: 6 g
- Trans Fat: 0 g
- Carbohydrates: 20 g
- Fiber: 1 g
- Protein: 40 g
- Cholesterol: 110 mg
Mary Sue
Founder & Creative Recipe Developer
Expertise
Comfort Food Twists, Seasonal Cooking, Creative Flavor Pairings, Easy Weeknight Dinners, Flexible Pantry Cooking
Education
Mary Sue is the playful, creative recipe mind behind Mary Sue & Susan, known for big flavor ideas, warm storytelling, and dishes that feel both comforting and a little unexpected. She has a talent for taking familiar meals and giving them just enough personality to make them memorable.