Garlic Butter Pork Chops Recipe for Juicy Weeknight Dinners
Succulent garlic butter pork chops promise a mouthwatering dining experience that will tantalize your senses.
Juicy meat paired with rich, aromatic flavors creates an instant classic for any home cook seeking comfort and satisfaction.
Weekend meals deserve something special, and this recipe delivers pure deliciousness without complicated techniques.
Satisfying and straightforward, the combination of garlic and butter transforms ordinary protein into something extraordinary.
Weeknight dinners or weekend gatherings benefit from such simple yet impressive main courses that everyone appreciates.
Standout Features of Garlic Butter Pork Chops
Garlic Butter Pork Chops Ingredient List
Main Protein:Cooking Fat:Seasoning and Aromatics:Kitchen Tools Needed for Garlic Butter Pork Chops
Easy Way to Prepare Garlic Butter Pork Chops
Prep the Pork
Grab a paper towel and give those pork chops a good pat-down. This helps get them nice and dry so they’ll crisp up beautifully. Sprinkle salt and pepper all over both sides of each chop.
Heat the Skillet
Grab your cast-iron skillet and pour in the olive oil. Crank the heat to medium-high and let it get nice and hot – you’ll see the oil start to shimmer.
First Sear
Carefully place your seasoned pork chops into the hot skillet. Let them hang out for 4-5 minutes without moving them around. This helps create that delicious golden-brown crust that makes everyone’s mouth water.
Flip and Finish Cooking
Time to flip those chops! Cook the other side for another 4-5 minutes. You’re aiming for an internal temperature of 145°F – this keeps the meat juicy and safe to eat.
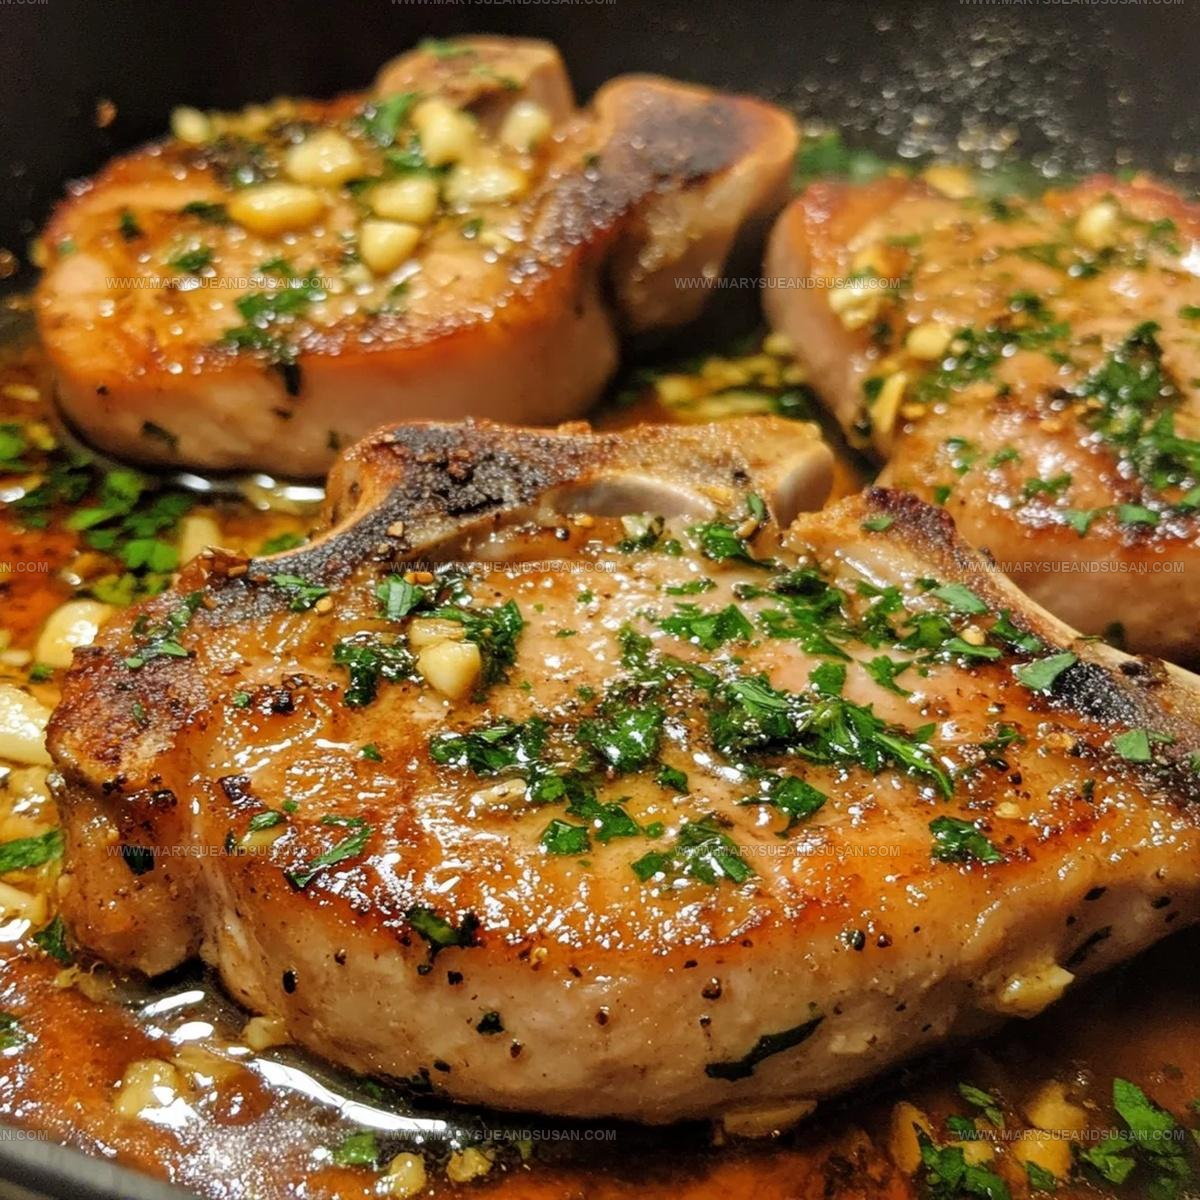
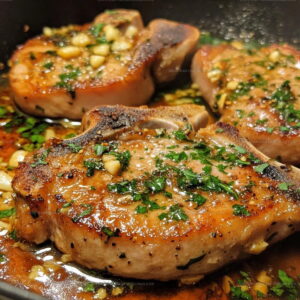
Garlic Butter Magic
Turn the heat down to medium-low and get ready for flavor. Toss in the butter and let it start melting. Here’s how you’ll add the garlic:
Drop those minced garlic bits into the melting butter.
Baste the Chops
Tilt the pan and start spooning that garlic butter over the pork chops. Do this for about 1-2 minutes – it coats the meat with all that amazing flavor.
Let Them Rest
Pull the pork chops out of the skillet and let them chill for 3-5 minutes. This helps the juices settle back into the meat.
Plate and Garnish
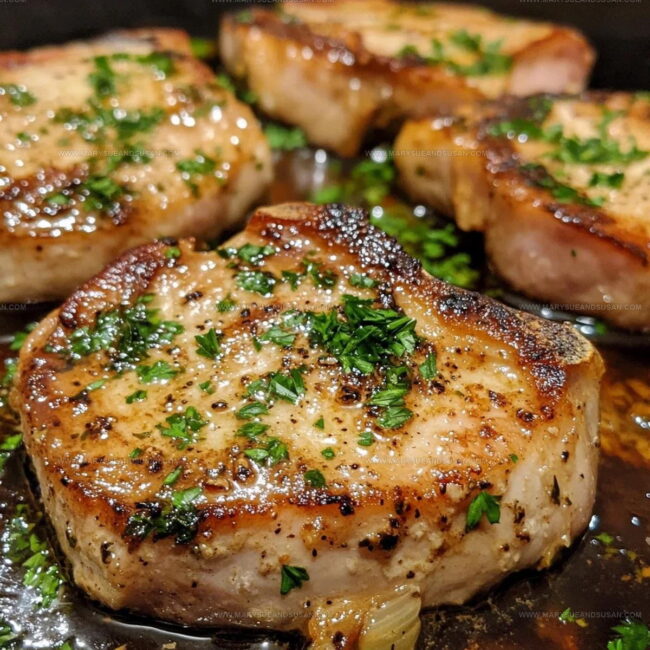
Move the chops to your serving plate. Drizzle any remaining garlic butter on top. Sprinkle some fresh chopped parsley over everything.
Serve Immediately
Get those gorgeous pork chops to the table while they’re hot and the butter is still liquid. Time to enjoy!
Useful Kitchen Notes For Garlic Butter Pork Chops
Creative Variations For Garlic Butter Pork Chops
Best Serving Options For Garlic Butter Pork Chops
Smart Storage Tips For Garlic Butter Pork Chops
Garlic Butter Pork Chops Common Questions
What kind of skillet works best?
Cast-iron skillet provides the most even heat and creates a perfect golden-brown crust on your pork chops.
Can boneless or bone-in chops work?
Both boneless and bone-in pork chops are excellent for this recipe. Just ensure they’re similar thickness for consistent cooking.
How thick should the pork chops be?
Aim for 1-inch thick chops, which help prevent overcooking and keep the meat tender and juicy.
Do I need to use fresh garlic?
Fresh garlic gives the best flavor, but minced jarred garlic can work in a pinch if that’s what your pantry has.
What if my pork chops are thinner?
Reduce cooking time by 1-2 minutes per side and watch carefully to prevent drying out the meat.
Why pat the pork chops dry?
Removing moisture helps create a crisp, beautiful sear and prevents steaming instead of browning the meat.
Garlic Butter Pork Chops Recipe
- Total Time: 15-17 minutes
- Yield: 4 1x
Description
Garlic butter pork chops sizzle with pure comfort on your dinner plate, bringing restaurant-style flavor right to your kitchen. Juicy meat meets rich, melted butter and aromatic garlic for a simple yet delicious meal that makes weeknight cooking feel like a celebration.
Ingredients
Protein:
- 4 pork chops
Fats and Oils:
- 4 tablespoons butter
- 1 tablespoon olive oil
Seasonings and Herbs:
- 4 cloves garlic
- 1 teaspoon salt
- ½ teaspoon black pepper
- 1 tablespoon fresh parsley
Instructions
- Take paper towels and thoroughly dry 4 pork chops, removing all surface moisture. Sprinkle 1 tsp salt and ½ tsp black pepper evenly across both sides of the meat.
- Pour 1 tbsp olive oil into a large cast-iron skillet. Heat over medium-high until the surface becomes glossy and hot, about 2-3 minutes.
- Carefully place seasoned pork chops into the skillet. Allow them to sear undisturbed for 4-5 minutes until a deep golden-brown crust forms.
- Turn pork chops and cook the opposite side for another 4-5 minutes. Ensure the internal temperature reaches 145°F using a meat thermometer.
- Lower the skillet heat to medium-low. Add 4 tbsp butter and let it melt smoothly across the cooking surface.
- Finely mince 4 garlic cloves. Scatter them into the bubbling butter. Tilt the pan and continuously spoon the garlic butter over the pork chops for 1-2 minutes.
- Transfer pork chops to a clean plate. Allow them to rest for 3-5 minutes, letting the internal juices redistribute and settle.
- Drizzle the remaining garlic butter from the skillet directly over the rested pork chops.
- Chop 1 tbsp fresh parsley into small pieces. Sprinkle the herbs across the top of the pork chops as a vibrant garnish.
- Serve the pork chops immediately while the butter remains liquid and the meat stays warm.
Notes
- Always use a meat thermometer to check the internal temperature for perfect doneness and food safety.
- Pat the pork chops completely dry before seasoning to ensure a crispy, golden-brown exterior that seals in the juices.
- Allow your pork chops to rest after cooking so the meat relaxes and redistributes its delicious juices, keeping the meat tender and moist.
- For a low-carb or keto-friendly version, simply skip any additional breading and stick to the simple salt and pepper seasoning.
- Prep Time: 5 minutes
- Cook Time: 10-12 minutes
- Category: Pork
- Method: Frying
- Cuisine: American
Nutrition
- Serving Size: 4
- Calories: 410 kcal
- Sugar: 0 g
- Sodium: 900 mg
- Fat: 35 g
- Saturated Fat: 15 g
- Unsaturated Fat: 17 g
- Trans Fat: 0.5 g
- Carbohydrates: 1 g
- Fiber: 0.2 g
- Protein: 25 g
- Cholesterol: 90 mg
Susan Whitaker
Content Specialist & Home Cooking Guide
Expertise
Family-friendly Meals, Simple Healthy Cooking, Ingredient Substitutions, Beginner-friendly Recipes, Flexible Meal Prep
Education
Susan is the steady, practical guide at Mary Sue & Susan, bringing clarity, structure, and a warm sense of encouragement to every recipe she touches. Susan joined the site with a simple goal: help people cook with more confidence and less guesswork.