Sweet and Sour Chicken Recipe That Balances Flavor Perfectly
Sweet and sour chicken has become one of the most beloved takeout favorites across America, bringing comfort and satisfaction to dinner tables everywhere.
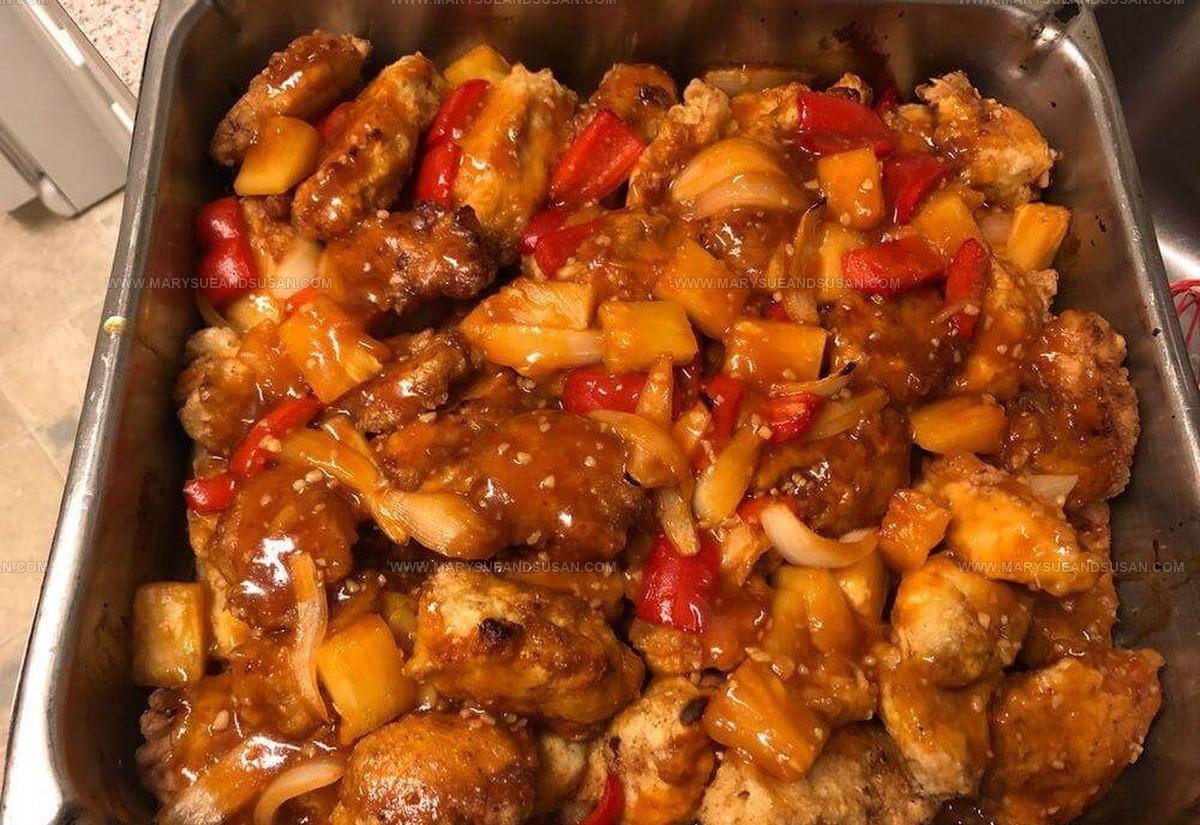
Bright flavors meet tender, crispy bites in a sauce that balances perfectly between fruity sweetness and lively acidity.
The glossy, colorful sauce clings beautifully to every piece, making each forkful absolutely crave-worthy.
Restaurants charge premium prices for what turns out to be surprisingly simple to recreate at home.
You can control the sweetness level and adjust every element to match personal preferences exactly.
Plus, it pairs wonderfully with steamed rice or noodles for a complete meal that satisfies everyone.
Skip the delivery fees and make restaurant-style takeout right in your own kitchen tonight.
What Makes Baked Sweet and Sour Chicken So Special
Core Ingredients for Baked Sweet and Sour Chicken
Main Protein:Coating Ingredients:Cooking Oil:Sweet and Sour Sauce Ingredients:Prep Tools For Sweet and Sour Chicken
Cooking Method for Baked Sweet and Sour Chicken
Prep the Chicken
Grab your chicken breasts and slice them into bite-sized chunks about 1 inch across. Make sure your cutting board and knife are clean before you start chopping.
Set Up the Oven
Crank your oven to 325 degrees Fahrenheit. Grab a 9 x 13 baking dish and give it a quick spray with nonstick cooking spray or brush it lightly with oil.
Make the Sweet and Sour Sauce
Whip together the sauce ingredients in a bowl:
Mix everything until it’s smooth and well combined.
Coat the Chicken
Sprinkle salt and pepper over your chicken pieces. Then get ready for the coating process:
Dust the chicken with cornstarch, then dip each piece into the beaten eggs, making sure it’s completely covered.
Brown the Chicken
Heat ¼ cup oil in a large skillet. Carefully place the egg-coated chicken pieces into the hot oil. Fry for 1-2 minutes until they turn a beautiful golden brown. Transfer the pieces to a paper towel-lined plate to drain excess oil.
Bake the Chicken
Transfer the browned chicken to your prepared baking dish. Pour the sweet and sour sauce over the top, making sure each piece gets a good coating. Slide the dish into the preheated oven and bake for 50 minutes. Halfway through cooking (around 25 minutes), flip the chicken pieces to ensure even cooking.
Serve and Enjoy
Once the sauce has thickened and the chicken looks perfectly glazed, pull the dish out of the oven. If you want, sprinkle some chopped green onions on top for a fresh touch. Serve hot and watch everyone dig in!
A Few Helpful Notes For Baked Sweet And Sour Chicken
Creative Variations for Baked Sweet and Sour Chicken
How To Plate Sweet And Sour Chicken
Storage Instructions For Baked Sweet and Sour Chicken
Baked Sweet and Sour Chicken Common Cooking Questions
Can I substitute another protein for chicken?
While chicken works best, turkey or tofu can create a similar dish with slight texture differences.
Does cornstarch really matter in this recipe?
Absolutely – cornstarch helps create a crispy exterior and helps the sauce stick perfectly to the chicken pieces.
What if my sauce seems too thin?
Letting the chicken bake longer helps thicken the sauce naturally, or you can add an extra tablespoon of cornstarch to increase viscosity.
Are there gluten-free options for this recipe?
Replace standard soy sauce with tamari or coconut aminos to make the entire recipe gluten-free without changing flavor.
How spicy does this sweet and sour chicken get?
The current recipe is mild. Add red pepper flakes or sriracha if you want more heat.
Can children typically enjoy this dish?
Most kids love the sweet and tangy flavor, making it a family-friendly meal that’s easy to customize.

Oven Baked Sweet Sour Chicken Recipe
- Total Time: 1 hour 7 minutes
- Yield: 4 1x
Description
Baked Sweet and Sour Chicken brings takeout favorites straight to your kitchen with zero fuss. Crispy chicken pieces glazed in tangy sauce make dinner feel like a restaurant-quality treat without the delivery price tag.
Ingredients
Main Protein:
- 1 pound boneless chicken breasts
Coating:
- 2 eggs
- ½ cup cornstarch
- ¼ cup oil
- Salt
- Ground black pepper
Sweet and Sour Sauce:
- ¾ cup sugar
- ½ cup apple cider vinegar
- ¼ cup ketchup
- 1 tablespoon soy sauce
- ½ teaspoon garlic powder
Instructions
- Slice 1 pound boneless chicken breasts into 1-inch uniform chunks. Season generously with salt and ground black pepper.
- Whisk 2 beaten eggs in a shallow bowl. Spread ½ cup cornstarch on a separate plate for coating chicken.
- Dredge each chicken piece through cornstarch, shaking off excess. Then dip completely into beaten eggs, ensuring full coverage.
- Heat ¼ cup oil in a large skillet over medium-high heat. Fry chicken pieces for 1-2 minutes until golden brown on exterior. Transfer to paper towel-lined plate to drain excess oil.
- Preheat oven to 325°F. Spray a 9×13 inch baking dish with nonstick cooking spray.
- Whisk sauce ingredients: ¼ cup ketchup, ½ teaspoon garlic powder, ¾ cup sugar, 1 tablespoon soy sauce, and ½ cup apple cider vinegar in a separate bowl.
- Arrange browned chicken pieces in prepared baking dish. Pour entire sauce mixture over chicken, ensuring each piece gets coated.
- Bake for 50 minutes, rotating chicken halfway through at 25-minute mark to ensure even sauce distribution and cooking.
- Remove from oven when sauce has thickened and chicken looks glossy. Sprinkle chopped green onions on top for fresh garnish before serving.
Notes
- Cornstarch creates a crispy coating that helps the sauce stick to your chicken, so don’t skip this step.
- Use a meat thermometer to ensure chicken reaches 165°F for safe consumption without overcooking.
- If preferring less sugar, substitute honey or reduce sugar amount while maintaining sauce’s tangy balance.
- For gluten-free version, replace soy sauce with tamari and ensure cornstarch is certified gluten-free.
- Prep Time: 15 minutes
- Cook Time: 52 minutes
- Category: Chicken
- Method: Baking
- Cuisine: Chinese-American
Nutrition
- Serving Size: 4
- Calories: 436 kcal
- Sugar: 43 g
- Sodium: 550 mg
- Fat: 10 g
- Saturated Fat: 2 g
- Unsaturated Fat: 8 g
- Trans Fat: 0 g
- Carbohydrates: 49 g
- Fiber: 0.5 g
- Protein: 27 g
- Cholesterol: 100 mg
Mary Sue
Founder & Creative Recipe Developer
Expertise
Comfort Food Twists, Seasonal Cooking, Creative Flavor Pairings, Easy Weeknight Dinners, Flexible Pantry Cooking
Education
Mary Sue is the playful, creative recipe mind behind Mary Sue & Susan, known for big flavor ideas, warm storytelling, and dishes that feel both comforting and a little unexpected. She has a talent for taking familiar meals and giving them just enough personality to make them memorable.