Portuguese Grilled Chicken Recipe With Spicy Marinade
Port a Pit Chicken has been winning over crowds at community gatherings and celebrations for generations with its signature smoky flavor and tender, juicy meat.
This beloved style of rotisserie cooking originated in the Lehigh Valley region of Pennsylvania, where families and organizations have perfected the art of slow-roasting whole birds to golden perfection.
The result is chicken that practically falls off the bone while maintaining incredible moisture throughout every bite.
What makes this preparation so special is how the gentle heat and constant rotation create an even cook that locks in natural juices while developing a beautifully bronzed exterior.
When you serve this at a backyard party or potluck, expect compliments to roll in immediately.
The aroma alone will have everyone asking when dinner is ready, and the taste provides on every bit of that promise.
Nothing beats the satisfaction of presenting chicken that looks impressive yet requires surprisingly little hands-on attention once the cooking begins.
Why You Should Try Port A Pit Chicken Signature Taste
Port A Pit Chicken Ingredient List
Main Proteins:Seasoning Blend:Cooking Liquid:Which Tools Are Essential for Port A Pit Chicken?
Cooking Directions for Port-A-Pit Chicken
Prepare the Grill
Fire up the grill to 350°F. This medium heat is perfect for cooking chicken evenly without burning it.
Create Seasoning Mixture
Grab a small bowl and combine the seasonings for a flavor punch:
Mix these ingredients until they’re well blended.
Season the Chicken
Take your 4 chicken quarters and massage the seasoning mixture all over. Make sure every nook and cranny gets some love from the spices.
First Grilling Phase
Place the seasoned chicken on the grill. Cook for 20 minutes, flipping them halfway through to ensure even cooking. Keep that grill lid closed to trap the heat.
Add Barbecue Sauce
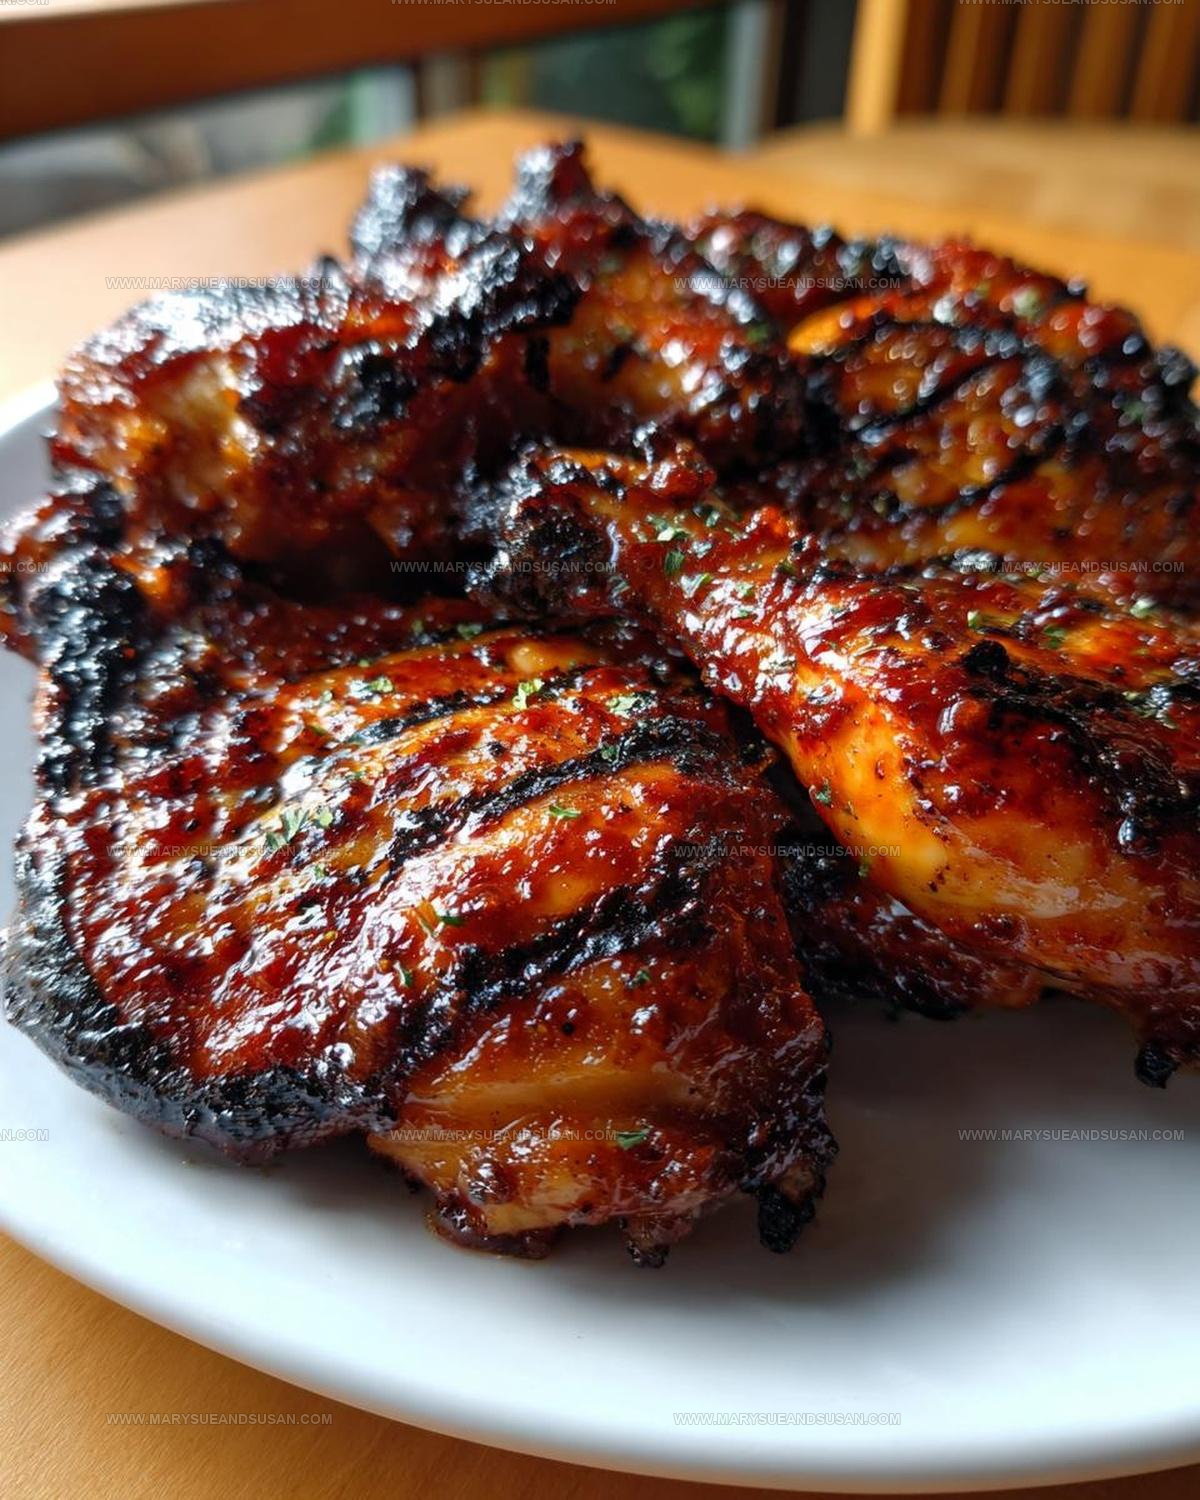
After 20 minutes, grab your 1 cup of barbecue sauce. Generously brush the sauce onto each chicken quarter. This is where the magic happens – the sauce will caramelize and create a delicious coating.
Final Grilling
Continue grilling for another 10-15 minutes. Turn the chicken occasionally and keep brushing with more sauce. Check that the internal temperature reaches exactly 165°F using a meat thermometer.
Rest and Serve
Remove the chicken from the grill. Let it rest for 5 minutes – this helps the juices redistribute, keeping the meat tender and delicious. Serve hot and enjoy your perfectly grilled Port a Pit chicken!
Best Tips for Authentic Port-A-Pit Chicken
Which Are Port A Pit Chicken Flavor Changes
How Is Port A Pit Chicken Best Served
Port A Pit Chicken Storage Guidance
Port A Pit Chicken Q&A
What kind of chicken works best for this recipe?
Chicken quarters are perfect because they have a mix of dark and white meat, which keeps the dish juicy and flavorful.
Can I prepare the chicken ahead of time?
Absolutely! Marinate the chicken in the spice mixture up to 24 hours before grilling to enhance the flavor.
Do I need special equipment to make this?
A standard outdoor grill is all you need – no fancy tools required for creating delicious grilled chicken.
How do I know when the chicken is completely cooked?
Use a meat thermometer to check that the internal temperature hits 165F, which guarantees safe and perfectly cooked chicken.
Can I swap barbecue sauce with something else?
Definitely! Try teriyaki, honey mustard, or your favorite sauce to customize the flavor profile of your grilled chicken.
What if my grill has hot and cool zones?
Rotate the chicken between zones to prevent burning and ensure even cooking throughout the meat.

Port A Pit Chicken Recipe
- Total Time: 50 minutes
- Yield: 4 1x
Description
Port a pit chicken brings backyard barbecue magic straight to your kitchen with tender, juicy chicken that practically melts in your mouth. Marinated in a tangy sauce and grilled to perfection, this Pittsburgh classic delivers serious flavor that’ll make your taste buds dance.
Ingredients
Main Ingredients:
- 4 chicken quarters
Seasoning:
- 1 tablespoon garlic powder
- 1 tablespoon onion powder
- 1 teaspoon salt
- 1 teaspoon black pepper
Sauce and Oil:
- 1 cup barbecue sauce
- 2 tablespoons olive oil
Instructions
- Prepare your outdoor grill, heating it to a consistent 375°F medium temperature for even cooking.
- Create a robust seasoning blend by thoroughly combining 2 tablespoons olive oil, 1 tablespoon garlic powder, 1 tablespoon onion powder, 1 teaspoon salt, and 1 teaspoon black pepper in a mixing bowl.
- Generously massage the spice mixture across all surfaces of your 4 chicken quarters, ensuring each piece is completely coated with the aromatic blend.
- Place the seasoned chicken quarters directly on the grill grates, positioning them to receive uniform heat distribution.
- Grill the chicken for approximately 35 minutes, rotating the pieces every 10 minutes to prevent burning and promote consistent browning.
- During the final 10 minutes of cooking, carefully brush 1 cup of barbecue sauce over the chicken, allowing the sauce to caramelize and create a rich, glossy exterior.
- Check the internal temperature with a meat thermometer, confirming it reaches exactly 165°F at the thickest part of the meat.
- Remove the chicken from the grill and allow it to rest for 5 minutes, which helps redistribute the juices and maintain tenderness.
Notes
- Check chicken quarters for even thickness to ensure consistent cooking across all pieces.
- Always use a meat thermometer to confirm the 165F internal temperature for food safety.
- Rest the grilled chicken for at least 5 minutes to help redistribute juices and keep the meat tender.
- For a spicier version, add cayenne pepper or hot sauce to the initial spice mixture to give your chicken an extra kick.
- Prep Time: 10 minutes
- Cook Time: 40 minutes
- Category: Chicken
- Method: Grilling
- Cuisine: American
Nutrition
- Serving Size: 4
- Calories: 295 kcal
- Sugar: 6 g
- Sodium: 480 mg
- Fat: 14 g
- Saturated Fat: 3 g
- Unsaturated Fat: 11 g
- Trans Fat: 0 g
- Carbohydrates: 9 g
- Fiber: 1 g
- Protein: 30 g
- Cholesterol: 95 mg
Susan Whitaker
Content Specialist & Home Cooking Guide
Expertise
Family-friendly Meals, Simple Healthy Cooking, Ingredient Substitutions, Beginner-friendly Recipes, Flexible Meal Prep
Education
Susan is the steady, practical guide at Mary Sue & Susan, bringing clarity, structure, and a warm sense of encouragement to every recipe she touches. Susan joined the site with a simple goal: help people cook with more confidence and less guesswork.