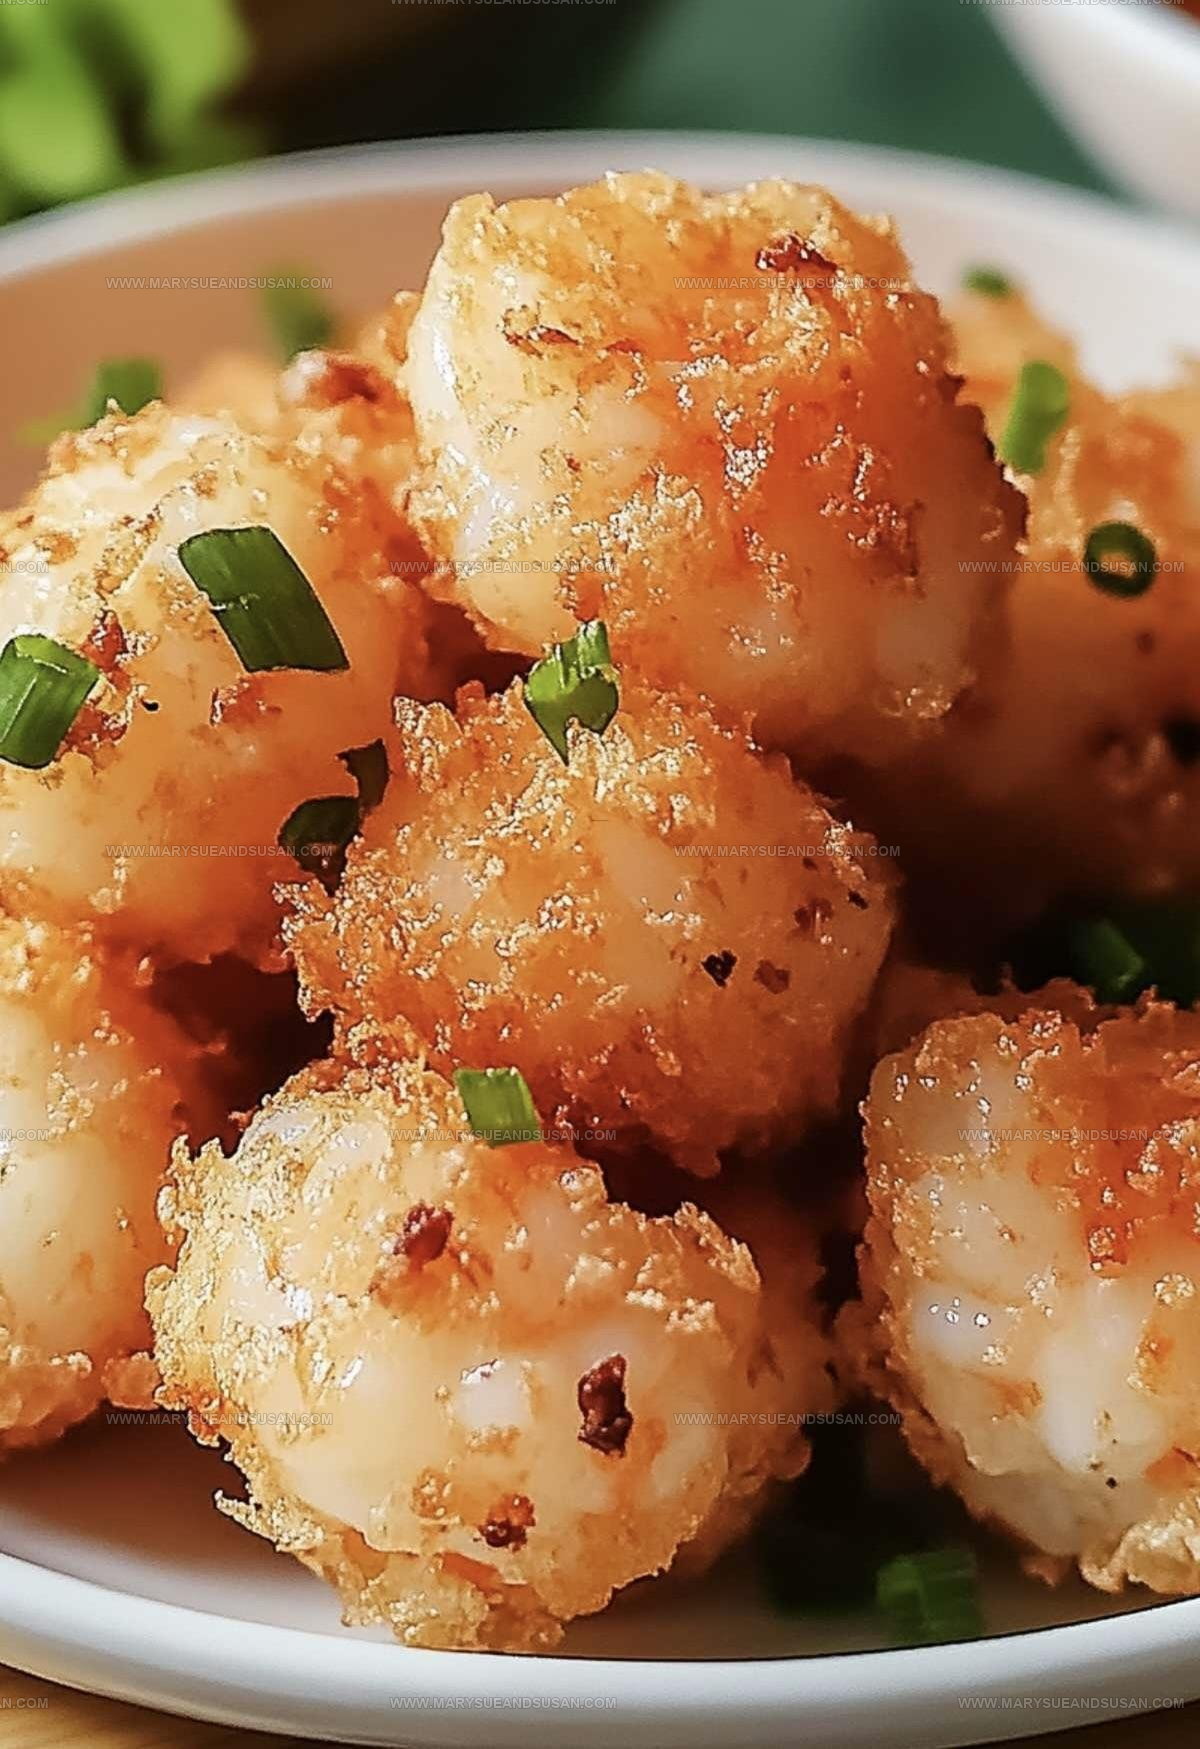
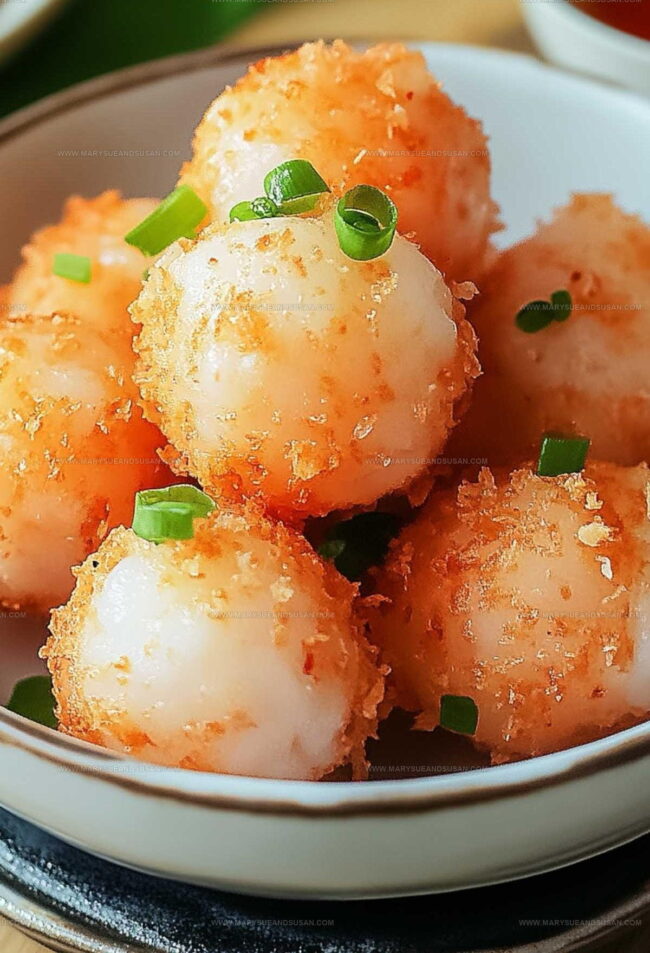
Crispy Shrimp Balls Recipe for Appetizer Time
Shrimp balls recipe fans know there's something special about bite-sized seafood that brings everyone together at the table.
Whether you serve them as an appetizer or part of a main course, they never fail to impress with that satisfying crispy exterior and tender center.
Friends and family often ask for seconds before the first batch even leaves the kitchen.
Simple enough for weeknight dinners yet fancy enough for celebrations, they fit perfectly into any occasion you have planned.
The golden-brown exterior gives way to juicy, flavorful bites that disappear fast.
Best of all, making them from scratch means you control what goes into every single one.
Reasons to Make Shrimp Balls for Any Occasion
Shrimp Balls Ingredients
Seafood Base:Binding Ingredients:Flavor Enhancers:Cooking Medium:Shrimp Balls Cooking Tools
How to Make Juicy Shrimp Balls
Prepare Shrimp
Grab your 2 pounds of raw shrimp and chop them super fine in the food processor. You’ll want a smooth, consistent texture that’ll help your shrimp balls hold together nicely.
Create Flavor Base
Time to mix in the delicious extras. Grab a big mixing bowl and toss in your chopped shrimp, then add these tasty ingredients:
Stir everything together until all ingredients are perfectly combined.
Shape The Balls
Wet your hands slightly to prevent sticking, then roll the mixture into small, uniform balls. Your hands will get a bit messy, but that’s part of the fun! If the mixture seems too wet, sprinkle in 1 tablespoon of cornstarch to help everything hold together.
Heat The Oil
Pour vegetable oil into a large skillet, aiming for about 1 inch deep. Heat the oil to 350°F, which is perfect for getting a golden, crispy exterior.
Fry To Perfection
Carefully drop your shrimp balls into the hot oil. Fry for 2-3 minutes, turning occasionally, until they’re beautifully golden brown and cooked through. Work in batches to avoid overcrowding the pan.
Drain And Serve
Transfer the fried shrimp balls onto a paper towel-lined plate to drain excess oil. Serve immediately while they’re hot and crispy. A quick dipping sauce on the side makes these absolutely irresistible!
Which Tips Set Shrimp Balls Properly
Common Variations for Shrimp Balls
Serving Ideas for Shrimp Balls
Best Methods to Store Shrimp Balls
Shrimp Balls Frequently Asked Questions
Can I use frozen shrimp for this recipe?
Absolutely! Thaw the shrimp completely and pat them dry before processing. Fresh or frozen both work great, but ensure your shrimp are peeled and deveined.
What if my shrimp balls fall apart while frying?
Make sure your mixture is well combined and chilled. Adding a bit more breadcrumbs or cornstarch helps bind the ingredients. Cold mixture holds together better during frying.
How do I know when the shrimp balls are fully cooked?
They should turn golden brown and feel firm when gently pressed. The internal temperature should reach 145°F. Cutting one open reveals opaque, white meat throughout.
Can these be made ahead of time?
Prepare the mixture and shape balls in advance. Cover and refrigerate for up to 24 hours before frying. You can also freeze uncooked balls for future use.
Are there alternatives to frying?
Definitely! Bake shrimp balls at 400°F for 12-15 minutes, turning once. Air fryers work wonderfully too, giving a crispy exterior without excess oil.

Shrimp Balls Recipe
- Total Time: 25 minutes
- Yield: 5 to 6 1x
Description
Crispy Shrimp Balls bring serious flavor straight from home kitchens to your dinner table, packed with zesty Asian-inspired seasonings that make snacking totally addictive. Delicate shrimp mixed with fragrant herbs create perfect bite-sized treats your friends and family will devour in minutes.
Ingredients
Primary Ingredients:
- 3 lbs raw shrimp, peeled and deveined
Binding Ingredients:
- ½ cup breadcrumbs
- 1 egg
- 1 tablespoon cornstarch
Seasoning and Aromatics:
- ¼ cup green onions, finely chopped
- 2 cloves garlic
- 1 tablespoon fresh ginger
- 1 tablespoon soy sauce
- 1 teaspoon sesame oil
- ½ teaspoon salt
- ½ teaspoon black pepper
- ¼ cup cilantro
- Vegetable oil
Instructions
- Chop the raw shrimp into fine pieces using a food processor, creating a smooth, consistent texture for your mixture.
- Transfer the processed shrimp into a large mixing bowl, preparing for additional ingredients.
- Add ½ cup panko breadcrumbs, 1 beaten egg, ¼ cup finely chopped green onions, 2 minced garlic cloves, and 1 tablespoon grated fresh ginger to the shrimp.
- Incorporate 1 tablespoon soy sauce, 1 teaspoon sesame oil, ½ teaspoon salt, and ½ teaspoon black pepper into your mixture, stirring thoroughly to distribute flavors evenly.
- Sprinkle 1 tablespoon cornstarch over the mixture to help bind the ingredients and improve texture.
- Gently mix all components until they are well combined and hold together easily.
- Roll the mixture into small, uniform balls approximately 1 inch in diameter, using slightly damp hands to prevent sticking.
- Heat vegetable oil in a deep skillet to 350°F, ensuring the oil is hot enough for crispy exterior.
- Carefully place shrimp balls into the hot oil, working in small batches to maintain oil temperature.
- Fry each batch for 2-3 minutes, rotating occasionally, until they turn golden brown and appear crisp.
- Remove shrimp balls using a slotted spoon and drain on paper towels to remove excess oil.
- Serve immediately while hot, accompanied by your favorite dipping sauce.
Notes
- Get fresh, high-quality shrimp for the best flavor and texture in your shrimp balls.
- Use a food processor to chop shrimp finely, ensuring a smooth and consistent mixture.
- Wet your hands with water or dust them with cornstarch to prevent the mixture from sticking while forming balls.
- For a gluten-free version, swap breadcrumbs with almond flour or gluten-free breadcrumbs and use tamari instead of soy sauce.
- Prep Time: 15 minutes
- Cook Time: 10 minutes
- Category: Shrimp
- Method: Frying
- Cuisine: Chinese
Nutrition
- Serving Size: 5 to 6
- Calories: 159 kcal
- Sugar: 0.3 g
- Sodium: 345 mg
- Fat: 4.5 g
- Saturated Fat: 0.7 g
- Unsaturated Fat: 3.2 g
- Trans Fat: 0 g
- Carbohydrates: 9.6 g
- Fiber: 0.8 g
- Protein: 22 g
- Cholesterol: 115 mg
Susan Whitaker
Content Specialist & Home Cooking Guide
Expertise
Family-friendly Meals, Simple Healthy Cooking, Ingredient Substitutions, Beginner-friendly Recipes, Flexible Meal Prep
Education
Susan is the steady, practical guide at Mary Sue & Susan, bringing clarity, structure, and a warm sense of encouragement to every recipe she touches. Susan joined the site with a simple goal: help people cook with more confidence and less guesswork.