Sweet and Sour Chicken Recipe That Balances Flavor Perfectly
Sweet and sour chicken delivers that perfect balance of flavors everyone craves when ordering from their favorite Chinese restaurant.
Crispy bites coated in a glossy sauce make any weeknight dinner feel special without requiring hours in the kitchen.
Families gather around the table with smiles when this crowd-pleaser appears, proving that satisfaction doesn't need to be complicated.
The combination works beautifully whether you want something quick after work or need to feed hungry friends who appreciate bold flavors.
Restaurants have served variations of this dish for decades, but homemade versions give you control over every element while keeping things simple.
When you master the basics, dinnertime becomes less stressful and more enjoyable for everyone involved.
It pairs wonderfully with rice or noodles and has become a go-to option in households everywhere.
Tonight deserves something both comforting and exciting that brings everyone together at the table.
What Makes Sweet and Sour Chicken So Craveable
Sweet and Sour Chicken Ingredients Overview
Main Protein:Coating Ingredients:Frying Ingredient:Sauce Components:Seasoning Ingredients:What Tools Help with Sweet and Sour Chicken?
Sweet and Sour Chicken Step-by-Step Instructions
Prepare Corn Starch Mixture
Grab a large bowl and mix 1 cup corn starch with 1/2 tsp sea salt. This will be your crispy coating for the chicken.
Egg Dip Setup
Crack 2 large eggs into a separate bowl and whisk them until smooth. Your chicken pieces are about to get a delicious bath.
Chicken Coating Adventure
Take each of the 4 chicken breasts (cut into 1″ pieces) and dunk them first in the egg mixture, then roll them thoroughly in the corn starch mixture. Make sure every single piece is completely covered – no bare spots allowed!
Heating Cooking Surface
Pour 1/4 cup vegetable oil into a large frying pan. Crank the heat to medium-high and let the oil get hot – around 375°F is perfect.
Crispy Chicken Frying
Carefully place chicken pieces into the hot oil. Fry each batch for 4-5 minutes, turning once to ensure golden brown color on all sides. Transfer cooked pieces to a paper towel-lined plate to drain excess oil.
Sauce Creation
In a clean bowl, whisk together these sauce ingredients:
Stir until everything is smooth and well combined.
Final Simmering
Pour the sauce into the same pan you used for frying. Bring to a gentle simmer at 200°F. Drop the fried chicken pieces back into the sauce, tossing to coat completely. Let everything heat together for 2-3 minutes.
Serving Time
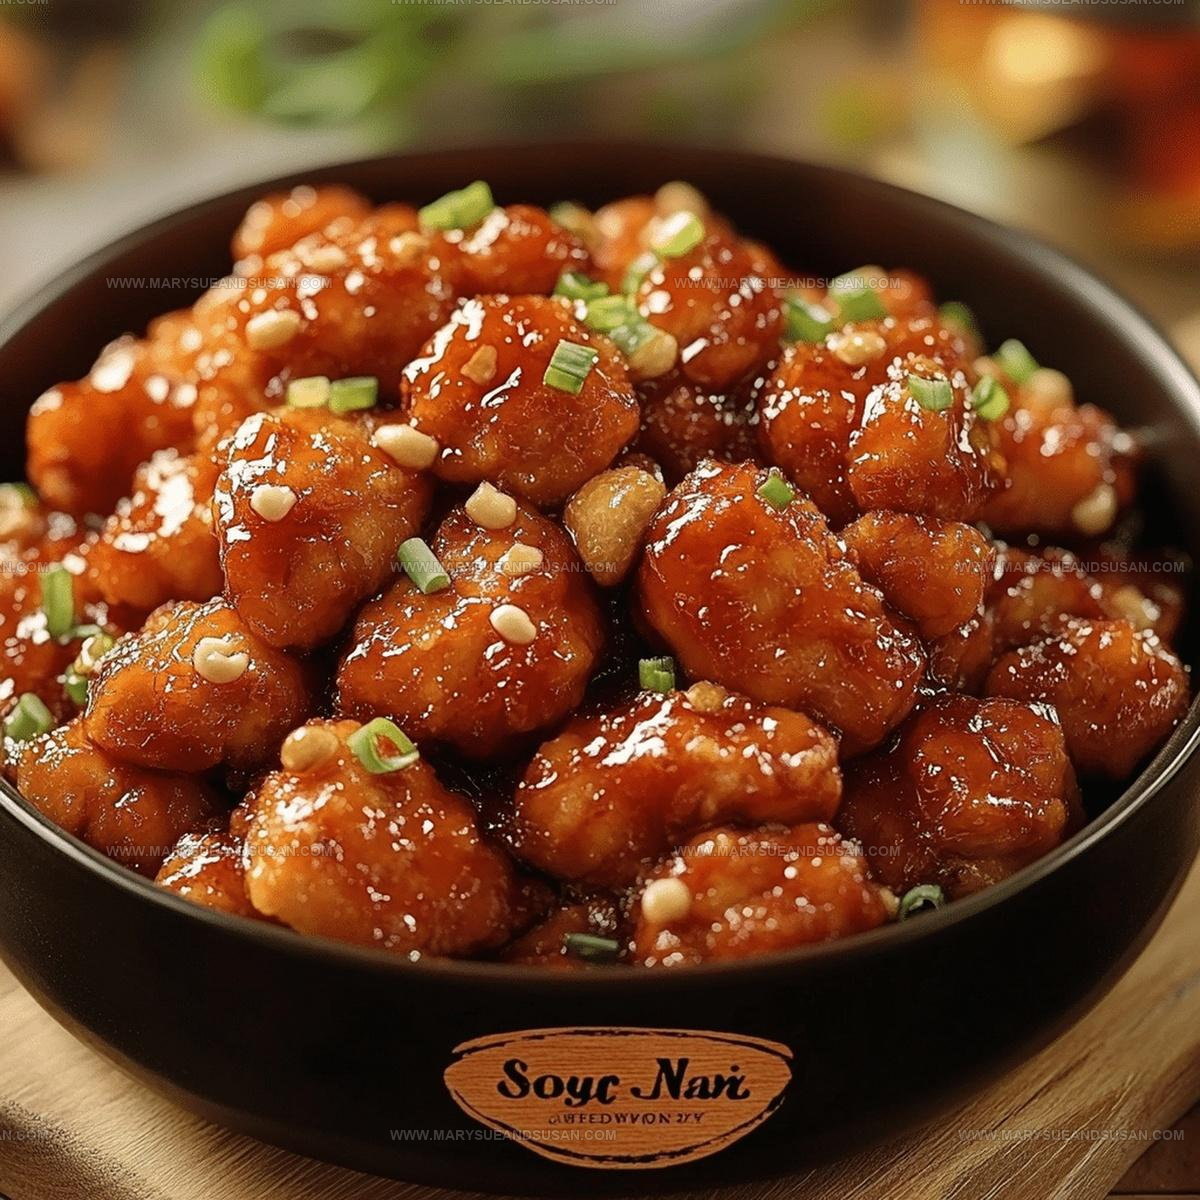
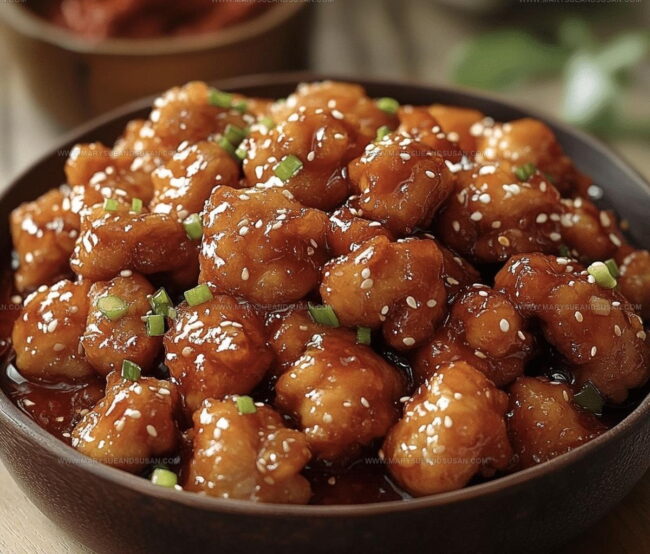
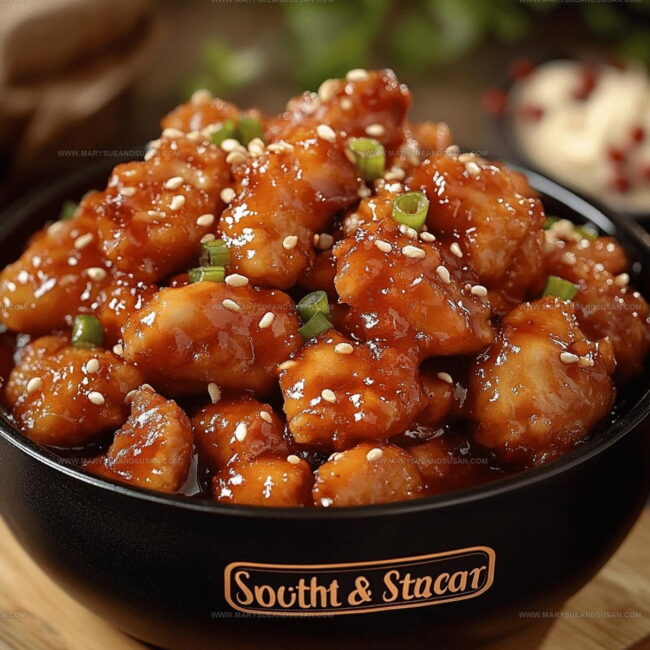
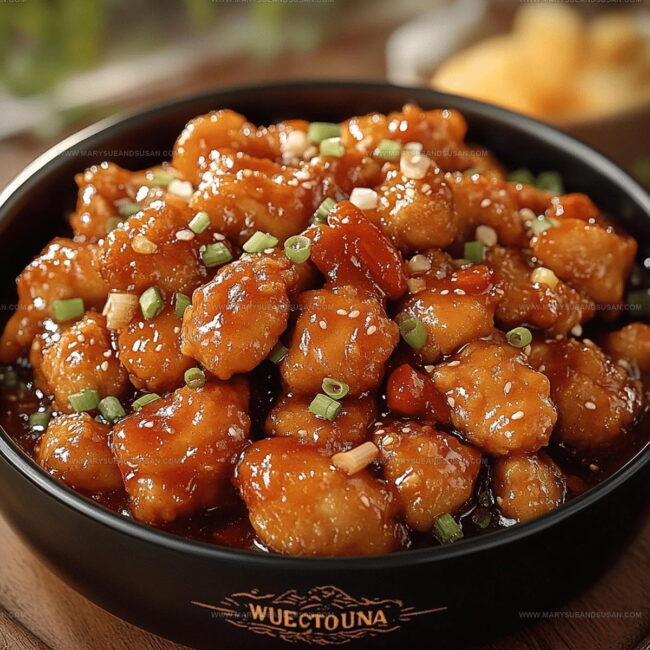
Slide those saucy chicken pieces onto a serving plate. Sprinkle with chopped green onions or sesame seeds if you’re feeling fancy. Dinner is ready!
Practical Notes for Sweet and Sour Chicken
Sweet and Sour Chicken with Tangy Recipe Choices
Ideal Serving Options for Sweet and Sour Chicken
Best Storage for Sweet and Sour Chicken
Sweet and Sour Chicken Reader Questions
Can I use a different type of vinegar?
Apple cider vinegar gives the sauce a specific tang, but white vinegar works well too. Just make sure to use the same measurement.
What if I don’t have corn starch?
Flour can work as a substitute, though the coating won’t be quite as crispy. Dredge your chicken carefully to ensure an even layer.
How do I know the chicken is fully cooked?
Check the internal temperature reaches 165°F with a meat thermometer. The chicken should look golden brown and feel firm when pressed.
Can this recipe be made gluten-free?
Absolutely! Replace regular soy sauce with tamari or a gluten-free soy sauce alternative. Double-check your corn starch is certified gluten-free.
Should the oil be super hot when frying?
Medium-high heat is perfect. The oil should be around 350°F – hot enough to crisp the coating but not burn it. Test a small piece of coating first to check temperature.
Can I prep the chicken ahead of time?
Coat the chicken and store it in the refrigerator for up to 2 hours before frying. This helps the coating stick better and keeps the meat cold.

Tangy Sweet and Sour Chicken Recipe
- Total Time: 25 minutes
- Yield: 4 1x
Description
Whip up Sweet Sour Chicken for a quick dinner that’ll have your family asking for seconds. Crispy chicken pieces bathed in a tangy sauce bring restaurant-style flavor straight to your kitchen table.
Ingredients
Protein:
- 4 boneless skinless chicken breasts
Coating:
- 1 cup corn starch
- 2 large eggs
Sauce:
- ½ cup granulated sugar
- ½ cup apple cider vinegar
- ¼ cup ketchup
- 2 tablespoons soy sauce
- ¼ cup vegetable oil
- 1 teaspoon garlic powder
- ½ teaspoon sea salt
Instructions
- Mix 1 cup corn starch and ½ tsp sea salt in a large bowl. Whisk 2 eggs in a separate bowl for coating your chicken pieces.
- Dunk each 1-inch chicken piece into the egg wash, then thoroughly roll through the corn starch mixture until completely covered.
- Pour ¼ cup vegetable oil into a large skillet. Heat to 350°F over medium-high heat until the oil shimmers and looks slightly rippled.
- Carefully place coated chicken pieces into the hot oil, cooking for 4-5 minutes per side until they turn a deep golden brown. Ensure internal temperature reaches 165°F.
- Transfer fried chicken to a paper towel-lined plate to drain excess oil and maintain crispiness.
- In a separate bowl, whisk together ½ cup sugar, ¼ cup ketchup, ½ cup apple cider vinegar, 2 tbsp soy sauce, and 1 tsp garlic powder until smooth.
- Pour sauce into the same skillet used for frying. Simmer at medium heat for 2 minutes until slightly thickened.
- Return chicken pieces to the skillet. Gently toss to coat each piece completely with the sweet and tangy sauce.
- Cook for an additional 2-3 minutes, ensuring the chicken is heated through and sauce clings nicely to each piece.
- Transfer to a serving plate immediately. Optional: Sprinkle with green onions or sesame seeds for extra flavor and presentation.
Notes
- Always use fresh chicken pieces cut to similar sizes for even cooking and consistent texture.
- Pat chicken completely dry before coating to help cornstarch adhere better and create a crispier exterior.
- For a gluten-free version, swap regular soy sauce with tamari and ensure cornstarch is certified gluten-free.
- If watching calories, consider baking the chicken instead of deep-frying, which reduces oil absorption while maintaining a crisp coating.
- Prep Time: 10 minutes
- Cook Time: 15 minutes
- Category: Chicken
- Method: Frying
- Cuisine: Chinese
Nutrition
- Serving Size: 4
- Calories: 475 kcal
- Sugar: 30 g
- Sodium: 840 mg
- Fat: 18 g
- Saturated Fat: 3 g
- Unsaturated Fat: 13 g
- Trans Fat: 0 g
- Carbohydrates: 43 g
- Fiber: 1 g
- Protein: 34 g
- Cholesterol: 110 mg
Susan Whitaker
Content Specialist & Home Cooking Guide
Expertise
Family-friendly Meals, Simple Healthy Cooking, Ingredient Substitutions, Beginner-friendly Recipes, Flexible Meal Prep
Education
Susan is the steady, practical guide at Mary Sue & Susan, bringing clarity, structure, and a warm sense of encouragement to every recipe she touches. Susan joined the site with a simple goal: help people cook with more confidence and less guesswork.